

Smart home updates on a budget do more than look new; they correct scale, light, and finish so rooms feel considered. Focus on touchpoints your eye hits daily, like walls, windows, and hardware, to create an immediate, cohesive shift.
Steer clear of trends slated to date quickly, like fussy florals, and prioritize timeless texture and proportion. Designers are championing elevated basics for 2026, so think mineral wall color, natural linen, and warm metals that patina gracefully.
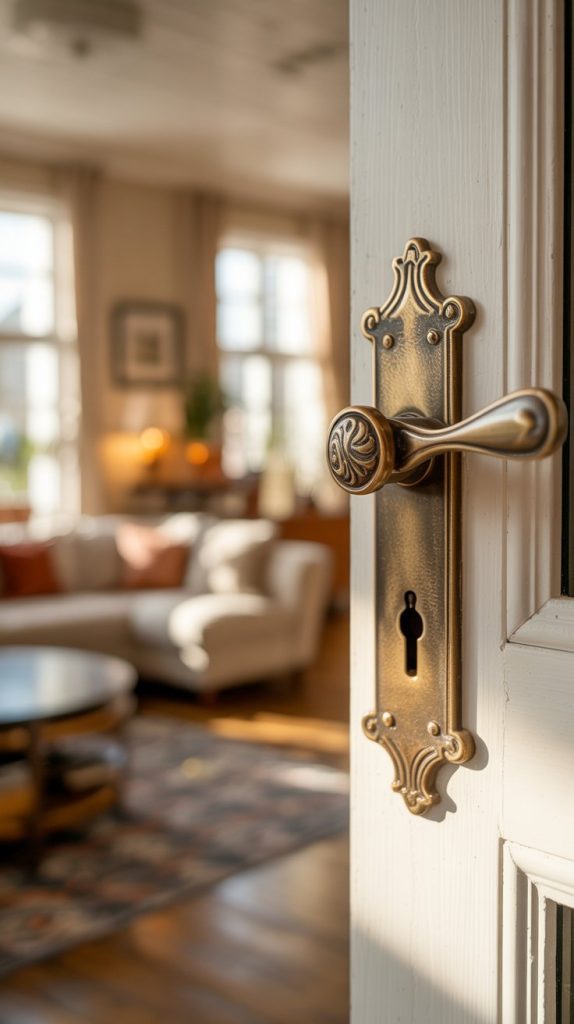
Editor’s Pick: Refresh Hardware in Aged Brass — I love this because it modernizes cabinets and doors in under an hour, and the warm patina makes even builder-grade pieces read custom.
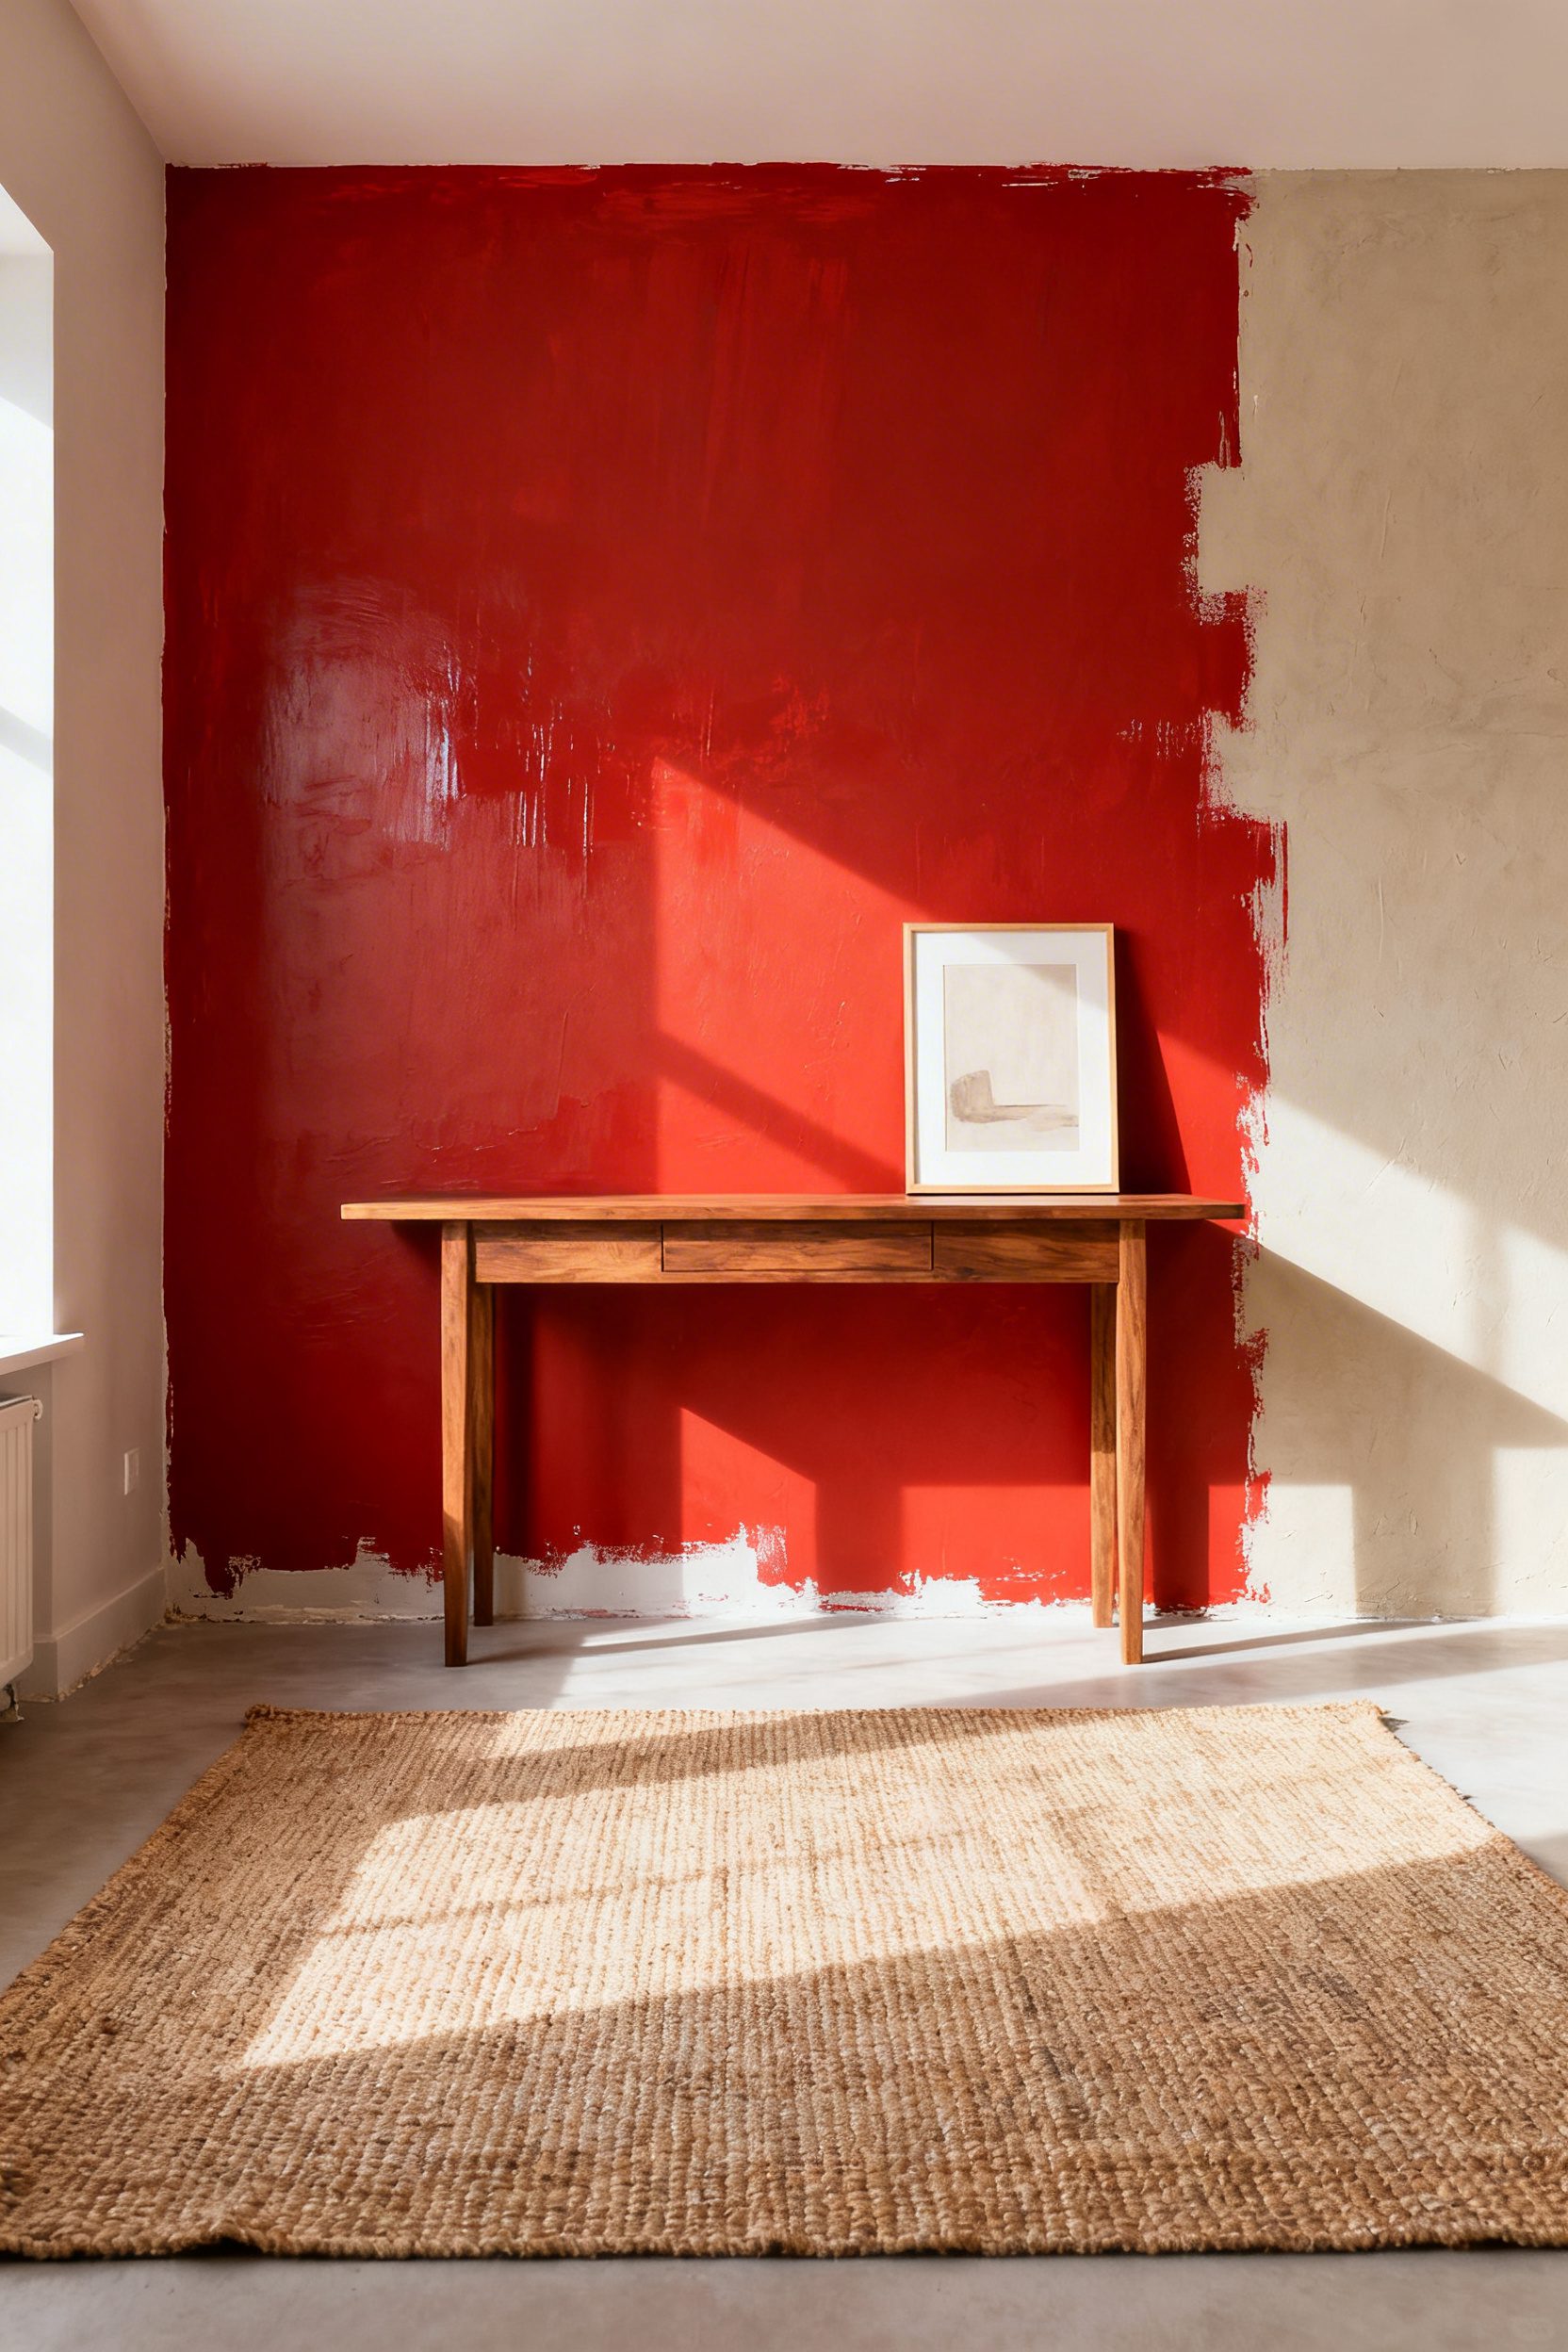
1. Paint High-Impact Accent Walls
- Effort Level: Weekend DIY.
- Estimated Budget: Under 100.
- Maintenance Level: Low (occasional touch-ups).
- Best For: Renters, small living rooms, and bedrooms.
Choose one uninterrupted wall and take color from baseboard to ceiling for a clean block, avoiding busy gallery walls that dilute impact. Use a mineral, desaturated hue like clay taupe or eucalyptus green to feel current without chasing fads highlighted as fleeting by outlets such as Good Housekeeping.
Test three swatches vertically, then finish with matte or eggshell to hide wall texture. Wrap color onto adjacent door casings by one inch to fake thicker trim, a stylist’s trick that photographs beautifully and costs nothing extra.
Style the wall with one oversized piece, not a cluster, keeping the frame in black or natural oak for contrast. If you need cozy counterbalance elsewhere, layer texture with soft grasses in the bedroom, then explore Pampas Grass Bedroom Decor.
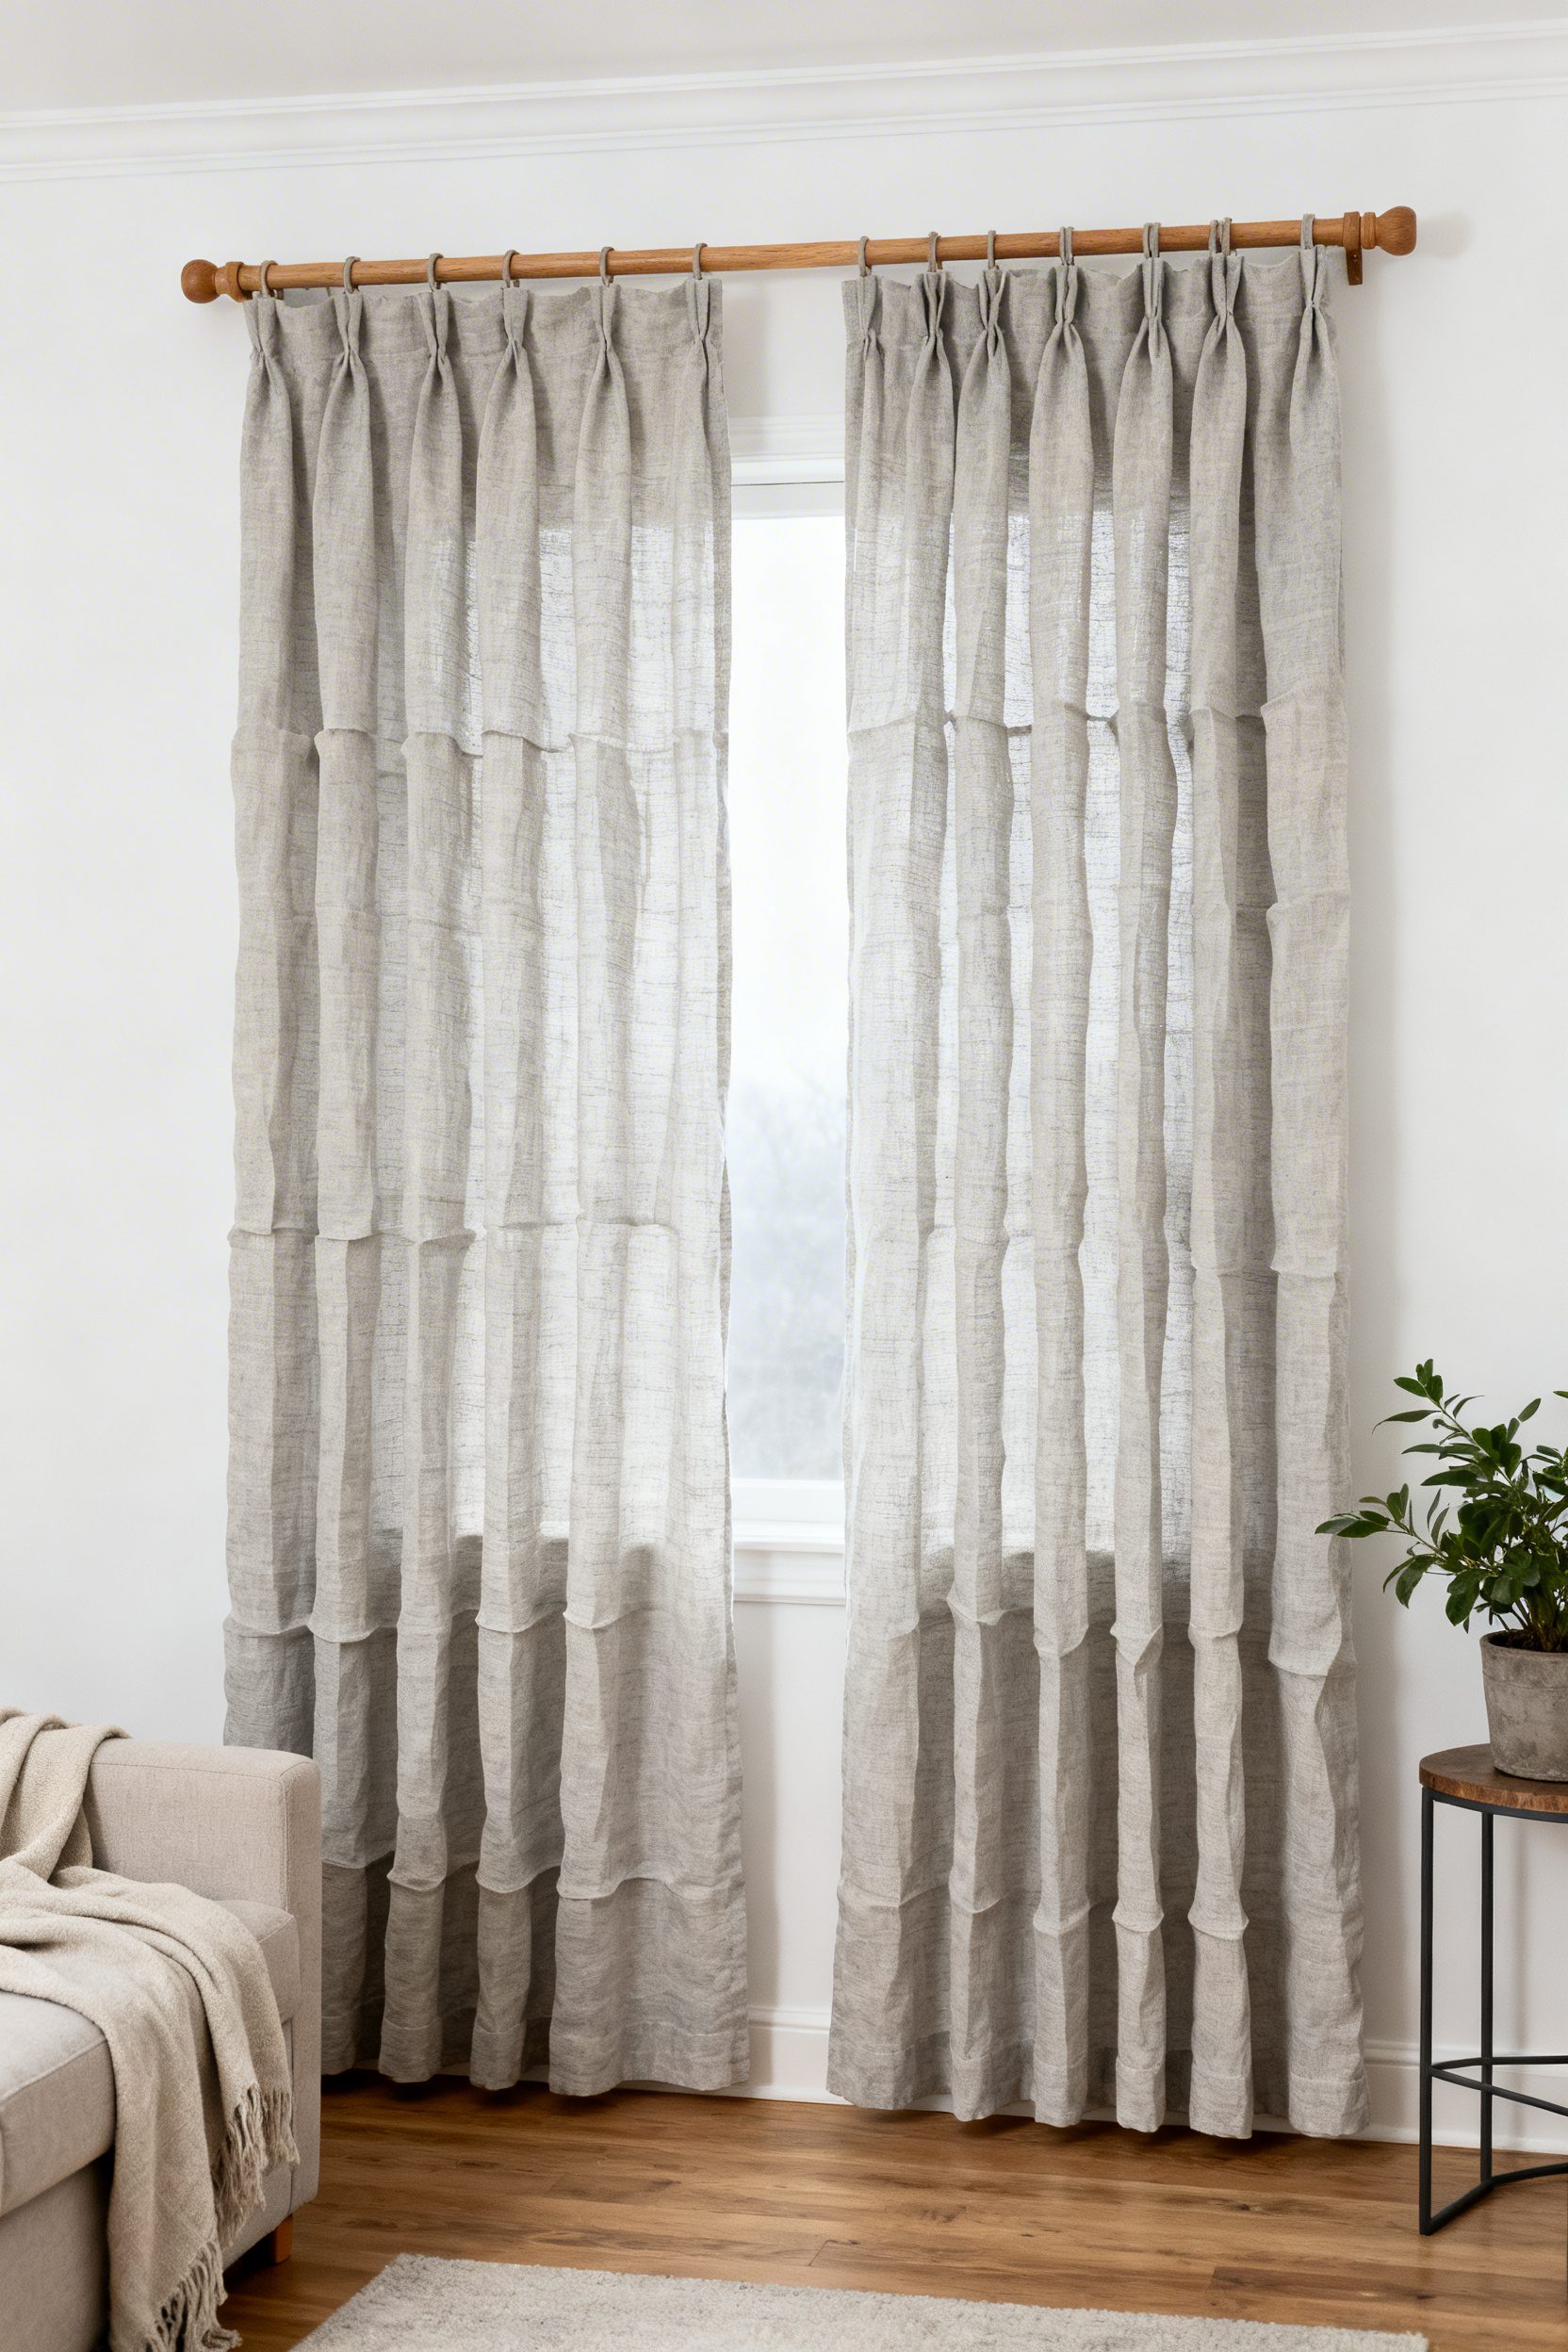
2. Swap In Pleated Linen Drapes
- Effort Level: Afternoon install.
- Estimated Budget: 100-500.
- Maintenance Level: Low (light steam).
- Best For: Light-starved rooms, rentals.
Hang the rod 6 to 8 inches above the window and extend 8 to 12 inches past each side to widen the view and lift the ceiling line. Choose unlined or privacy-lined 100 percent linen with double or triple pinch pleats for a tailored fall and a soft, timeless texture favored by designers for 2026.
Order panels at 2 to 2.5 times your window width so pleats read full, not skimpy. Skip grommets, they skew casual, and use ring clips for easy rental-friendly swaps without rehanging headers.
Keep tones neutral, like oyster or flax, then echo the fabric’s warmth in a nearby lampshade or throw. If your windows sit in a small footprint, pair with pared-back furniture and study Minimalist Desk Setups for balanced scale.
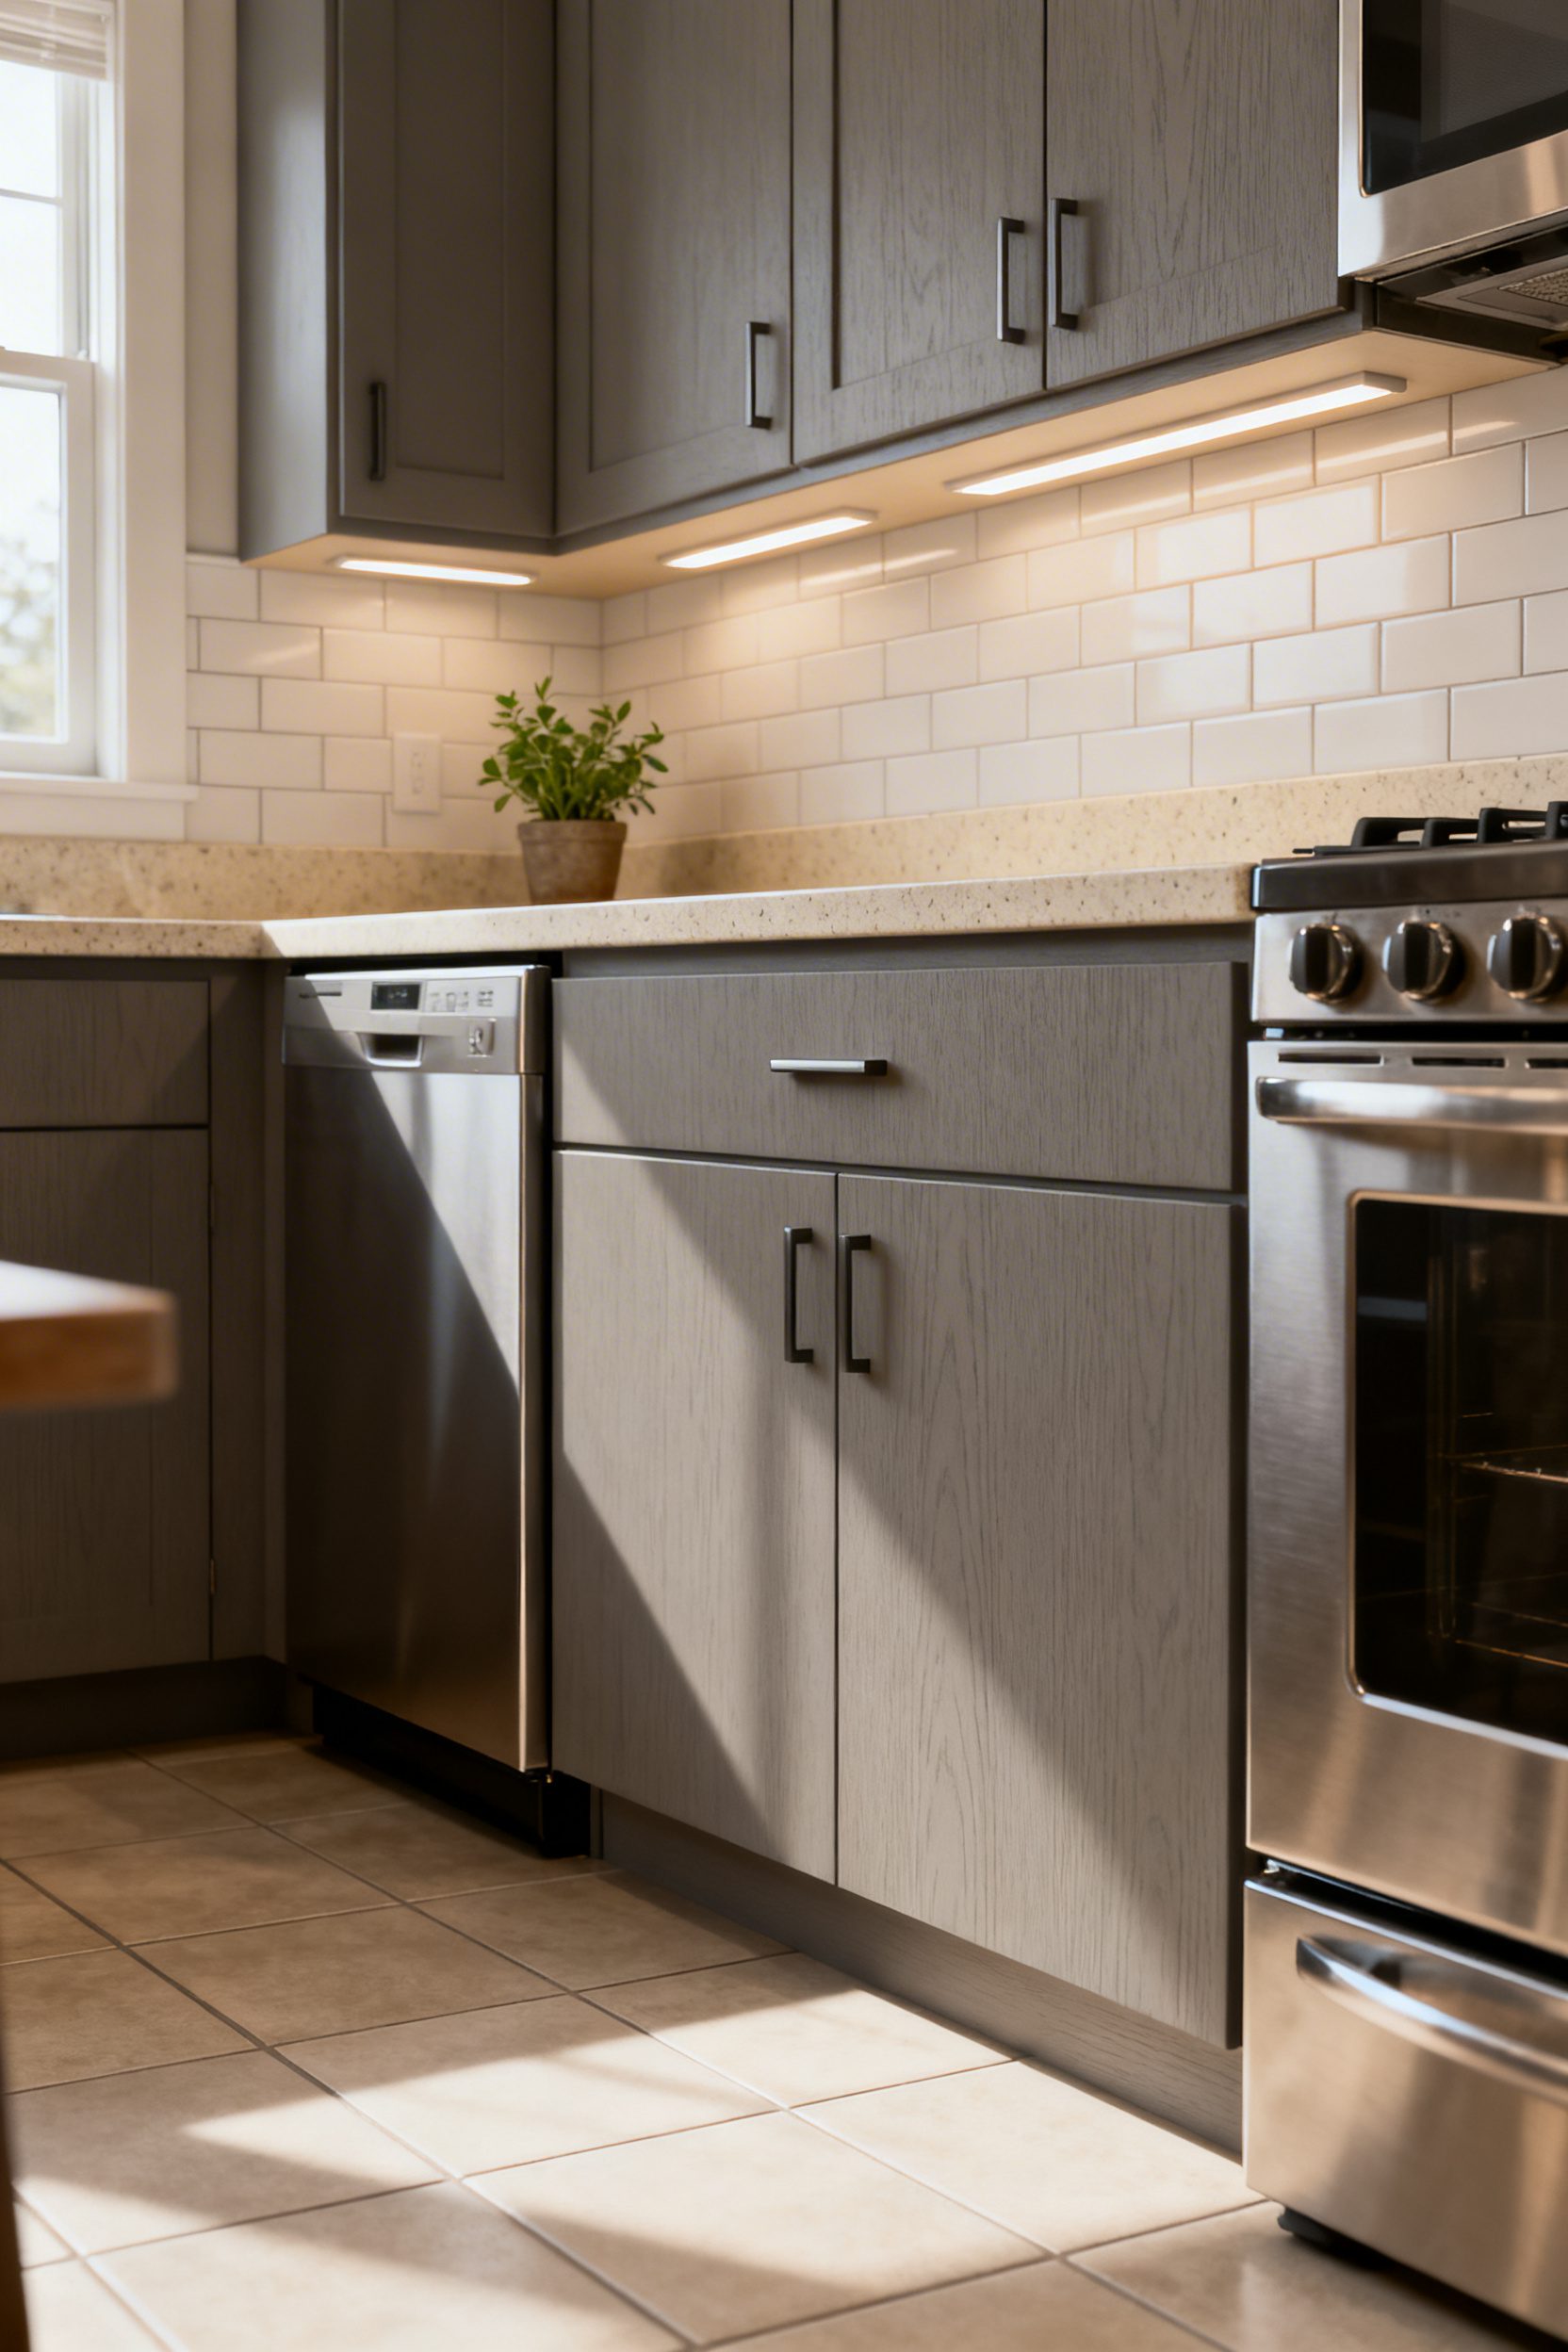
3. Refresh Hardware in Aged Brass
- Effort Level: One-hour update.
- Estimated Budget: Under 100.
- Maintenance Level: Low (gentle wipe).
- Best For: Kitchens, baths, entry doors.
Swap standard chrome pulls for aged or unlacquered brass to add depth and warmth that patinas naturally, a move aligned with enduring trends noted by design editors at Vogue. Match center-to-center measurements to avoid drilling new holes, or cover old holes with longer backplates for a clean retrofit.
Choose simple bar pulls or classic mushroom knobs, keeping finishes consistent across doors and drawers for cohesion. On painted cabinets, space pulls 2 inches from the top edge of doors and center knobs 2.5 inches from the corner for a designer-level look without guesswork.
Carry the finish to hinges and a statement entry set so touchpoints feel intentional throughout the home. If your exterior leans modern rustic, reference the material contrast seen in a Black And White Farmhouse Exterior to guide your brass tone toward warmer, lived-in hues.
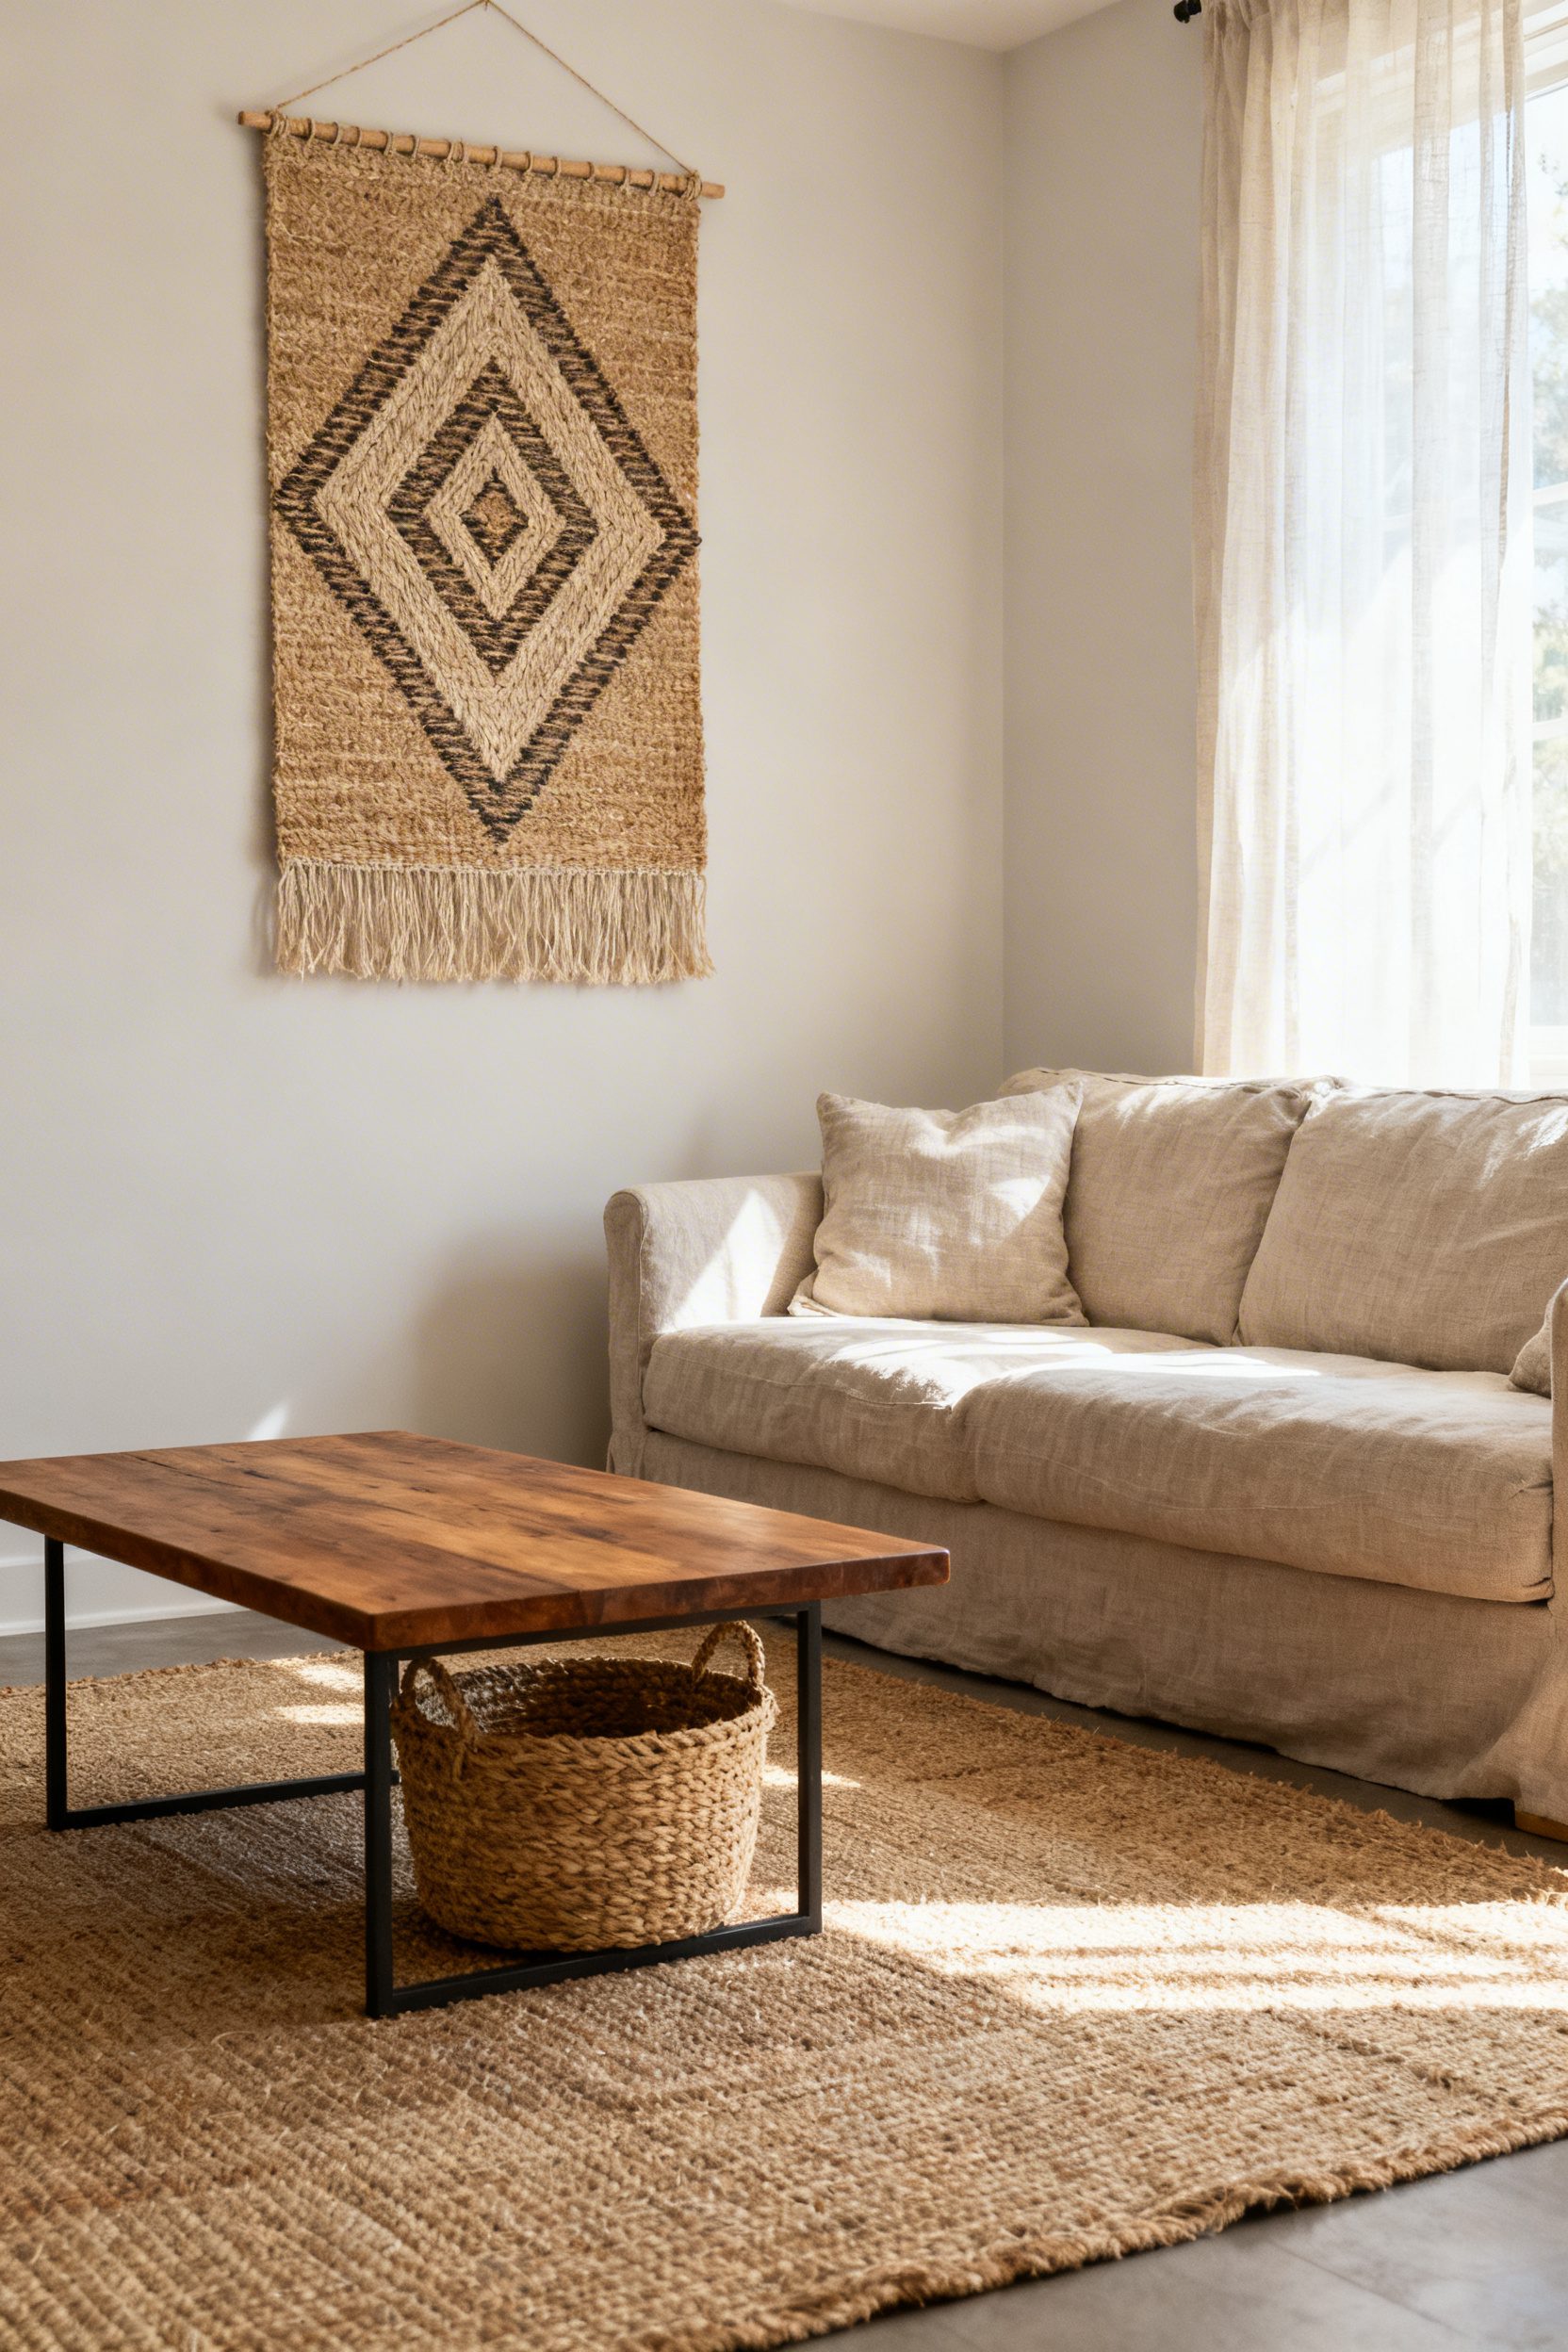
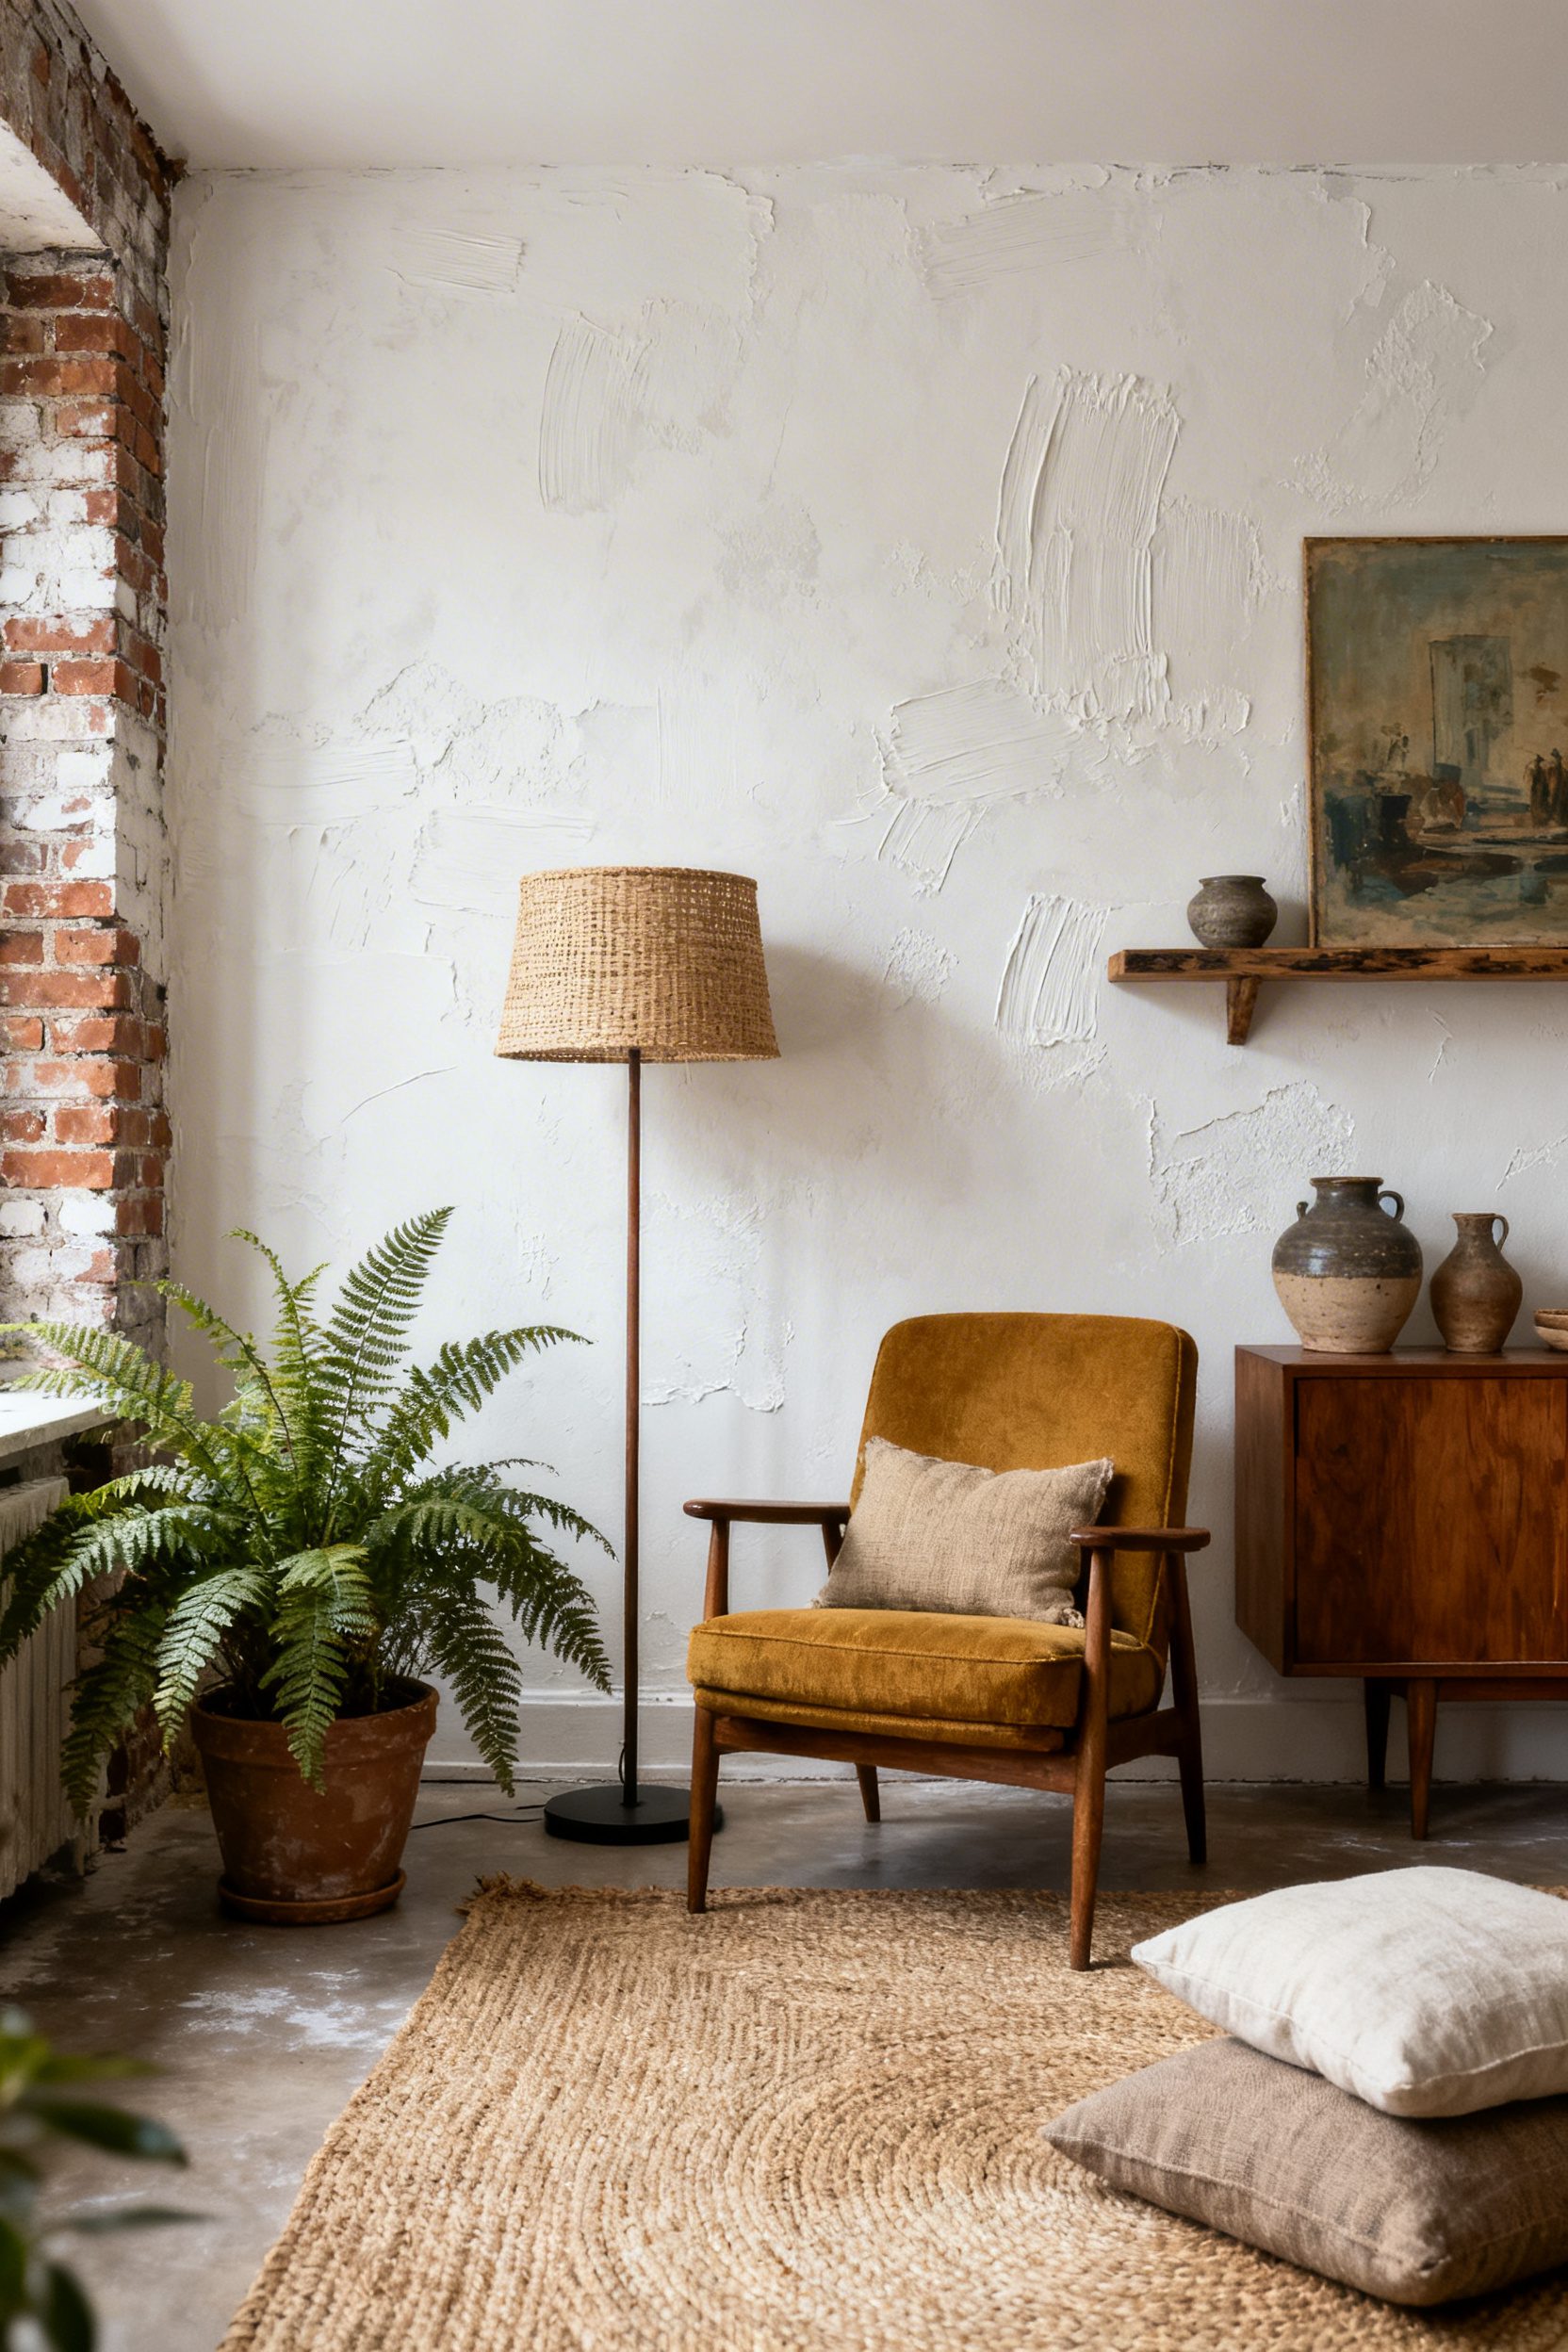
4. Layer Natural Jute and Sisal
- Effort Level: Afternoon refresh.
- Estimated Budget: 100-500.
- Maintenance Level: Low (regular vacuuming).
- Best For: High-traffic living rooms.
Anchor a room with a chunky jute rug, then float a tighter weave sisal or smaller vintage mat on top for texture and definition. Keep the underlayer at least 8 to 12 inches visible around the top rug, which frames seating and reads intentionally layered, not messy.
Choose jute for softness underfoot and sisal for crisp structure, especially under a coffee table. If your palette skews earthy or coastal, echo the tone with a few frayed-edge linen pillows or a ceramic lamp so the layering feels cohesive.
Skip thick pads under both layers; one felt pad is enough to prevent ripples. For small apartments, a 6×9 jute with a 4×6 patterned topper quickly zones a living area without changing any furniture, a trick that also plays nicely with relaxed elements like pampas grass.
5. Reface Cabinets with Slab Fronts
- Effort Level: Weekend DIY.
- Estimated Budget: 500+.
- Maintenance Level: Medium (wipe prints, align hardware).
- Best For: Dated galley kitchens.
Swap raised-panel doors for flat slab fronts in prefinished maple veneer or painted MDF for a crisp, modern profile. Order doors drilled to your hinge specs, then upgrade to discreet edge pulls or 5-inch bar pulls set 2 inches from the corner for clean lines.
Real-talk warning, I made the mistake of not labeling hinges by cabinet box when I refaced my own kitchen, and my doors sat 3 millimeters proud. Tape-label each hinge pair, and shim with playing cards during installation to hold a perfect 2 to 3 millimeter reveal.
Finish the refacing with a color that hides wear, mid-tone greige, or warm putty, which reads elevated and is more forgiving than optic white. If you are planning a compact footprint, borrow proportion cues from efficient tiny home plans to keep hardware minimal and lines uninterrupted.
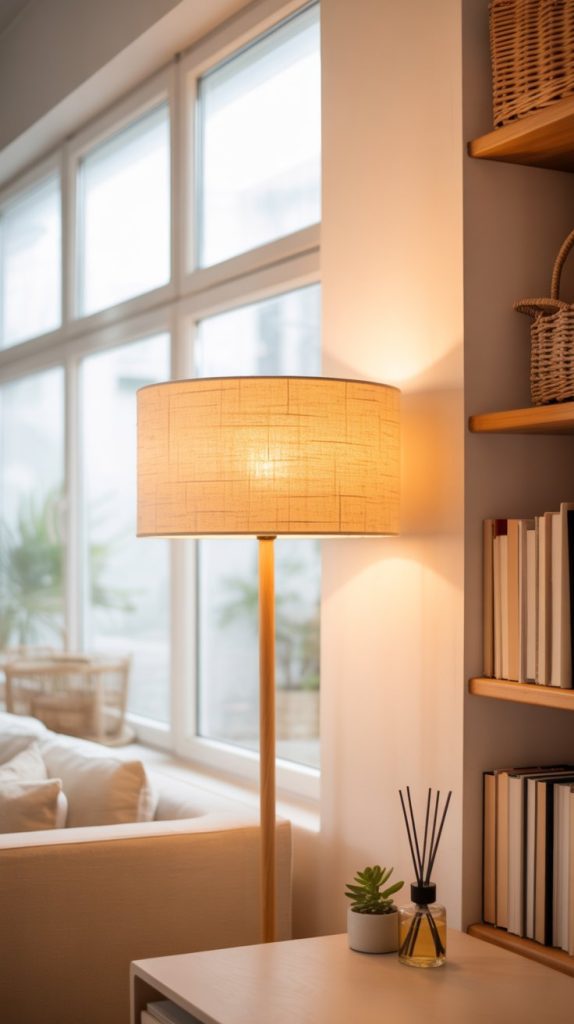
6. Update Lighting with Linen Shades
- Effort Level: One-hour swap.
- Estimated Budget: 100-500.
- Maintenance Level: Low (requires dusting).
- Best For: Rentals and living rooms.
Replace yellowed or glossy drum shades with natural linen; the open weave diffuses light for softer walls and truer color rendering. Aim for a shade diameter that is roughly 1.5 to 2 times the lamp base width, and keep the shade bottom at eye level when seated to avoid glare.
Choose warm 2700K LED bulbs for evening and 3000K for work zones, which aligns with current designer guidance on layered, human-scale lighting, as noted by Vogue. For a collected look, coordinate the linen tone with nearby textiles, then echo the texture outdoors with pared-back balcony decor so your lighting story feels continuous from inside to out.
7. Limewash for Textured, Timeless Walls
- Effort Level: Weekend DIY.
- Estimated Budget: Under 100.
- Maintenance Level: Low (requires occasional touch-ups).
- Best For: Living rooms and bedrooms.
Limewash softens harsh drywall with cloudlike movement, giving even builder beige depth. Use a mineral limewash and a wide masonry brush, then crosshatch your strokes in thin coats to avoid lap lines.
Choose a warm greige or clay tint that complements existing floors, not a stark white that can read chalky. Test two shades on poster board, view in daylight and evening, and stop at two to three coats for a breathable, velvety finish.
Skip heavy primers, but do a matte base coat on previously glossy walls so the lime binds evenly. For renters, limewash over removable primer-sealer can ease future repainting, keeping patchwork minimal.
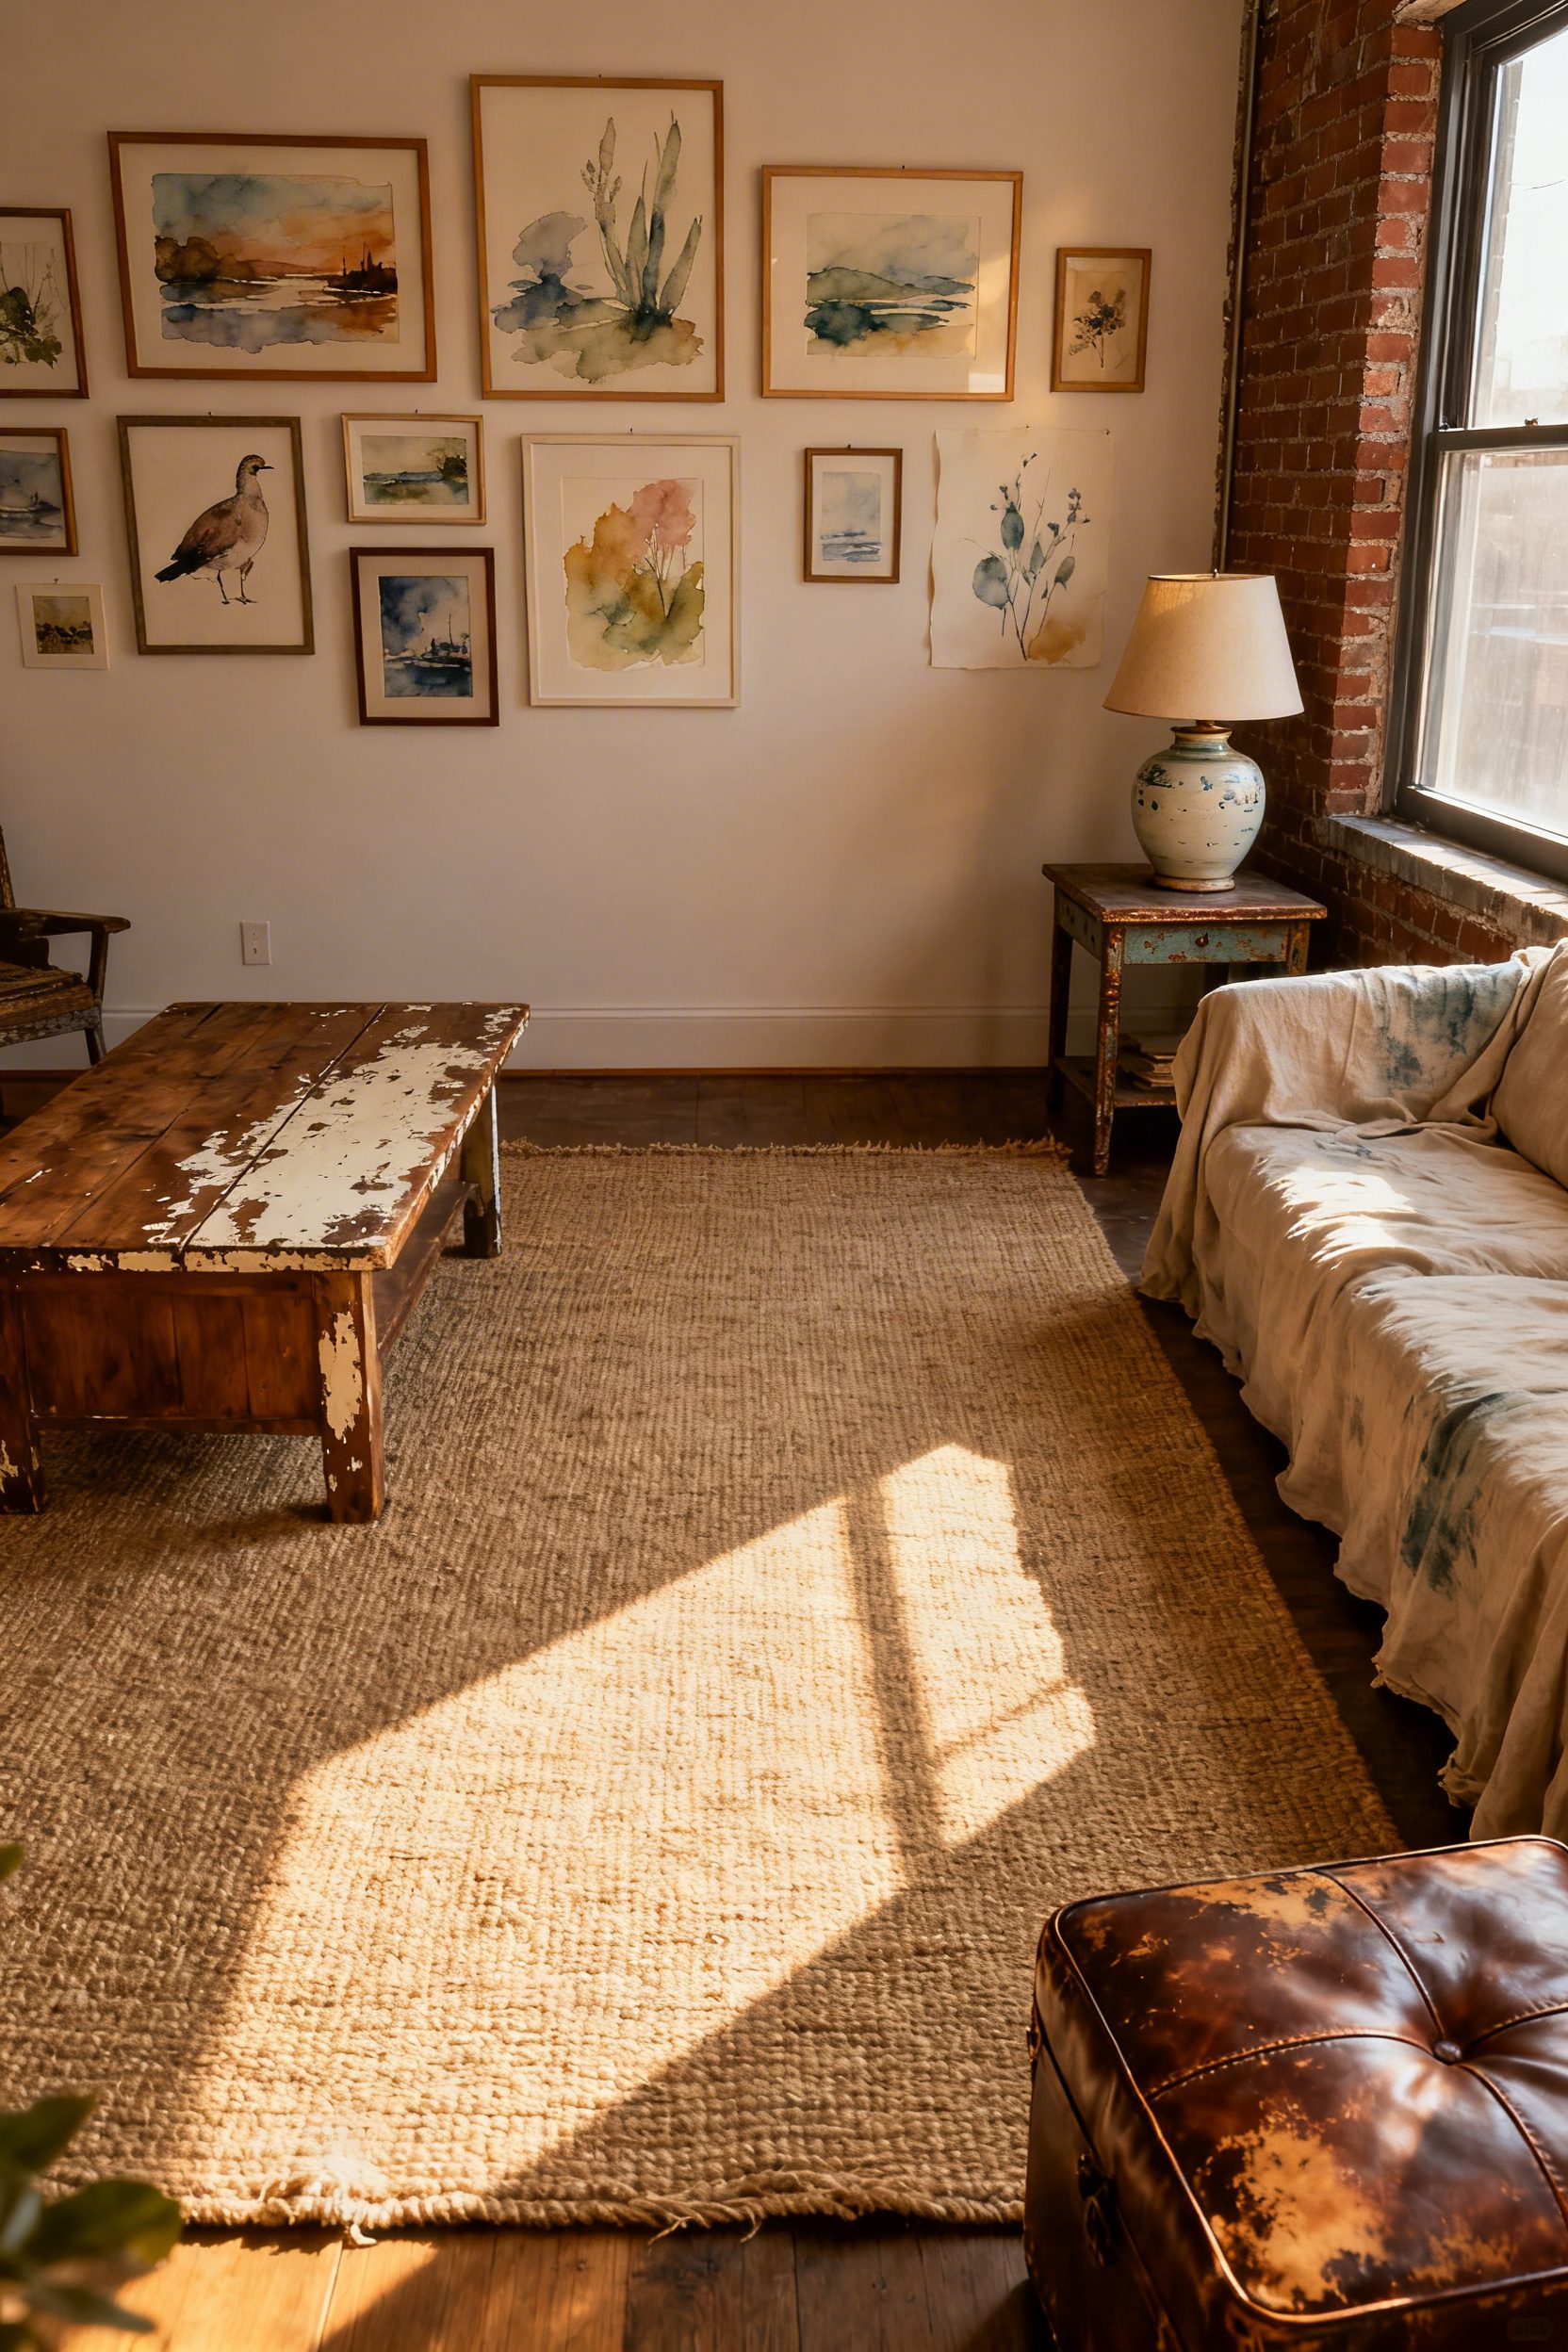
8. Curate Art with Oversized Mats
- Effort Level: Easy afternoon.
- Estimated Budget: Under 100.
- Maintenance Level: Low (requires dusting).
- Best For: Renters and small spaces.
Thrift simple frames, then elevate modest prints with 3 to 4 inch mats, or go bolder at 5 inches for petite art. The negative space makes pieces feel gallery-worthy and visually expands narrow halls.
Center the art opening at eye level, about 57 inches to the midpoint, and keep a consistent mat margin across a series. If you DIY, use acid-free pre-cut mats and swap the stock plexi for real glass only on pieces that will not face direct sun, per conservation guidelines from the design trade.
Mix botanical studies with soft textures nearby to build cohesion, such as a vase of plumes that echoes the palette in your piece, and explore Pampas Grass Bedroom Decor for tonal layering.
If your layout skews compact, map your frames with painter’s tape first, a trick that pairs well with smart Minimalist Desk Setups around work nooks.
If you want another practical angle, read 12 Solar Bird Bath Fountain Ideas Running Without Electricity.
FAQ
Yes, limewash can sit beautifully on light orange peel, adding depth without highlighting every bump. If the texture is heavy, skim coat high spots or choose a mineral paint with similar movement for a more forgiving base.
For prints around 5 by 7 inches, a 3 to 4 inch mat border feels intentional, while 8 by 10 inch art can handle 4 to 5 inches. Keep the frame proportion slim, about 0.5 to 0.75 inches, so the mat remains the star.
Limewash is breathable and matte, so repainting over it with a quality primer, then a standard latex topcoat, is straightforward. Spot sand any rough patches first to even the surface.
Use narrow head nails or high-quality removable hooks rated for the frame weight, and place two per frame to prevent shifting. Map spacing at 2 inches between frames for cohesion and to keep midpoints aligned at 57 inches.