


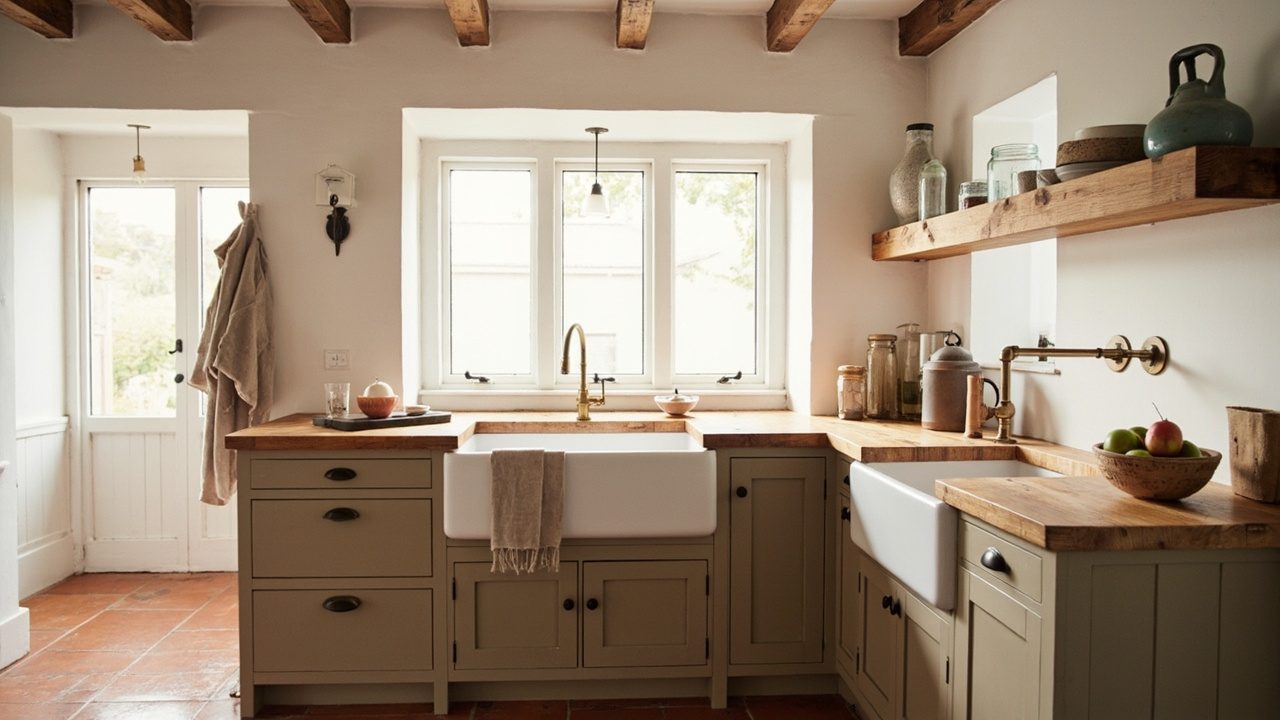
If you love an unfussy cook space with breathing room, a farmhouse kitchen no upper cabinets can feel instantly calmer. The trick is balancing open wall space with hardworking storage and texture.
As a rule, ground the room with sturdy lower cabinets, then layer materials that age well. Also, skip trends that read sterile, because a farmhouse kitchen thrives on grain, patina, and lived-in ease. For more palette and layout context, browse Farmhouse Kitchen, and if you plan an island-heavy layout, peek at Farmhouse Kitchen Island Ideas.
- 1. Matte lower cabinets, oak tones
- 2. Farmhouse kitchen no uppers, full backsplash
- 3. Butcher block counters, eased edges
- 4. Open peg rails over ranges
- 5. Wall-to-wall plate racks installed
- 6. Deep drawers replace uppers
- 7. Creamy beadboard backsplash walls
- 8. Mixed metal hooks and rails
- 9. Antique copper sconces for tasking
- 10. Stone shelf ledge as “upper”
- 11. Vintage art and crockery display
- FAQ
1. Matte lower cabinets, oak tones
- Effort Level: Weekend DIY.
- Estimated Budget: 500+.
- Maintenance Level: Low (wipe with mild soap).
- Best For: Busy family kitchens.
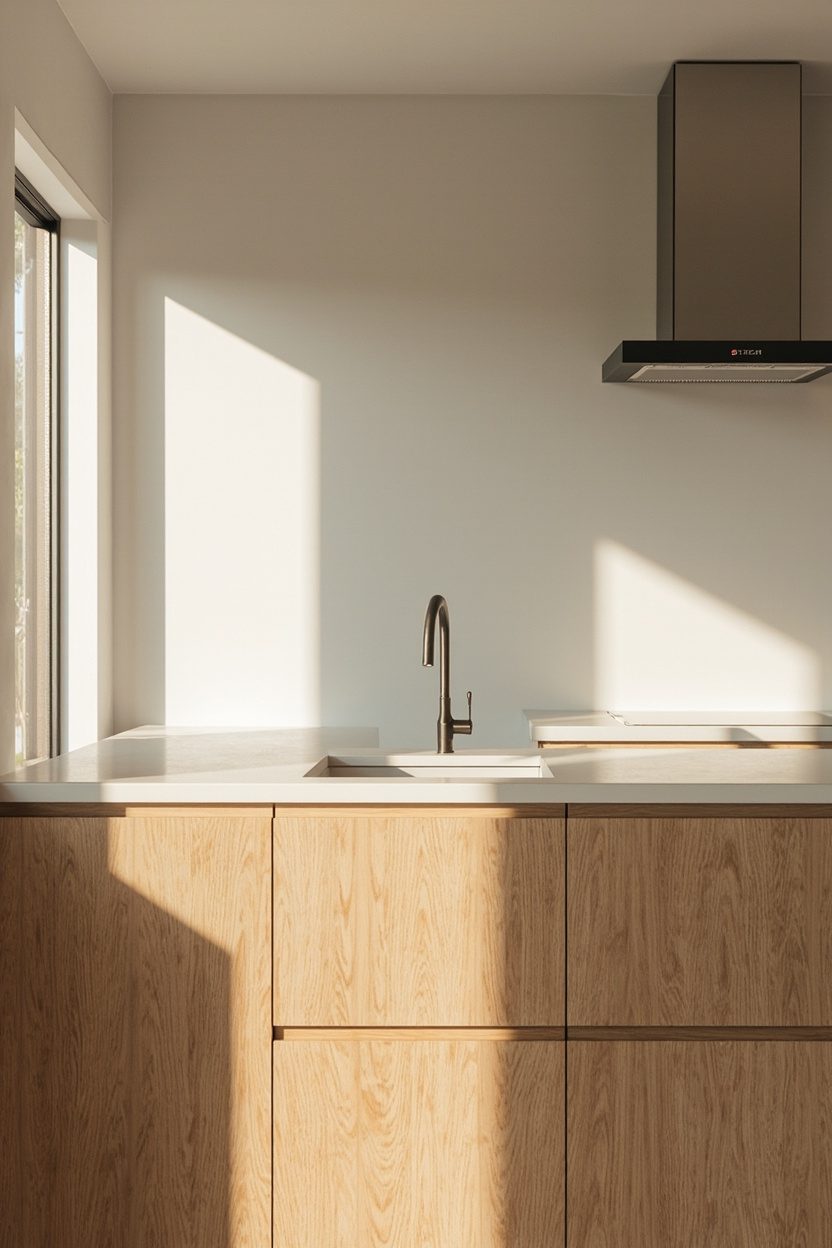
Choose a low-sheen enamel in clay gray or inky navy, then pair with rift-sawn white oak trim or toe-kicks for warmth. Matte hides fingerprints better than gloss.
Keep hardware simple: 5 to 6 inch aged brass pulls feel proportional on 24 inch drawers. However, avoid thin knobs on heavy pans drawers, they twist under load.
If you need contrast, add a white oak stool or bread board, not more paint. For color flow with no uppers, match the cabinet toe-kick to the floor tone.
2. Farmhouse kitchen no uppers, full backsplash
- Effort Level: Pro install recommended.
- Estimated Budget: 500+.
- Maintenance Level: Medium (grout or slab care).
- Best For: Compact kitchens needing height.
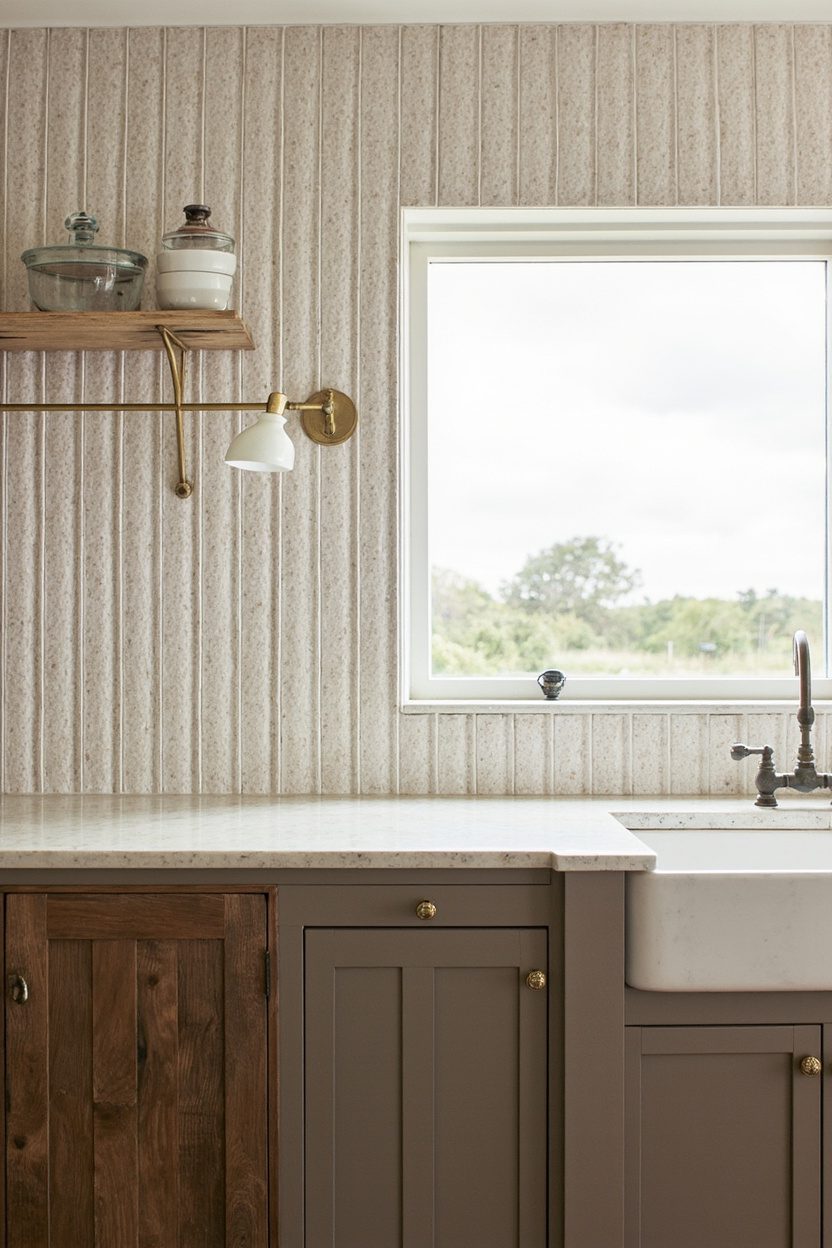
Run tile or a stone slab to the ceiling so the empty wall reads intentional. A 2 by 8 handmade tile adds ripple and soft light, which keeps it cozy.
Cap the top with a skinny ledge, 3/4 inch thick, for spices and art. Because steam travels, seal grout with a penetrating sealer yearly. Farmhouse Kitchen Backsplash has pattern ideas that suit rustic spaces.
Avoid busy counters if your backsplash has texture. Instead, choose a honed quartz or soapstone look so the wall remains the star. For trend context, Decorilla notes texture-forward surfaces winning over flat finishes.
3. Butcher block counters, eased edges
- Effort Level: Weekend DIY.
- Estimated Budget: 100-500.
- Maintenance Level: Medium (oil monthly).
- Best For: Bakers and meal-prep fans.
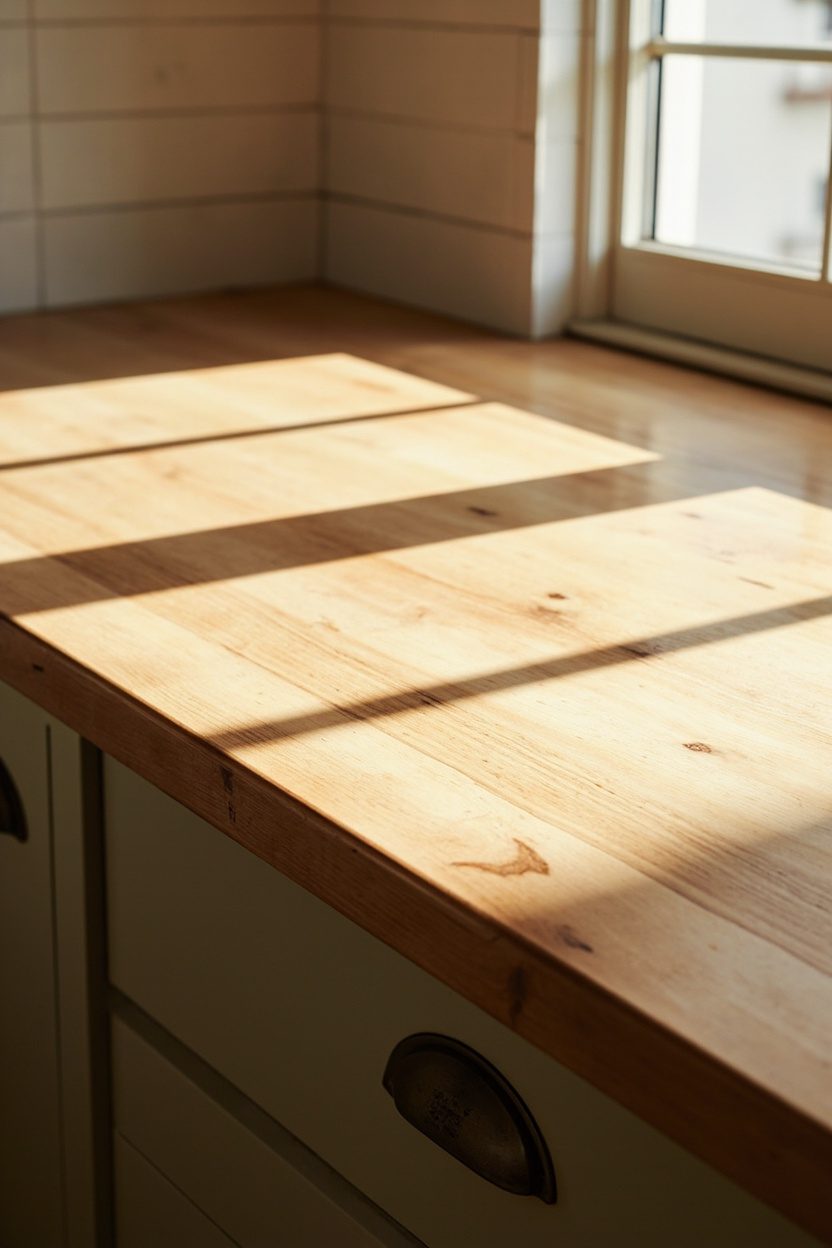
Pick maple or oak in edge grain for durability, then ease the edge with a 1/8 inch roundover. Sharp square edges chip quickly during daily prep.
Oil with food-safe mineral oil the first week daily, then weekly for a month, and monthly after. Also, place heat at least 6 inches from any end grain seams.
Keep seams away from the sink by at least 12 inches, or water will creep. If you cook messy, consider a sealed slab by the range and butcher block on the island for balance.
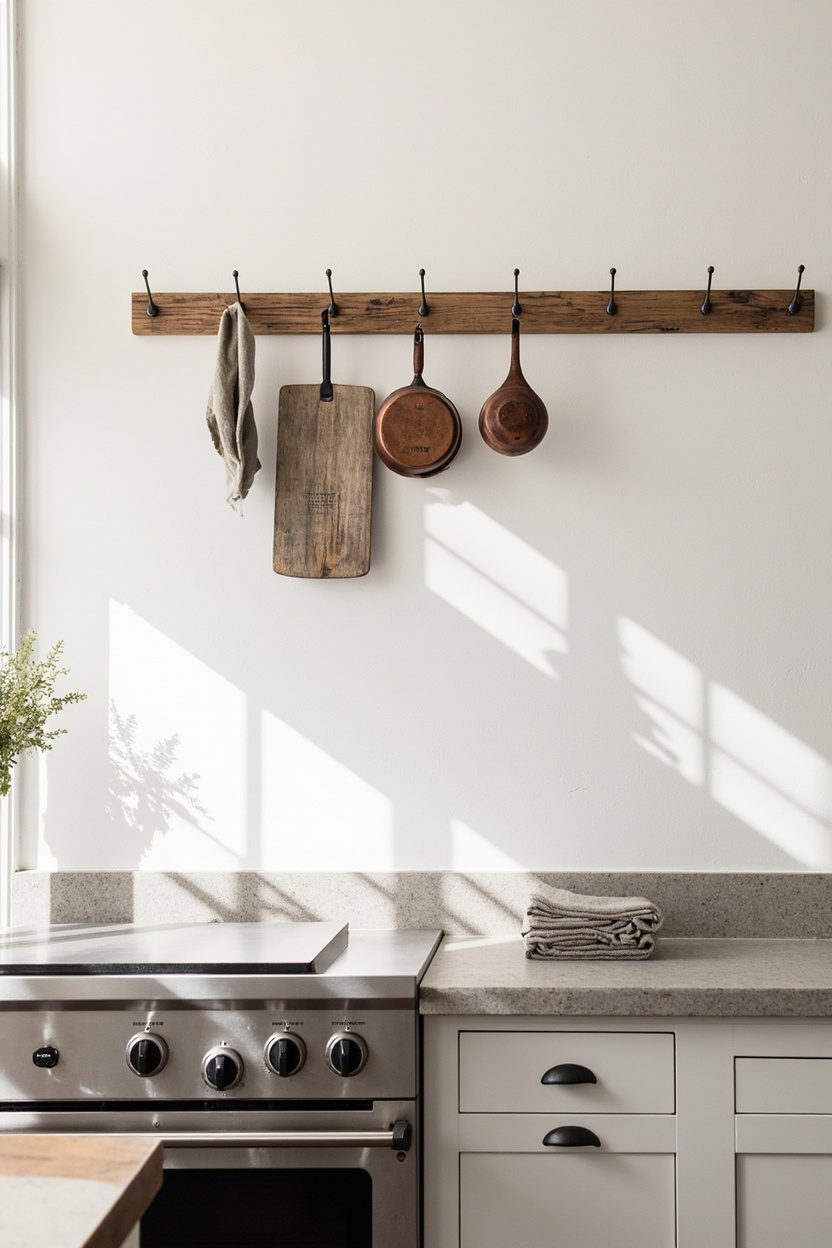
4. Open peg rails over ranges
- Effort Level: Weekend DIY.
- Estimated Budget: 100-500.
- Maintenance Level: Medium (wipe grease and dust).
- Best For: Small kitchens.
In a farmhouse kitchen no upper cabinets setup, a sturdy peg rail above the range keeps ladles, strainers, and aprons within reach. Use maple or oak with a heat resistant finish, and mount 12 to 16 inches above the backsplash.
Space hooks 4 inches apart, then reserve the first two for daily-use tools to avoid clutter creep. Because steam rises, choose metal S-hooks and washables like copper or stainless.
Pair the rail with a slab or handmade tile backsplash for easy wipe downs, and keep the display tight. For layered texture ideas, peek at Farmhouse Kitchen Backsplash.
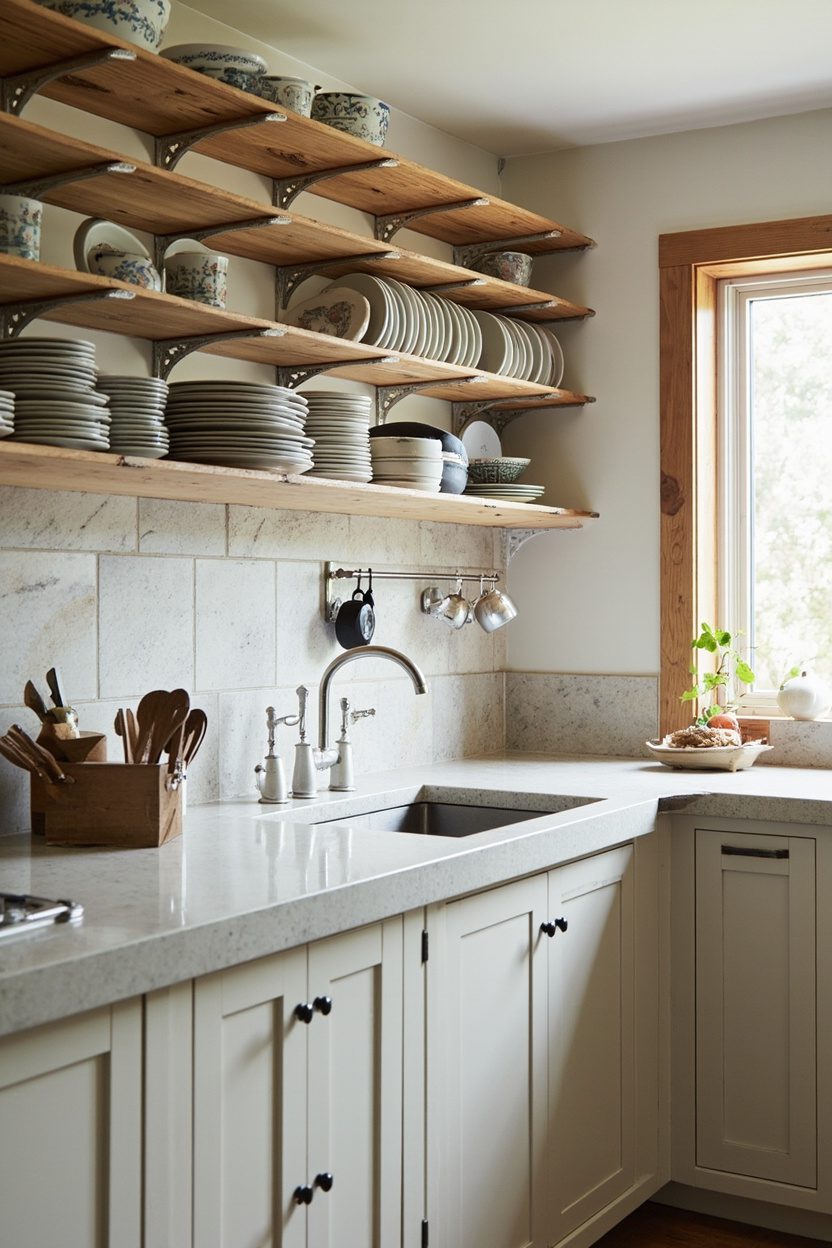
5. Wall-to-wall plate racks installed
- Effort Level: Pro install or advanced DIY.
- Estimated Budget: 500+.
- Maintenance Level: Medium (regular dusting).
- Best For: Long blank walls.
Plate racks read classic farmhouse, and they solve the farmhouse kitchen no upper cabinets conundrum with shallow, airy storage. Aim for 4.5 to 6 inches deep, with dowels spaced so dinner plates sit at a 10 to 15 degree tilt.
When I built mine, I skipped a center support on an eight-foot span, and the bottom rail bowed. Add vertical dividers every 36 inches, and use hardwood rails to handle weight.
Paint the rack the wall color so dishes pop, or match trim for a built-in look. For color direction, browse White Farmhouse Kitchen and mix in tonal stoneware to avoid a flat wall of white, which trend watchers warn about in 2026 kitchens at RTA Cabinet Store.
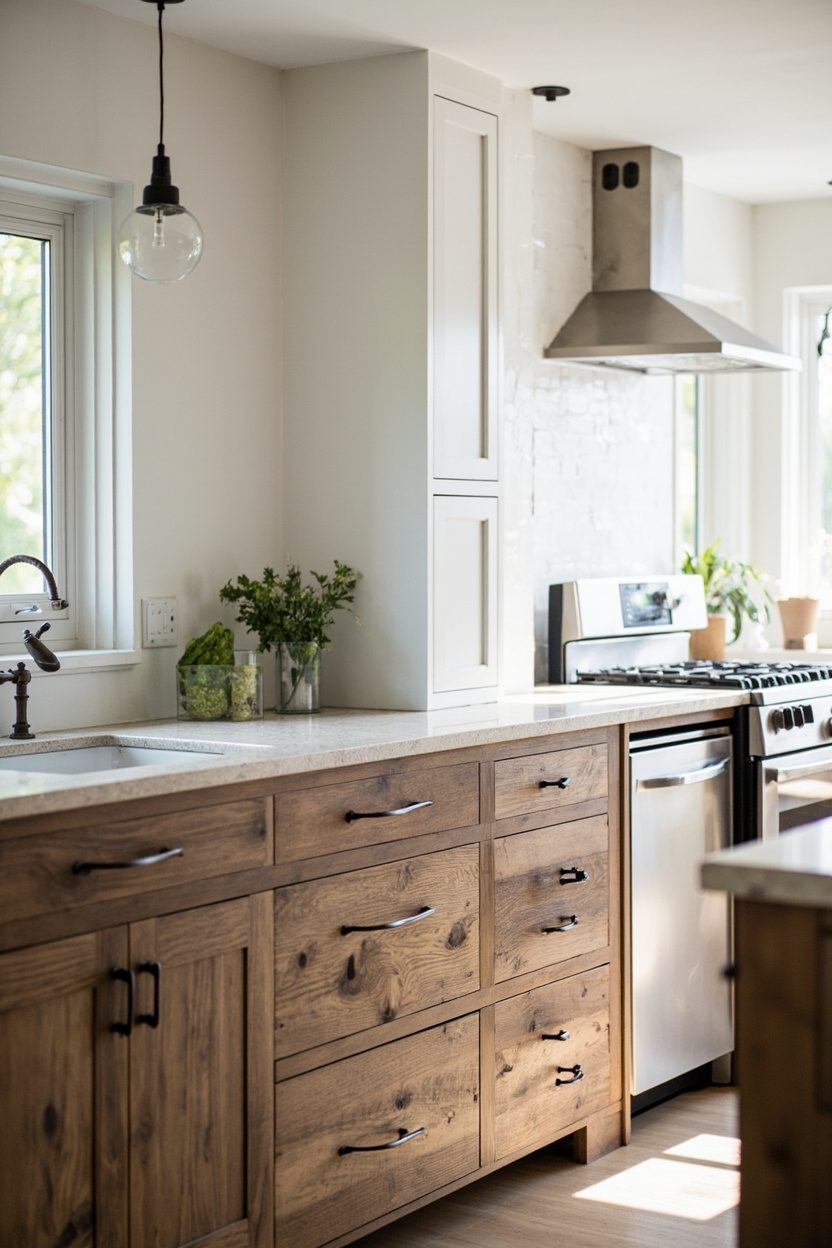
6. Deep drawers replace uppers
- Effort Level: Pro install.
- Estimated Budget: 500+.
- Maintenance Level: Low (wipe liners).
- Best For: Busy cooks.
Swap visual bulk up top for 18 to 24 inch deep base drawers, which make a farmhouse kitchen no upper cabinets layout feel calm. Use full-extension, soft-close slides rated 100 pounds, and add peg systems to lock stacks of bowls and plates.
Keep heavy daily dishes in the top drawer of a stack beside the dishwasher to shorten unload time. Also, line drawers with thin cork or rubber so stoneware does not slide every time you pull.
If you want a companion focal point, a roomy island with drawers earns its keep. Ideas sit here: Farmhouse Kitchen Island Ideas, plus material mixing tips live at Farmhouse Kitchen.
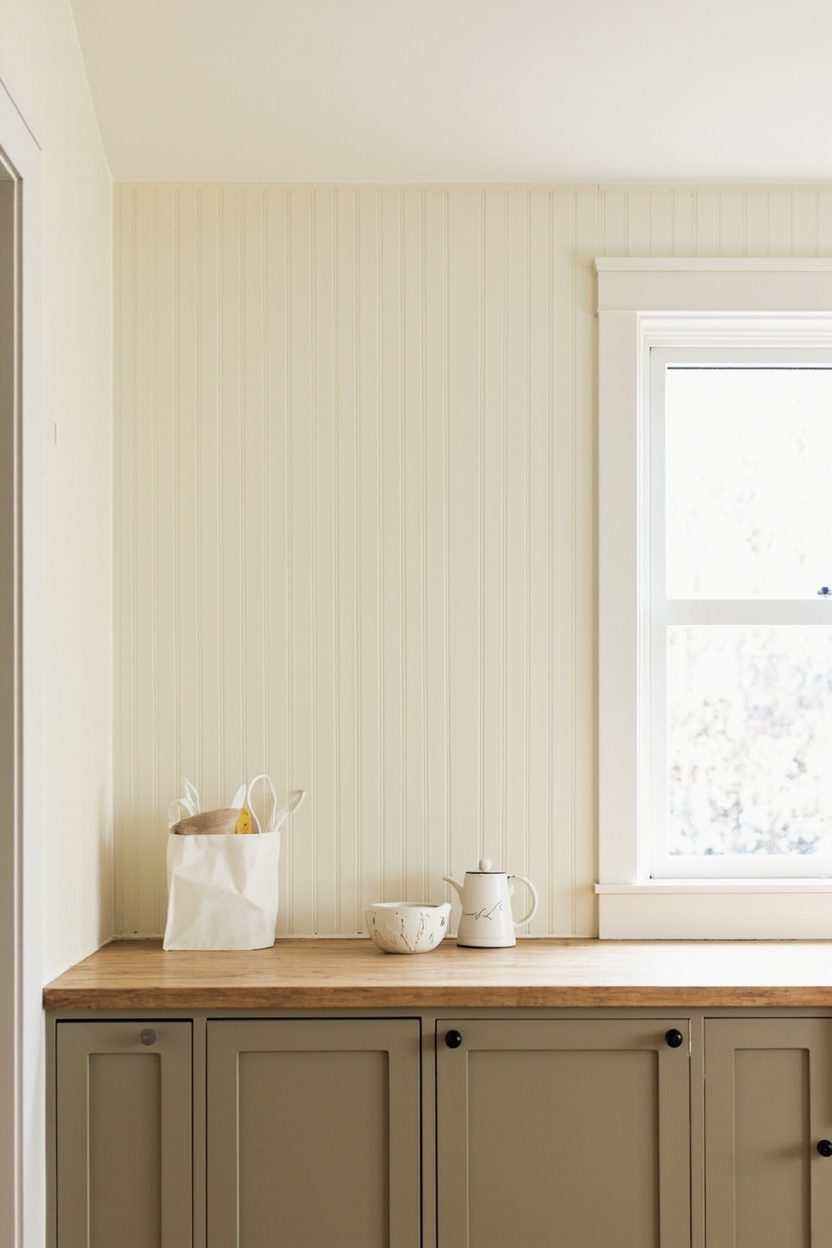
7. Creamy beadboard backsplash walls
- Effort Level: Weekend DIY.
- Estimated Budget: 100-500.
- Maintenance Level: Low (requires wiping).
- Best For: Renters.
Creamy beadboard feels right at home in a farmhouse kitchen no upper cabinets, because it adds texture where storage is missing. Run panels up to 48 inches, then cap with a simple 1×2 rail for a finished edge.
Use semi-gloss paint in warm ivory so splatters wipe clean, yet still read soft. Also, align seams above the countertop outlet line to hide transitions behind plates.
If you cook often, add a tile splash just behind the range, then return to beadboard on either side. It keeps costs in check while protecting the mess zone, and pairs well with ideas in Farmhouse Kitchen Backsplash.
8. Mixed metal hooks and rails
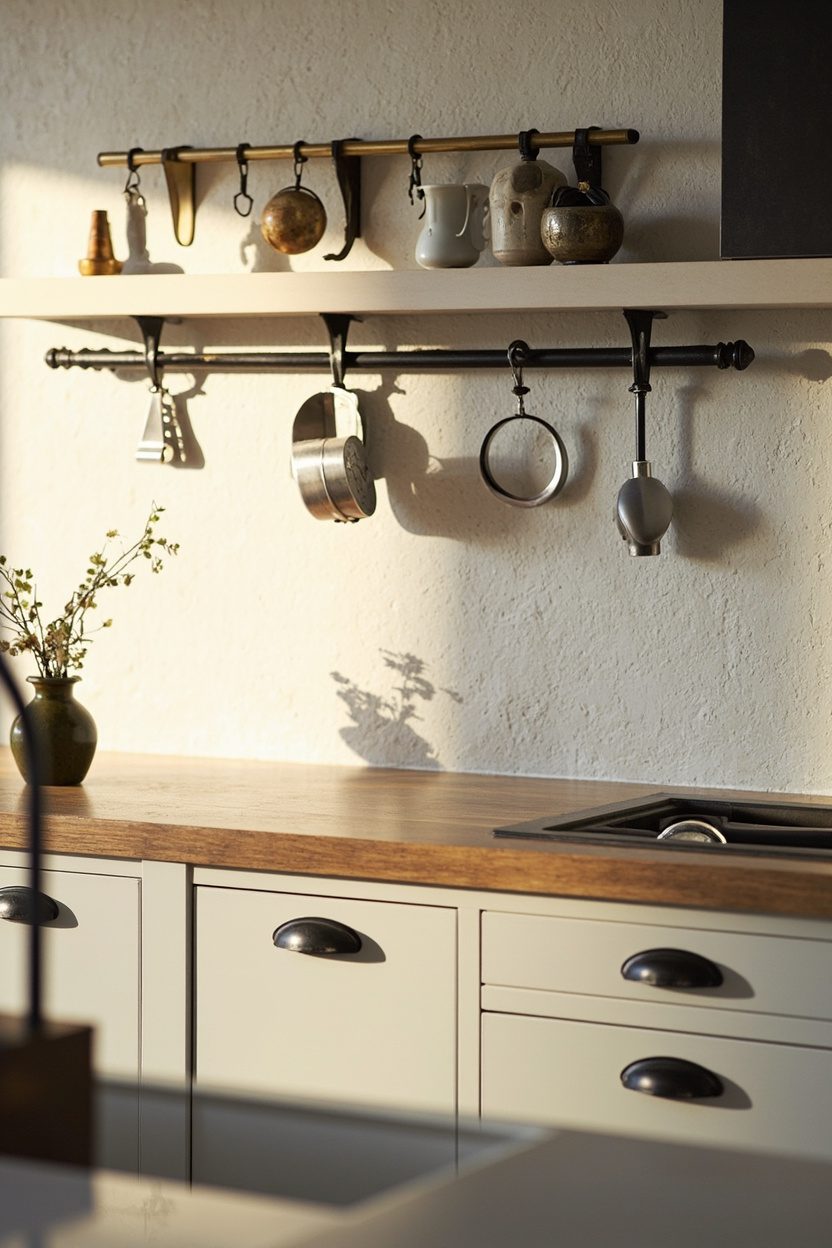
- Effort Level: Weekend DIY.
- Estimated Budget: Under 100.
- Maintenance Level: Low (requires dusting).
- Best For: Small kitchens.
When uppers are gone, a tidy rail system keeps daily tools close. Mix black iron rails with unlacquered brass S-hooks for depth, because contrast reads collected, not matchy.
Mount rails 16 to 18 inches above the counter to clear kettles and cutting boards. Then anchor into studs or use proper wall anchors, since weight creeps up fast with cast pans.
Limit the display to pretty workhorses, like wooden spoons and copper ladles, and stash the rest. For more balance in a farmhouse kitchen no upper cabinets, echo the brass on an island pendant, as in Farmhouse Kitchen Island Ideas.
9. Antique copper sconces for tasking
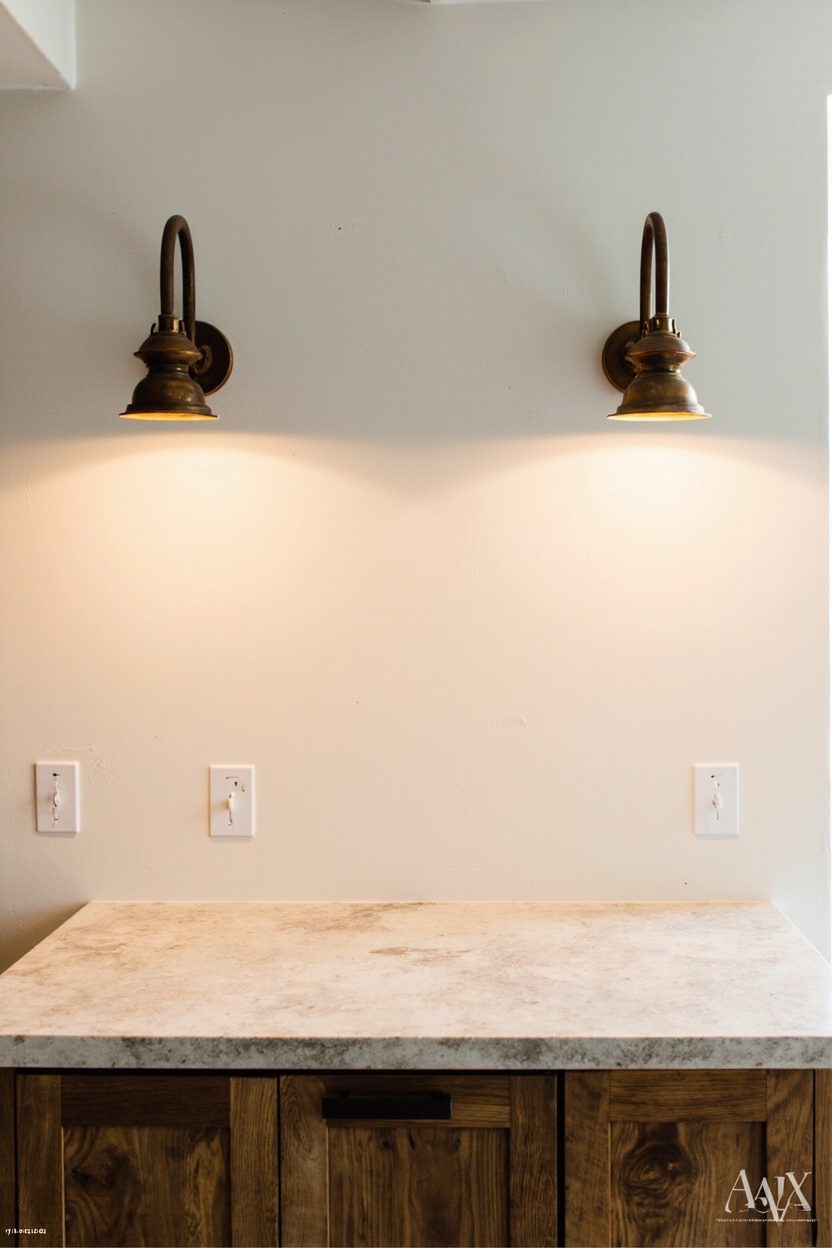
- Effort Level: Weekend DIY.
- Estimated Budget: 100-500.
- Maintenance Level: Low (occasional polishing).
- Best For: Open walls.
Without upper cabinets, lighting matters more. Hardwire a pair of copper sconces 66 to 70 inches off the floor, centered over prep zones, so shadows stay off the counter.
Choose hand-rubbed finishes that patina, because the warmth flatters creamy paints and wood. If you prefer low sheen, a light lacquer slows aging but keeps the glow.
Articulated arms help aim light toward the sink or board. And for layered texture that still feels current, borrow the trend notes on tactile finishes from Decorilla, then ground the palette with the neutrals in White Farmhouse Kitchen.
10. Stone shelf ledge as “upper”
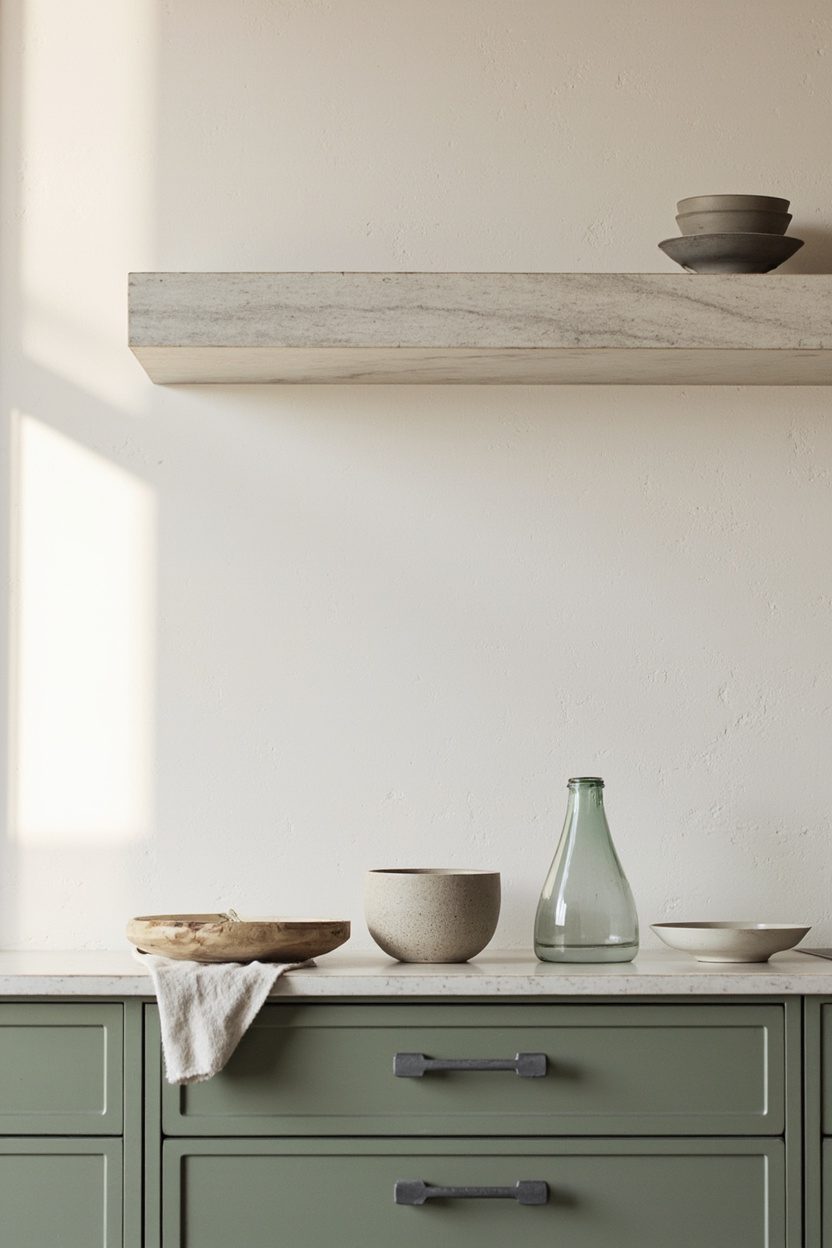
- Effort Level: Pro install or advanced DIY.
- Estimated Budget: 500+.
- Maintenance Level: Low (requires dusting).
- Best For: Busy cooks, splash zones.
In a farmhouse kitchen no upper cabinets, a shallow stone ledge runs like a quiet horizon above the backsplash. It holds oils, salt crocks, and a few favorite mugs without crowding the wall.
Match the ledge to your slab, or contrast it. A 3 to 5 inch depth feels practical, and continuous brackets every 16 inches keep it rock solid.
Seal porous stone to resist grease, especially near the range. For layout balance, stop the ledge 2 to 3 inches before window trim so it breathes.
11. Vintage art and crockery display
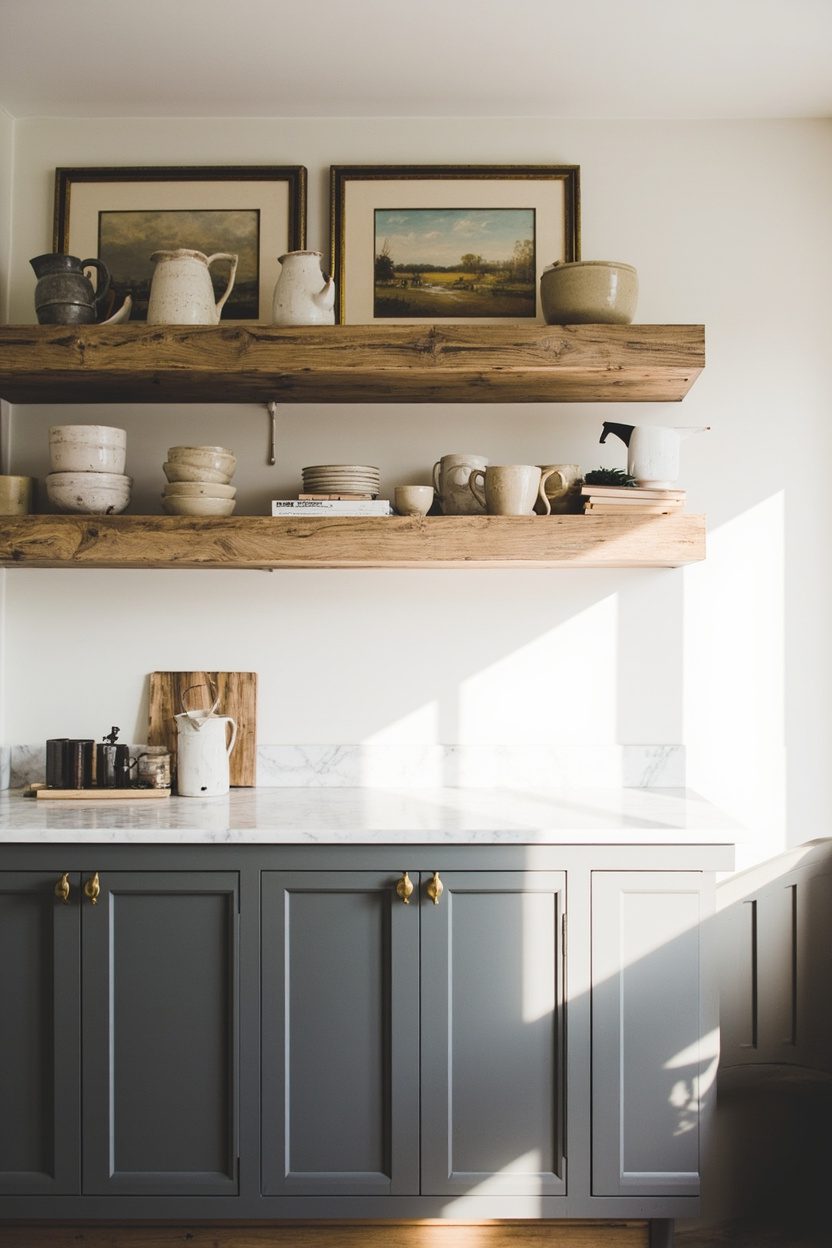
- Effort Level: Weekend DIY.
- Estimated Budget: Under 100.
- Maintenance Level: Low (requires dusting).
- Best For: Renters, small kitchens.
When you go farmhouse kitchen no upper cabinets, the walls want soul. Lean a few thrifted landscapes and hang a plate rail to rotate ironstone, mixing sizes for an easy rhythm.
Keep frames simple, wood or black, and avoid steam zones over the range. Group art at eye level, about 57 inches to center, so it reads as one story.
Swap pieces seasonally to keep it fresh. If you need more function, pair the art with a slim shaker peg rail for cups and towels.
FAQ
How high should a stone ledge sit without uppers?
Most kitchens feel balanced with the ledge at 18 to 22 inches above the counter, aligning with a typical backsplash height. If you have a taller range hood or window trim, adjust so the ledge clears those elements with 1 to 2 inches of visual breathing room.
Will open displays feel cluttered over time?
They can, but editing solves most of it. Limit each span to a few useful containers and one or two decorative pieces, then store backups in a base cabinet or island. Group similar tones, like cream ironstone or clear glass, to keep the wall calm.
What finishes hold up near the stove?
Sealed stone, glazed tile, and limewash with a protective topcoat handle splatter best. For shelving, choose sealed oak, maple, or stone, and place the heaviest oils and salts just outside the strongest heat plume.
Where do I make up storage without uppers?
Use deeper drawers for plates, a hardworking island with both drawers and shelves, and a tall pantry cabinet. Peg drawers for dishes and a vertical tray divider for sheets can replace entire runs of uppers in daily use.