


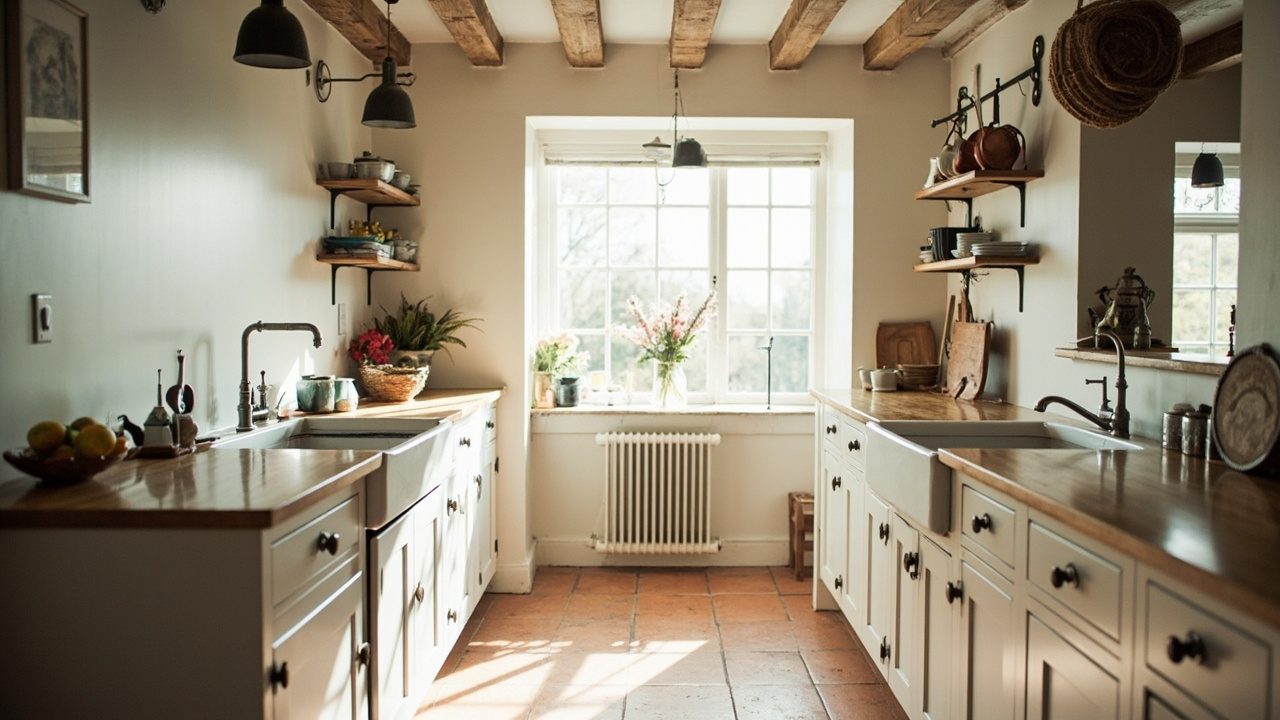
A farmhouse galley kitchen lives and breathes by its line. Because space runs narrow, every finish and fixture needs to pull its weight without clutter.
I favor contrast, simple materials, and honest storage. However, proportion and light matter most, so you feel invited, not squeezed.
- 1. Light-tone cabinets, weighty floors
- 2. Window-sink for narrow light
- 3. Rustic wood open shelves
- 4. Matte black bridge faucet
- 5. Sage paint on shiplap walls
- 6. Reeded glass upper cabinets
- 7. Butcher block waterfall run
- 8. Slim runner in jute stripe
- 9. Antique brass bin pulls
- 10. Ceiling beams in warm oak
- 11. Apron-front sink centerpiece
- 12. Panel-ready slimline appliances
- 13. Terracotta tile herringbone floor
- 14. Vintage-style sconces over sink
- FAQ
1. Light-tone cabinets, weighty floors
- Effort Level: Weekend DIY.
- Estimated Budget: 500+.
- Maintenance Level: Medium (wipe fronts, sweep often).
- Best For: Small kitchens.
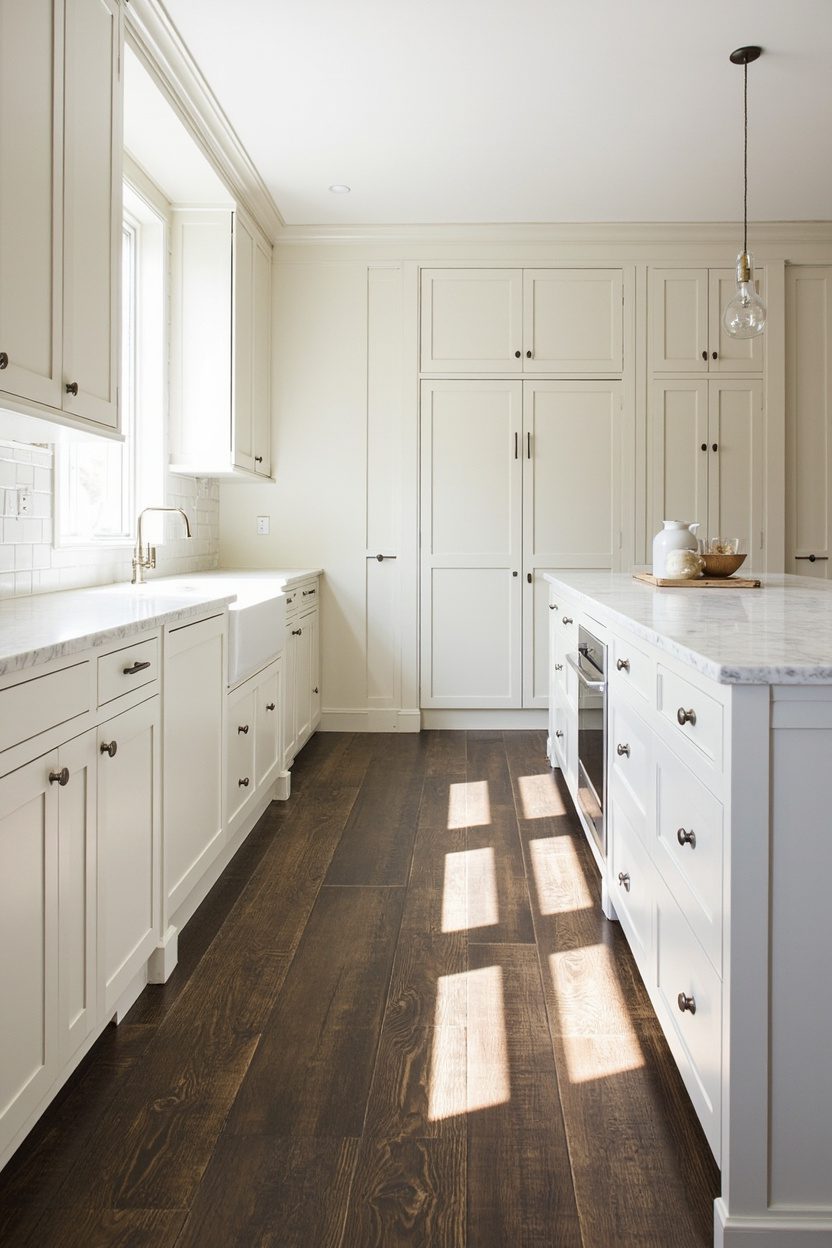
Keep cabinet runs pale, like soft white or warm putty, so vertical planes recede and the aisle reads wider.
Then let the floor carry the heft with medium to dark wood or brick, laid lengthwise to stretch the room.
Match sheened hardware in aged brass, and repeat the tone in a slim runner for cohesion without visual bulk. For backsplash ideas, skim Farmhouse Kitchen Backsplash.
2. Window-sink for narrow light
- Effort Level: Pro install.
- Estimated Budget: 500+.
- Maintenance Level: Low (glass cleaning).
- Best For: Galley remodels.
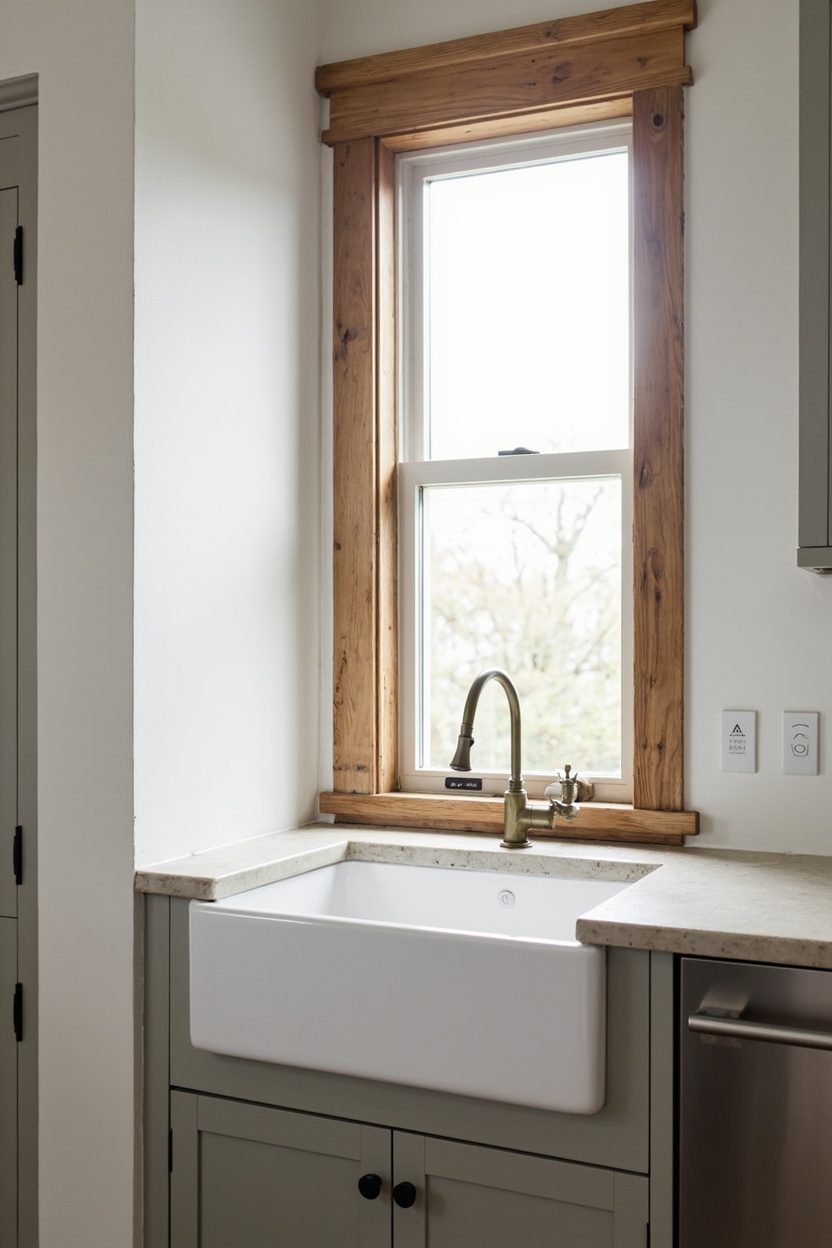
Place the sink under a window to pull daylight across the aisle, which softens tight sightlines and makes prep feel calmer.
Use a low-profile bridge faucet in polished nickel so reflections bounce light, and keep the sill clear except a short herb pot.
This layout aligns with expert galley advice that steady tones and window placement expand space, as noted by Homedit. For palette direction, peek at White Farmhouse Kitchen.
3. Rustic wood open shelves
- Effort Level: Weekend DIY.
- Estimated Budget: 100-500.
- Maintenance Level: Medium (dust and wipe).
- Best For: Everyday dish storage.
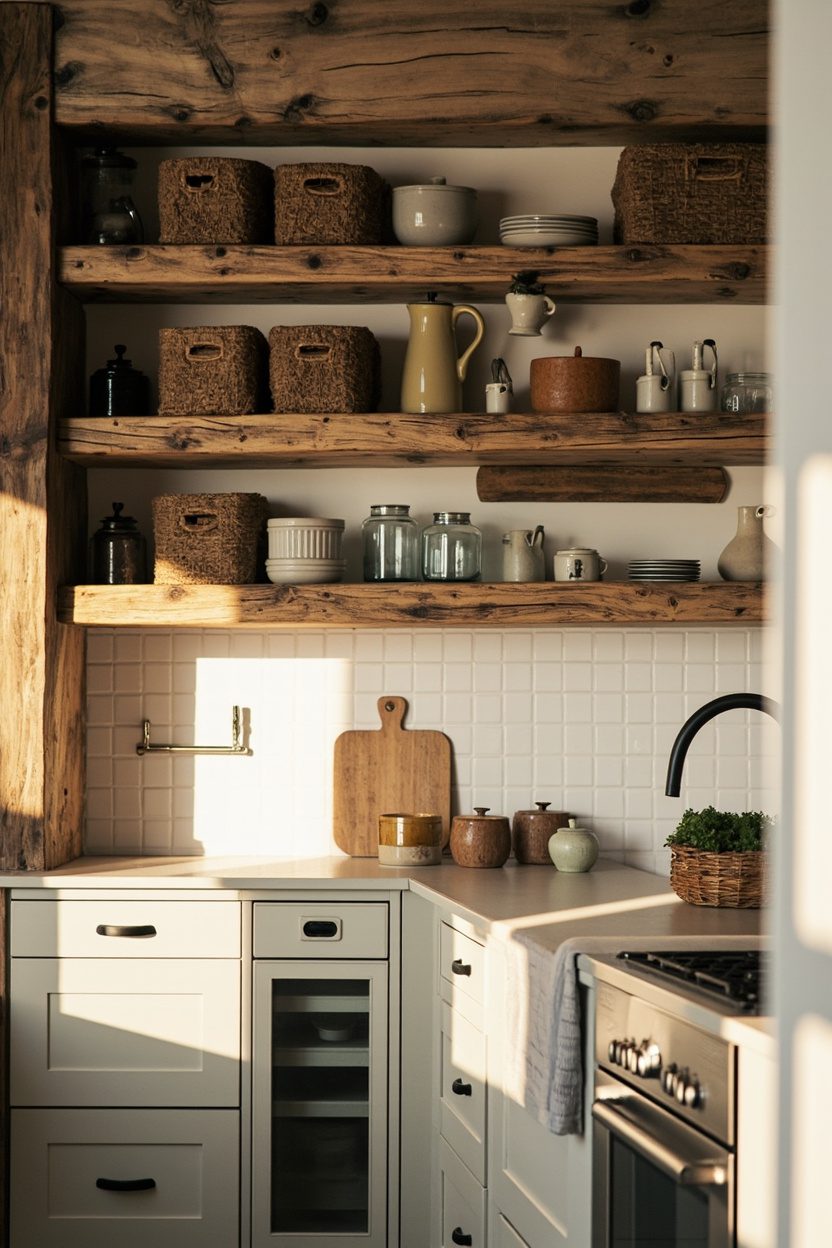
Swap one upper run for 10 to 12 inch deep solid wood shelves, sealed matte so grain stays tactile but wipeable.
Bracket spacing at 16 inches on center prevents sag, and stagger heights so dinner plates sit at eye level, mugs just below.
Keep only daily-use whites and clear glass here, because visual noise shrinks a galley. For broader style cues, browse Farmhouse Kitchen and Pinterest for real-world shelf styling moments.
4. Matte black bridge faucet
- Effort Level: Weekend DIY.
- Estimated Budget: 100-500.
- Maintenance Level: Medium (wipe water spots).
- Best For: Owners and confident renters.
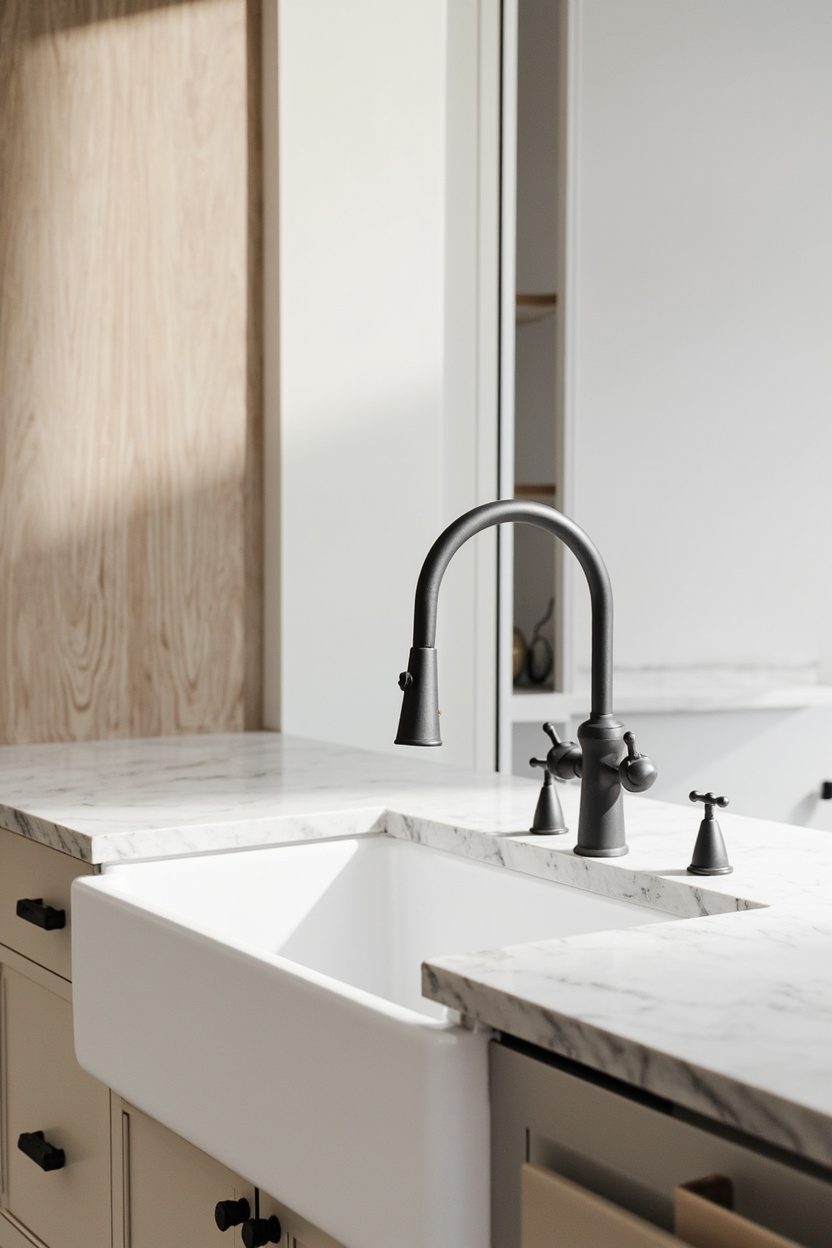
A matte black bridge faucet anchors a farmhouse galley kitchen without adding bulk. The tall, arched profile draws the eye up, which helps a narrow run feel taller.
Choose a 8 inch center set with cross handles so the lines read classic, not industrial. If you have a window, center the spout to keep sightlines open.
Hard water can leave spots, so keep a microfiber cloth by the sink. Pair it with a white fireclay apron sink for contrast, or go soapstone for a moody match.
5. Sage paint on shiplap walls
- Effort Level: Weekend DIY.
- Estimated Budget: 100-500.
- Maintenance Level: Low (washable paint).
- Best For: Narrow kitchens needing calm.
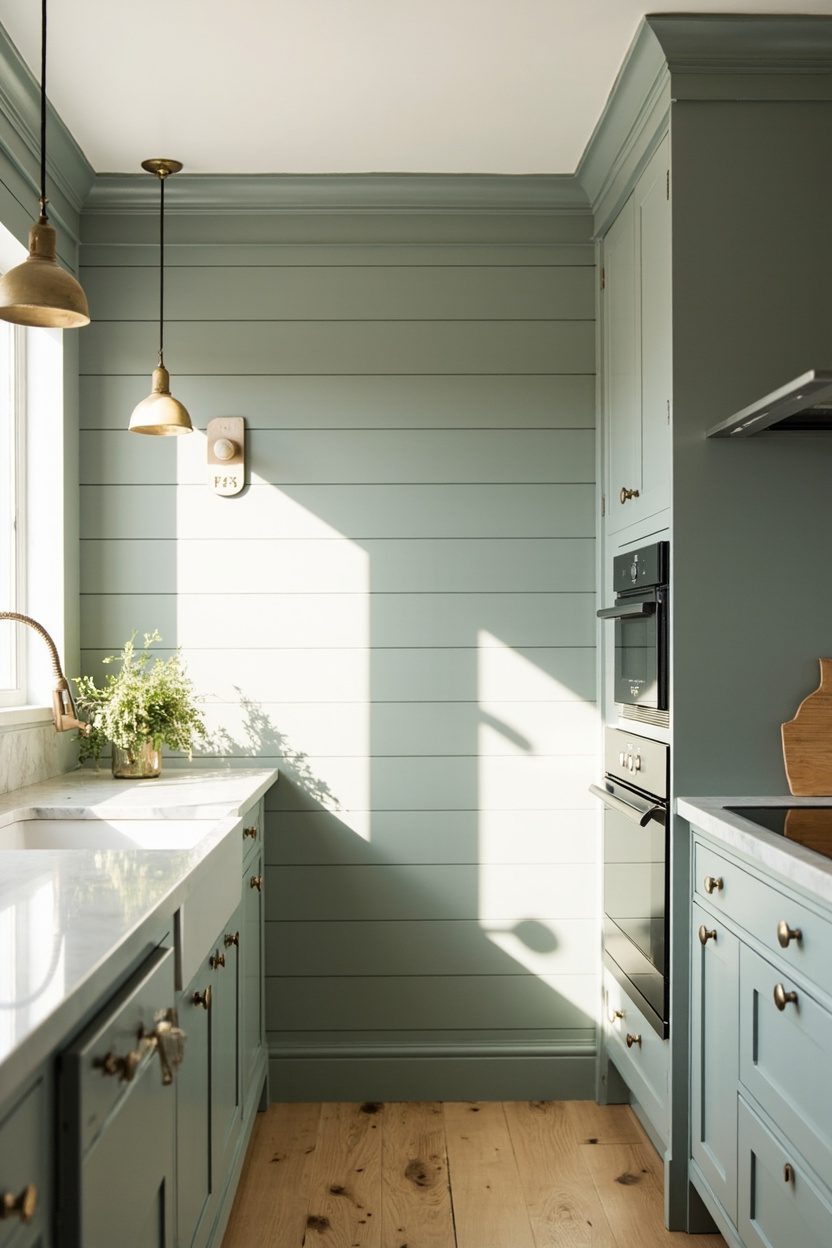
Soft sage on vertical or horizontal shiplap brings calm to a farmhouse galley kitchen. Because the hue is muted, it frames the run without shrinking it.
Use satin or semi gloss so joints wipe clean near the range. Tape off the reveals first, then cut in each board to avoid paint bridging across grooves.
Real talk, I once skipped primer over old oil paint and the sage flashed patchy. A bonding primer fixed it on the redo, and the color finally read even end to end.
Pair the walls with a quiet backsplash like handmade white tile. For more texture picks, browse Farmhouse Kitchen Backsplash and color cues in Gray Farmhouse Kitchen Ideas.
6. Reeded glass upper cabinets
- Effort Level: Pro install or advanced DIY.
- Estimated Budget: 500+.
- Maintenance Level: Low (occasional glass cleaning).
- Best For: Small galleys craving light.
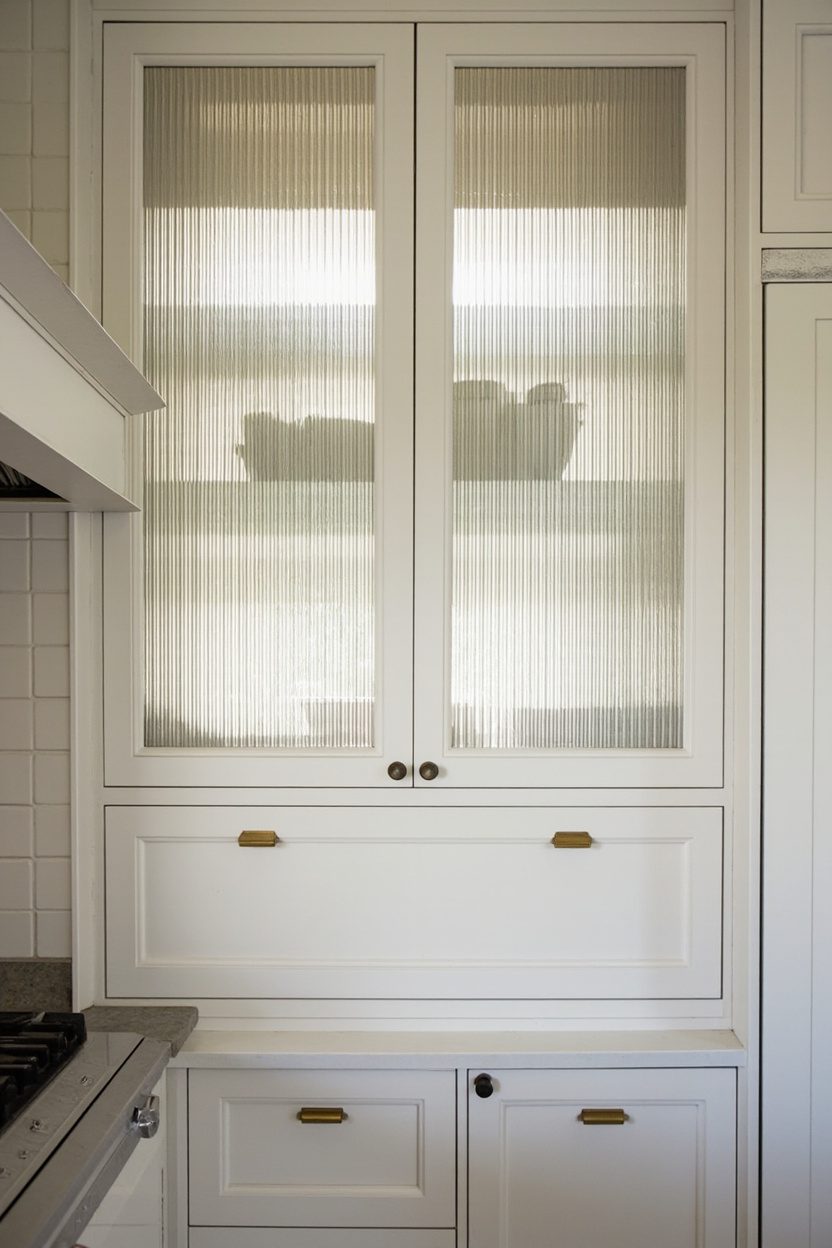
Reeded glass softens cabinet fronts while bouncing light along a narrow run. Because the flutes blur clutter, you can store everyday dishes without visual noise.
Specify vertical reed orientation to echo the galley’s lines, or flip horizontal to widen the feel. Keep frames slim, about 1.5 inches, so the glass reads generous.
Place these uppers on the window side to catch daylight, then keep the opposite wall solid for pans. For more layout balance, skim ideas in Farmhouse Kitchen and small space flow from Homedit.
7. Butcher block waterfall run
- Effort Level: Pro install or skilled DIY.
- Estimated Budget: 500+.
- Maintenance Level: Medium (oil quarterly).
- Best For: Narrow galley work zones.
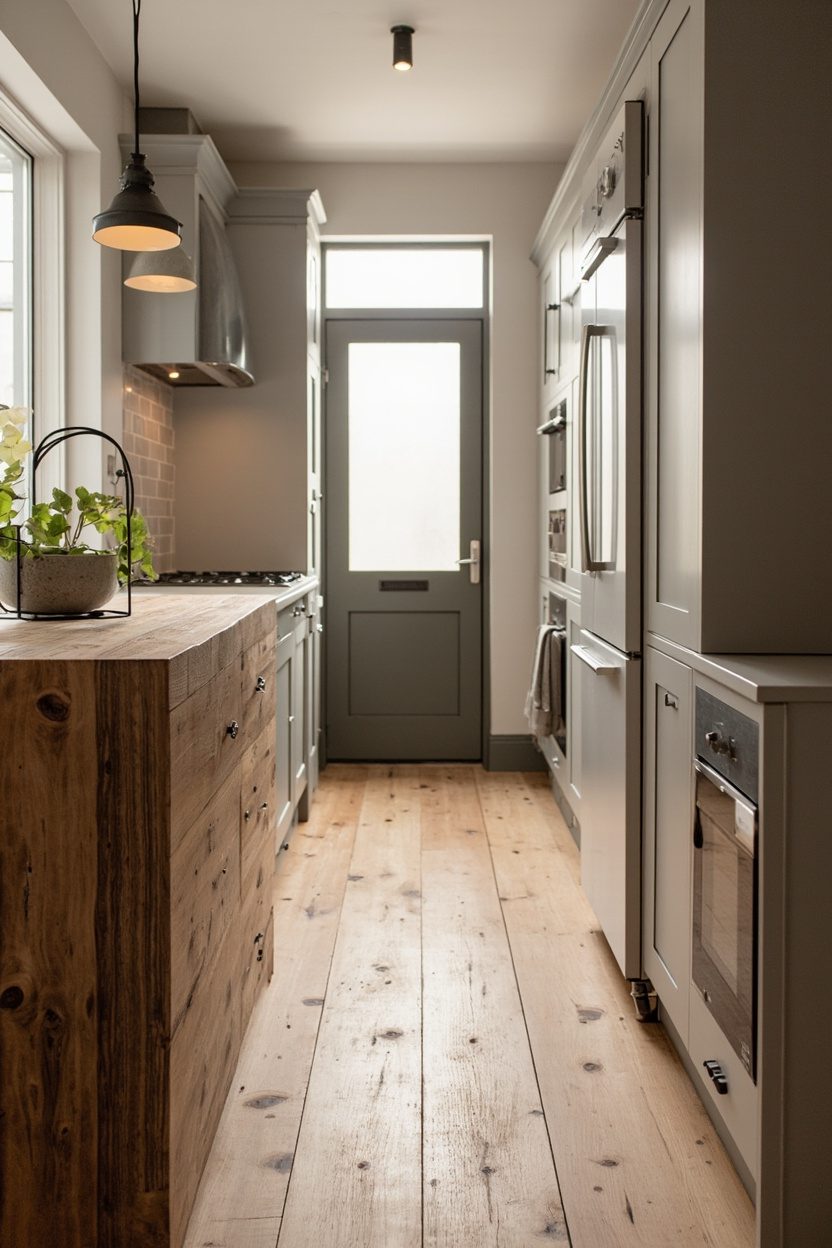
A butcher block waterfall at the end of a farmhouse galley kitchen elongates the sightline and finishes the run cleanly. Let the grain cascade to the floor on the open side to add warmth without visual bulk.
Choose 1.5 to 2 inch thick maple or oak, then radius the outer edge slightly so it reads soft, not chunky. Because end-grain stains fast, seal with food-safe oil and add discreet felt kicks at the base.
If you lack room for an island, this gives you a landing perch for plates. Pair with a simple shiplap backsplash, or sample classic tile ideas in Farmhouse Kitchen Backsplash to keep the look grounded.
8. Slim runner in jute stripe
- Effort Level: Easy swap.
- Estimated Budget: Under 100.
- Maintenance Level: Medium (shake and spot clean).
- Best For: Busy cook zones.
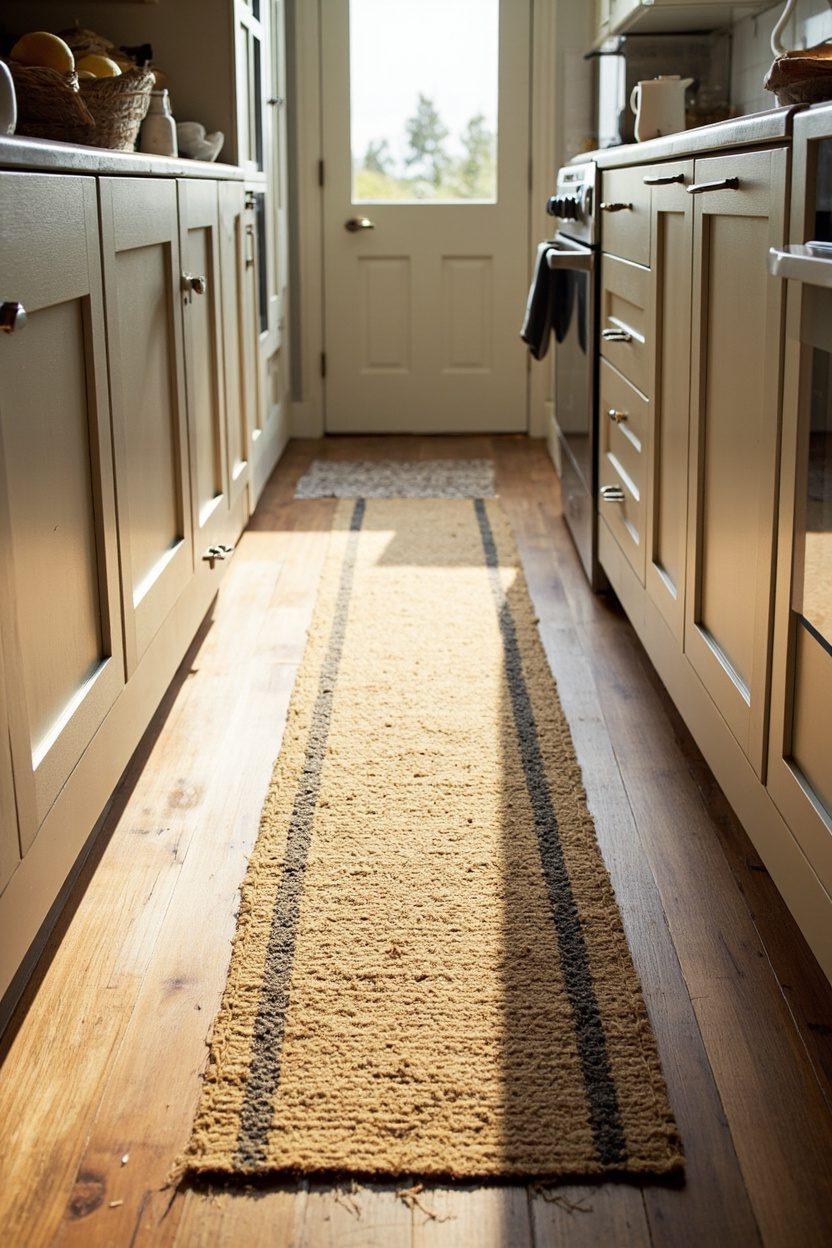
A narrow jute or jute-cotton runner defines the lane in a farmhouse galley kitchen and softens hard tile. Aim for 24 to 30 inches wide, leaving at least 3 inches of floor showing on each side.
Pick a charcoal or navy stripe so crumbs hide between cleanings. Because jute can creep, add a trimmed felt pad and tape the corners to prevent buckling near the sink.
For color cues, muted rugs play well with creamy cabinetry and the timeless look in White Farmhouse Kitchen. You can also pull stripe tones from a light oak floor for a quieter read.
9. Antique brass bin pulls
- Effort Level: Weekend DIY.
- Estimated Budget: 100-500.
- Maintenance Level: Low (occasional polish).
- Best For: Builder cabinets, quick refresh.
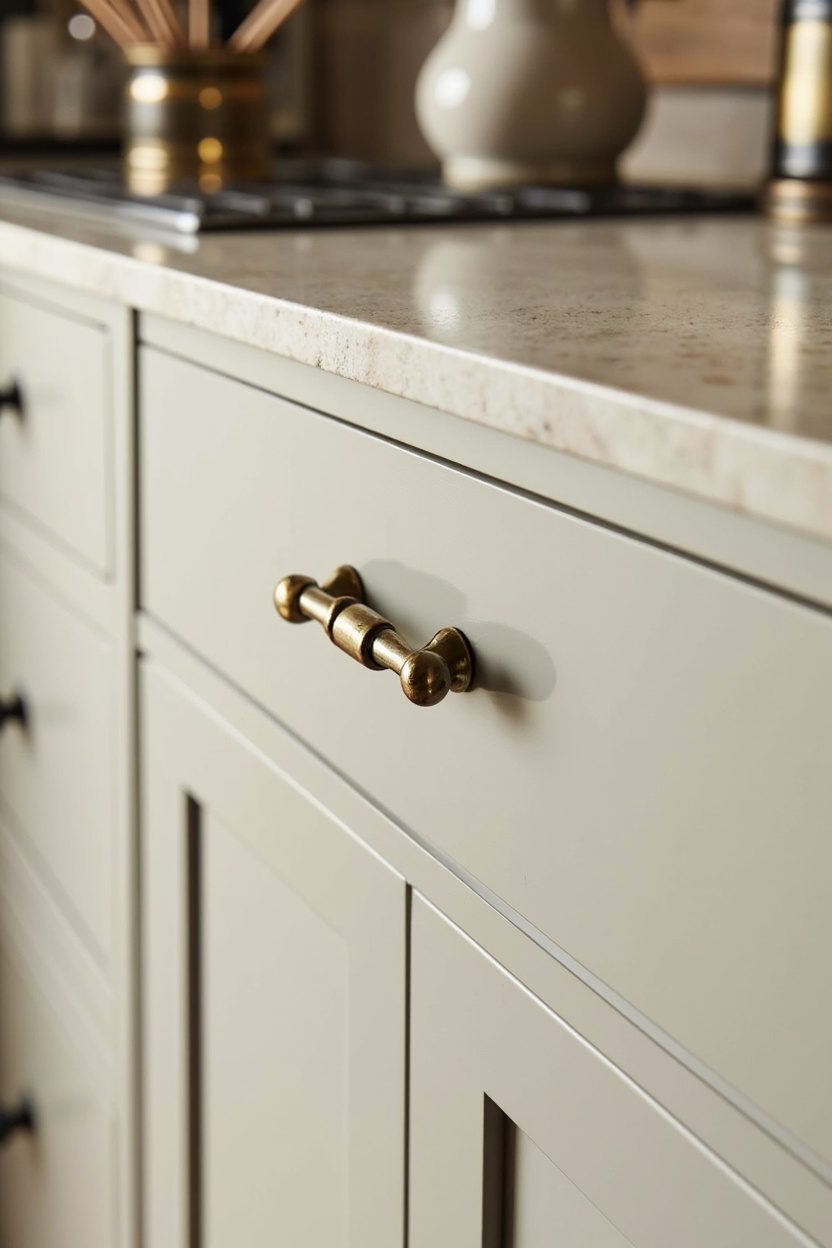
Swap modern bars for cup-style bin pulls in unlacquered brass to add farmhouse soul to a galley run. Space them consistently, centered on drawer rails, about 2.5 to 3 inches from the top edge.
If your cabinets are painted, pre-drill and use a backplate to cover old holes. Because unlacquered brass will patina, keep a gentle brass polish on hand, or let it age for character.
Mix with simple mushroom knobs up top for balance, a trick that keeps narrow aisles from feeling busy. For broader styling context, pull finish ideas from Farmhouse Kitchen or lean moodier with hardware against tones from Gray Farmhouse Kitchen Ideas.
10. Ceiling beams in warm oak
- Effort Level: Pro install or advanced DIY.
- Estimated Budget: 500+.
- Maintenance Level: Low (requires dusting).
- Best For: Narrow kitchens with 8–9 ft ceilings.
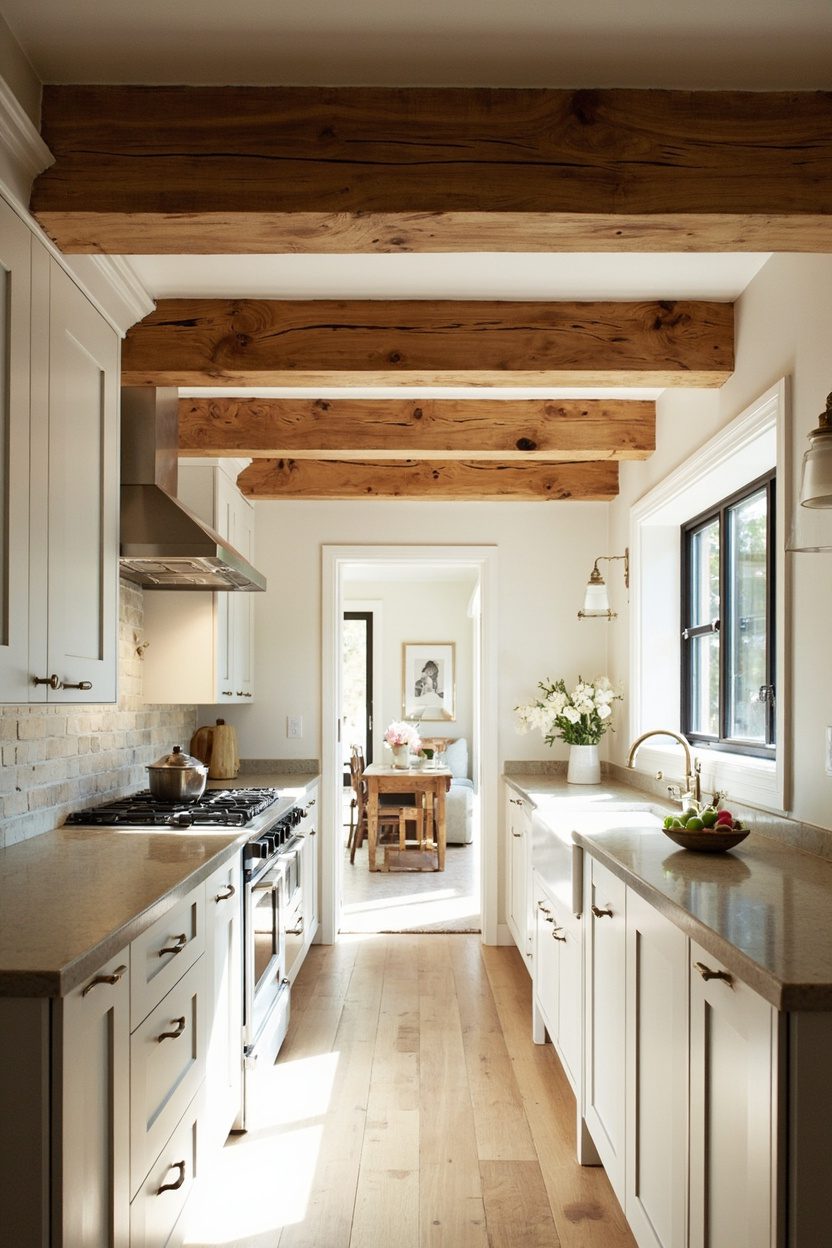
In a farmhouse galley kitchen, slim oak beams pull the eye lengthwise, which visually stretches the corridor. Keep them under 4 inches thick to avoid a heavy look.
Stain to match butcher block or leave matte so the grain stays soft and warm. Also, set beams 24 to 32 inches apart to keep lighting layouts simple.
If your ceiling is drywall only, consider hollow box beams to hide conduit for petite spotlights. They weigh less and are easier to secure into joists.
11. Apron-front sink centerpiece
- Effort Level: Pro plumber recommended.
- Estimated Budget: 500+.
- Maintenance Level: Medium (wipe and reseal as needed).
- Best For: Galleys with a window wall.
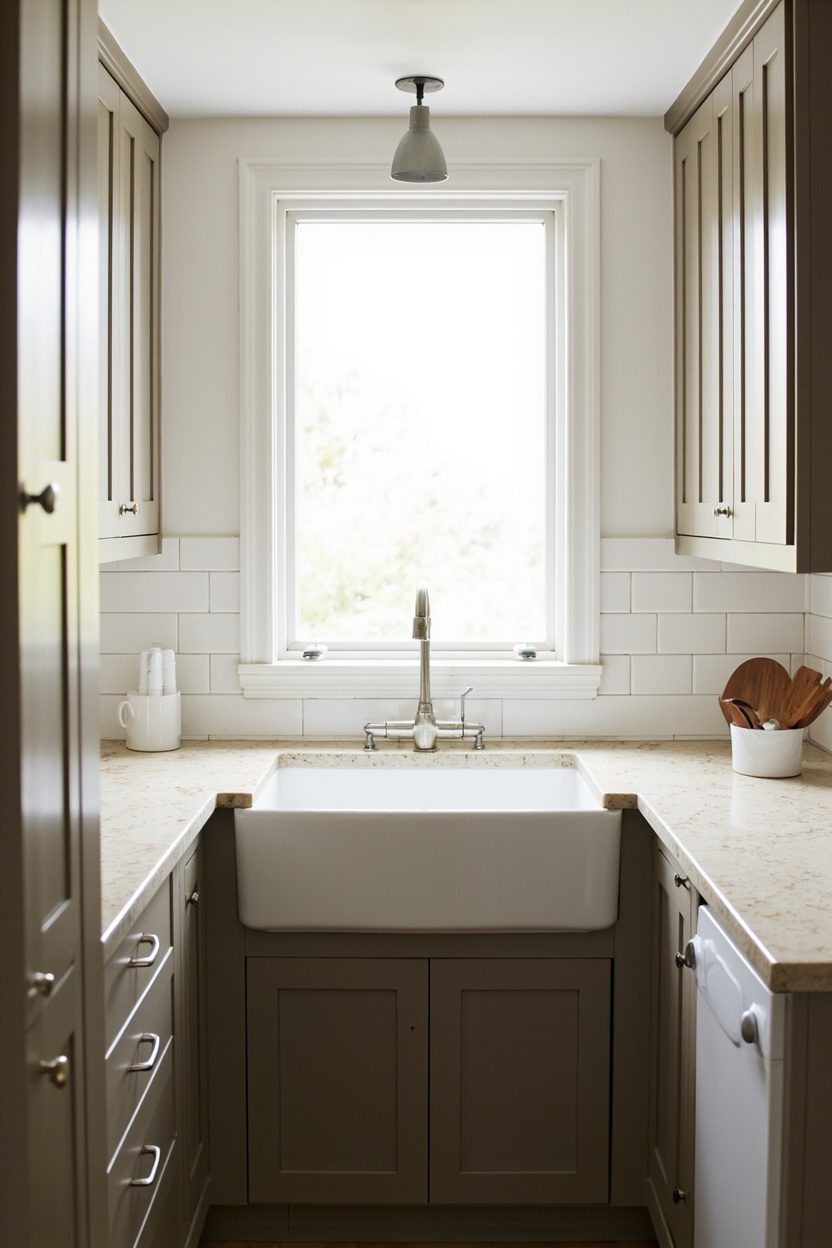
A classic apron-front anchors a farmhouse galley kitchen and breaks up long runs of doors. Choose a 30 to 33 inch single bowl to preserve prep space on both sides.
Set the rim proud of the cabinet by about 1 inch, because that protects the face frame from drips. Pair with a bridge faucet to keep the profile period-correct.
If you cook daily, add a narrow pull-out trash to the hinge side of the sink. It saves steps in a corridor plan and keeps the aisle clear.
12. Panel-ready slimline appliances
- Effort Level: Installer and cabinet shop.
- Estimated Budget: 500+.
- Maintenance Level: Low (wipe panels).
- Best For: Small galleys and open sightlines.
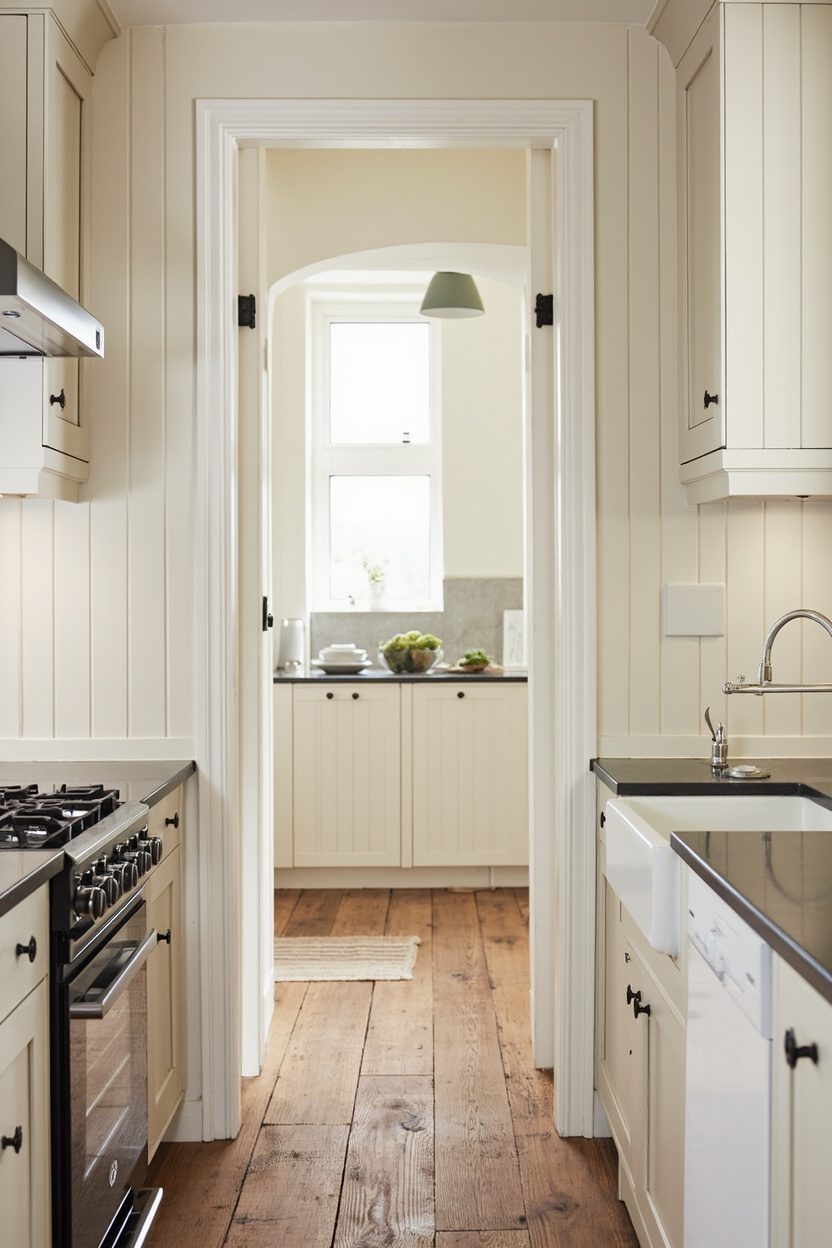
In a farmhouse galley kitchen, 18 to 24 inch panel-ready pieces read like cabinetry, which calms the tight corridor. A counter-depth fridge panel keeps the run flush and tidy.
Specify 3/4 inch panels to match door thickness, and align appliance reveals at 1/8 inch for a furniture look. Also, choose cabinet pulls that match nearby doors so everything feels seamless.
Real-talk warning: I once skipped the vent clearance on a panel-ready dishwasher, and the door rubbed. Double-check hinge swing and toe-kick depth before ordering panels.
13. Terracotta tile herringbone floor
- Effort Level: Weekend DIY.
- Estimated Budget: 500+.
- Maintenance Level: Medium (reseal every 1-2 years).
- Best For: High-traffic galley kitchens.
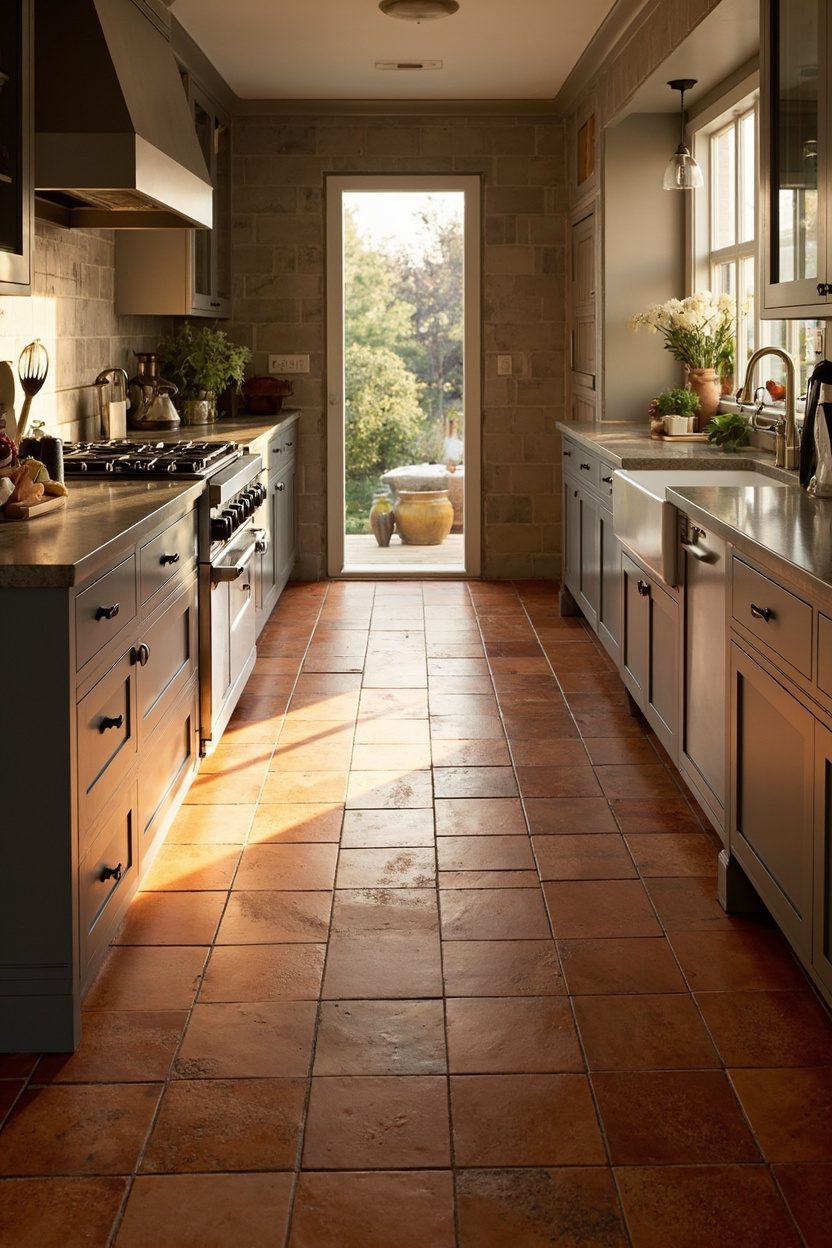
Warm terracotta in a herringbone pattern guides the eye down a narrow run, which makes a farmhouse galley kitchen feel longer and grounded. Choose 3 by 12 inch planks or 6 inch squares cut to size for cleaner lines.
Because terracotta is porous, seal it with a penetrating sealer before grouting, then again after. A soft grout tone, like taupe, hides crumbs and keeps that lived-in charm.
Keep planks parallel to the run, then angle them at 45 degrees for the herringbone. Leave a 1/8 inch grout joint so the pattern reads crisp, not busy.
14. Vintage-style sconces over sink
- Effort Level: Weekend DIY.
- Estimated Budget: 100-500.
- Maintenance Level: Low (requires dusting).
- Best For: Sinks under a window.
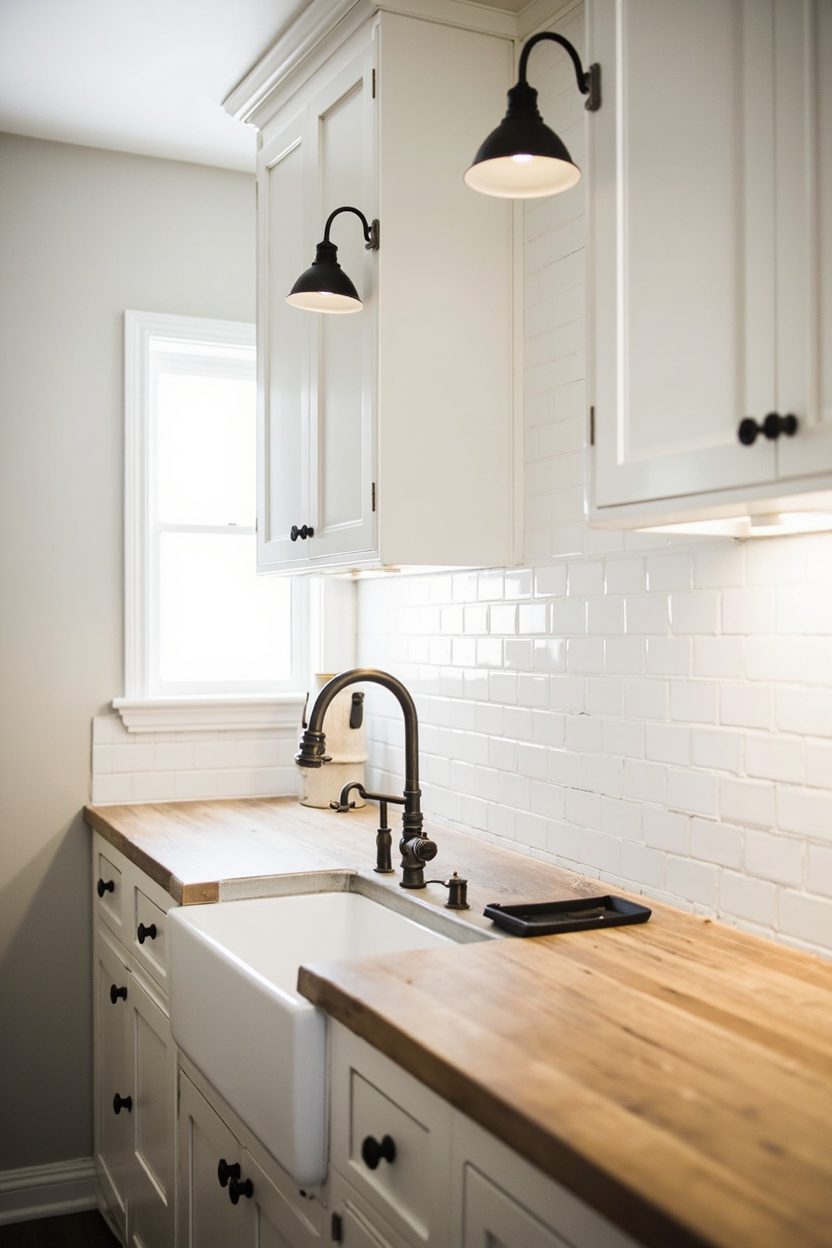
Sconces flanking the sink add task light and a cozy glow right where you prep. In a farmhouse galley kitchen, they also frame the window and create a focal stop in a long corridor.
Pick damp-rated metal shades in aged brass or oil-rubbed bronze, and set the backplates 60 to 66 inches off the floor. If space is tight, choose slim, shade-forward profiles that project under 7 inches.
Real-talk warning: I once hung them too high, and the glare bounced off the window. Dropping the centerline to eye level, about 64 inches, fixed the hotspot and softened the beam.
FAQ
Will a herringbone pattern make my narrow galley feel smaller?
No, when aligned at 45 degrees with tight grout lines, herringbone actually pulls the eye along the floor and softens the hallway feel. Keeping tile color mid to warm and avoiding high contrast grout helps the pattern read calm, not choppy.
Can I install terracotta tile over existing vinyl?
Only if the vinyl is firmly bonded, flat, and not cushioned. Otherwise, remove it, patch the subfloor, and add a cement backer or uncoupling membrane. This keeps terracotta from cracking and makes sealing more effective.
How high should sconces be over a kitchen sink?
Aim for 60 to 66 inches to the center of the backplate, adjusted to your eye level and window height. Keep shades just below the top sash to cut glare, and use 2700K bulbs for a warm farmhouse tone.
Are vintage-style sconces bright enough for task work?
Yes, if you choose 60W equivalent LED bulbs and directional metal shades. Pair them with under-cabinet lighting for chopping and prep, and you will have layered, shadow-free coverage in a farmhouse galley kitchen.