

Minimalist Bathroom Lighting focuses on clean fixtures, layered illumination, and measurable results so your bathroom looks calm and performs well.
This guide gives actionable steps to plan layouts, center mirrors with daylight, and calculate lux for task and ambient lighting.
Refer to farmhouse and cottage styling examples for material and finish ideas when choosing minimalist fixtures, such as the neutral palettes in White Farmhouse and fixture placement tips from Farmhouse Bathroom. Use these fundamentals to move from a bright task light to soft mood layers without clutter.
- Planning Your Minimalist Lighting Layout
- Assess Natural Light and Mirror Placement
- Calculate Proper Light Levels (Lux)
- Select Fixtures by Task and Zone
- Choose Color Temperature for Skin Tones
- Pick Minimalist Materials and Finishes
- Optimize Fixture Scale for Small Baths
- Install Vanity Wall Lights Correctly
- Position Shower and Ceiling Fixtures Safely
- Integrate Dimmable Controls Strategically
- Use LED Strips For Hidden Lighting
- Implement Layered Lighting Strategies
- Wire for Future Lighting Upgrades
- Avoid Common Lighting Placement Mistakes
- Prevent Glare Around Mirrors Effectively
- Maintain Fixtures to Maximize Lifespan
- Energy-Saving Tips For Bathroom Lighting
- Styling Tips For Minimalist Fixtures
- Troubleshoot Dimmer and Wiring Issues
- FAQ
- Final Thoughts
Planning Your Minimalist Lighting Layout
Start with a layered-plan: task lighting for mirrors and vanities, ambient ceiling light, and optional accent or mood lights. Prioritize recessed or linear fixtures with simple profiles to keep a minimalist look.
Sketch the room at scale and mark fixture types and mounting heights to prevent visual clutter. Include switch locations and dimming zones for practical control and flexible mood settings.
What to Do?
- Create three lighting zones: task, ambient, and accent/mood, with separate controls for each zone.
- Select slim-profile fixtures like recessed cans, linear LED bars, or wall sconces with frosted diffusers.
- Plan dimmers for ambient and accent layers to shift from bright grooming light to soft relaxation light.
- Document fixture heights: mirrors flanked by lights at 60–65 inches from the floor for even face illumination.
Mistakes to Avoid
- Relying on a single central ceiling fixture that produces flat, shadowed light.
- Overusing decorative fixtures that clash with minimalist lines and create visual noise.
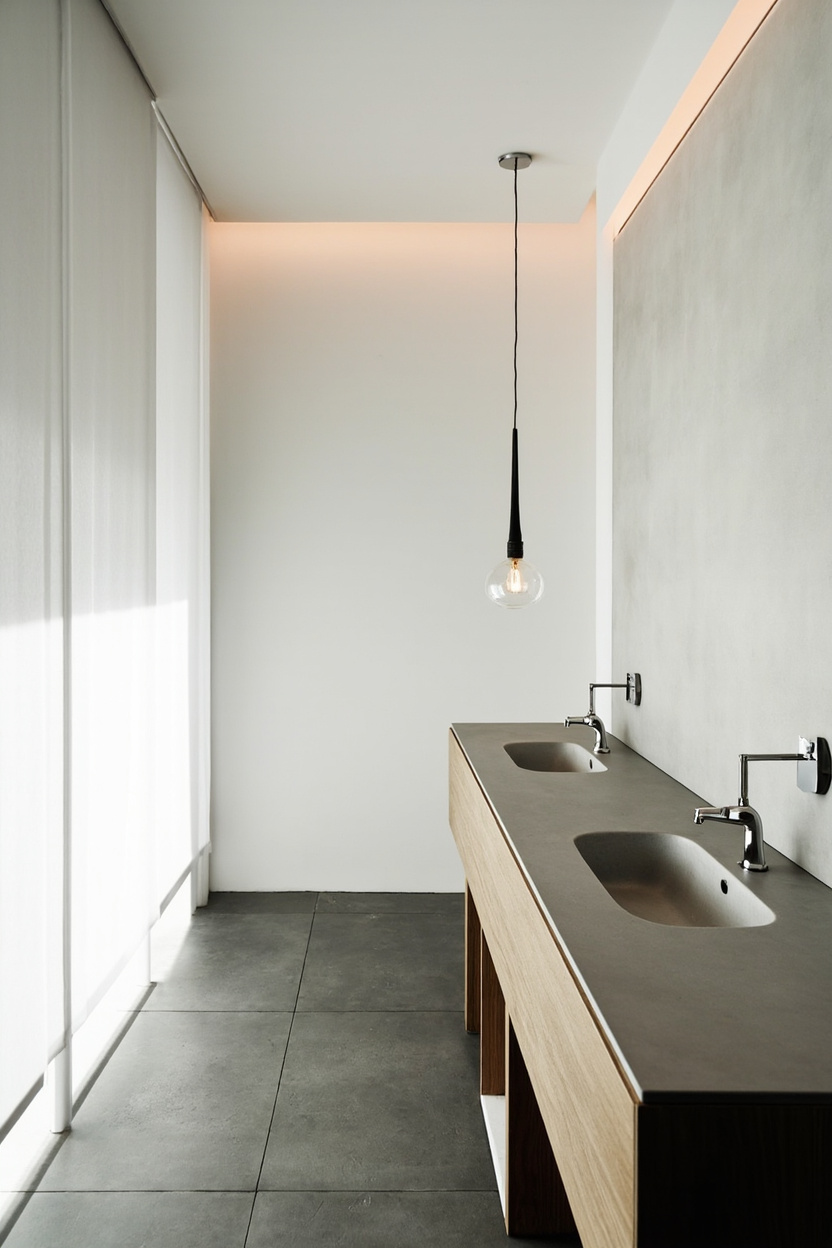
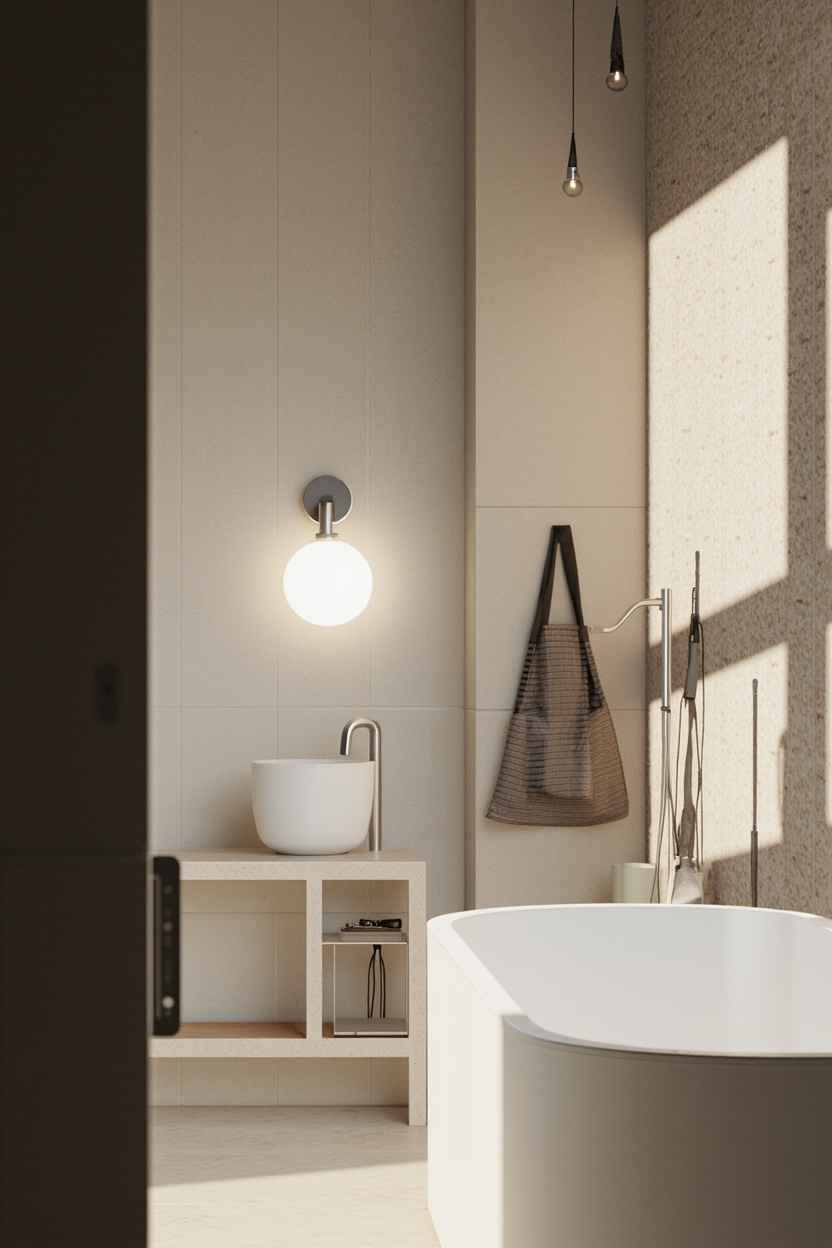
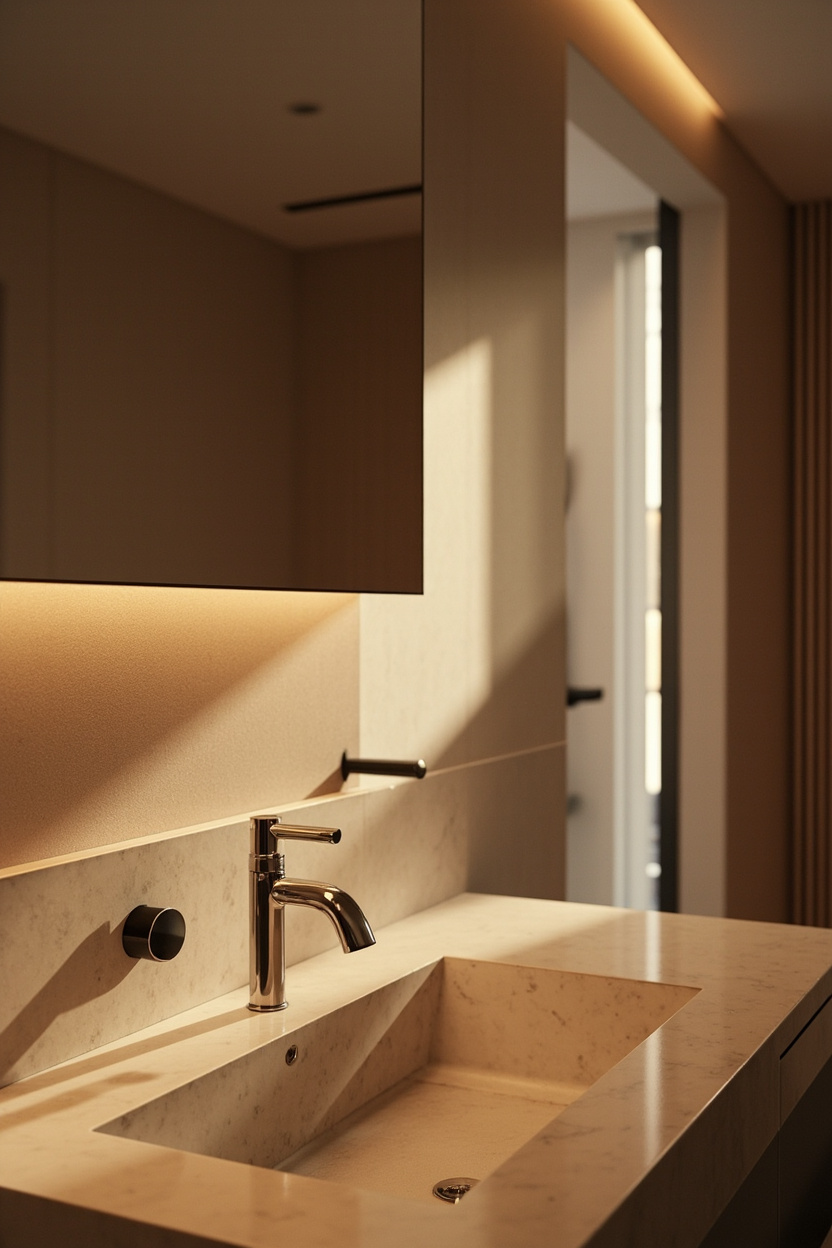
Assess Natural Light and Mirror Placement
Evaluate window positions, size, and orientation to maximize daylight without compromising privacy. Natural light reduces required artificial light and guides where to place mirrors for bounce and task performance.
Place mirrors to reflect natural light into darker corners and to serve as the primary grooming surface aligned with window illumination. Avoid positioning mirrors where backlighting causes glare during key tasks.
What to Do?
- Map daylight paths at morning and evening times to determine peak useful daylight hours.
- Mount mirrors adjacent to or across from windows to amplify natural light into the room.
- Use translucent window treatments to diffuse sunlight while maintaining privacy and minimizing harsh shadows.
Mistakes to Avoid
- Placing the vanity mirror with a bright light source directly behind the user causes silhouetting.
- Ignoring daylight gain, which can reduce energy use and the need for high-output artificial lighting.
Calculate Proper Light Levels (Lux)
Target lux levels: 300–500 lux for vanity/task areas and 100–200 lux for general ambient lighting in minimalist bathrooms. Use these targets to size fixtures and choose lumen outputs.
Measure with a lux meter or calculate lumens required: Room lumens = desired lux × area (m²) × maintenance factor. Select fixtures with a CRI above 90 for accurate color rendering near makeup and shaving tasks.
What to Do?
- Set vanity/task lighting to 300–500 lux and ambient lighting to 100–200 lux as a baseline.
- Calculate required lumens using room area in square meters and a 0.8 maintenance factor for new installations.
- Choose LEDs with CRI ≥90 and color temperature 3000K–4000K for flattering, natural skin tones.
Mistakes to Avoid
- Choosing fixtures by wattage instead of lumen output, which misrepresents actual light levels.
- Using high color temperature (5000K+) that reads as clinical and undermines a minimalist mood.
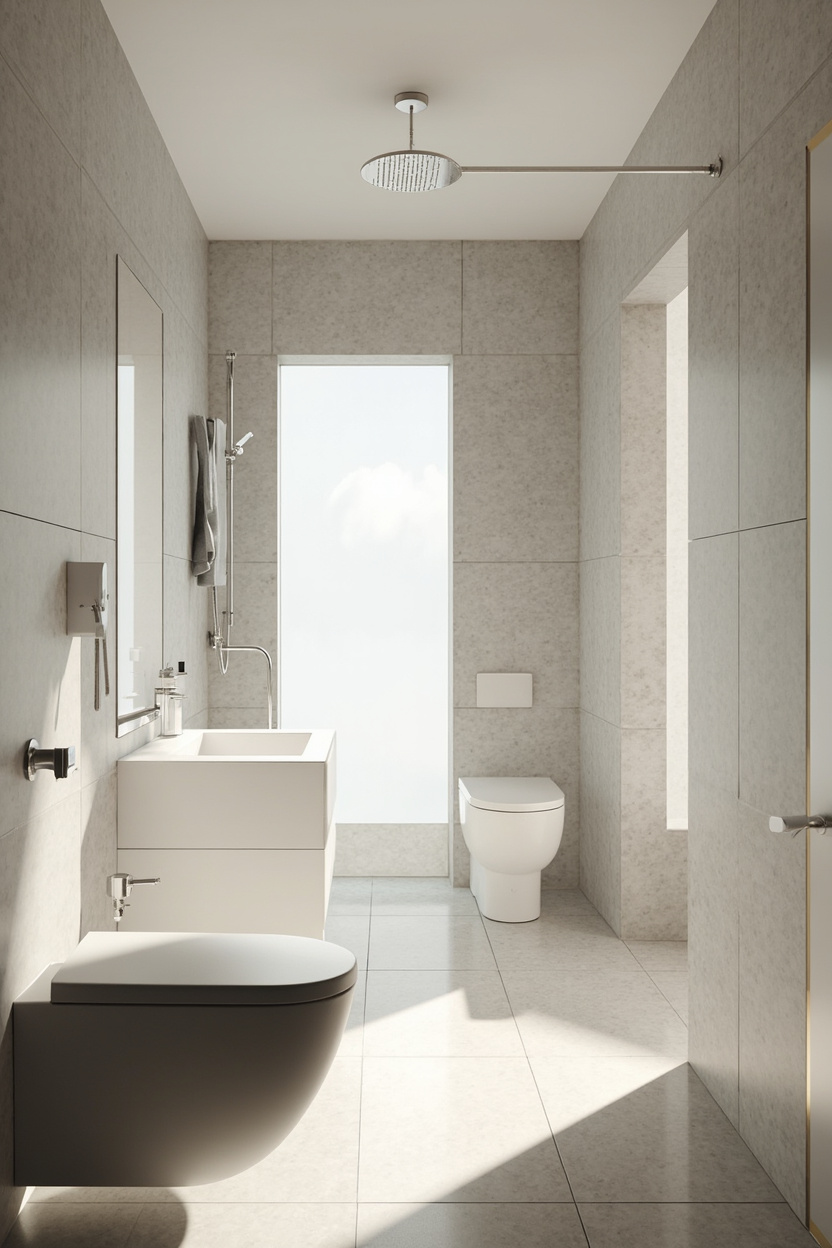
Select Fixtures by Task and Zone

Minimalist Bathroom Lighting works best when fixtures are chosen for specific functions and placed by zones rather than layered randomly. Divide the room into zones: vanity, shower, bathtub, and general circulation to assign appropriate fixtures and control strategies.
What to Do?
- Install vanity wall lights on either side of the mirror at eye level for balanced illumination and reduced shadows when grooming.
- Use recessed downlights or a moisture-rated ceiling fixture for shower areas to meet safety and uniformity requirements.
- Add a dimmable overhead general light on a separate circuit to allow bright task mode and softened ambient mode.
- Place a small directional or wall-wash fixture near the bathtub to create adjustable mood lighting without glare.
Mistakes to Avoid
- Relying on a single central light for all tasks, which causes shadows and inadequate task illumination.
- Placing a vanity light only above the mirror produces unflattering facial shadows.
Choose Color Temperature for Skin Tones
Minimalist Bathroom Lighting should flatter skin tones while supporting task accuracy; color temperature directly affects perceived complexion and makeup accuracy. Aim for a balanced temperature that reads natural under both daylight and artificial conditions.
What to Do?
- Select 2700K–3000K for warmer, flattering tones that suit traditional or cozy schemes and complement wood or warm tile finishes.
- Choose 3000K–3500K for a neutral white that renders skin tones accurately and works well with white or cool palettes common in a farmhouse bathroom or contemporary spaces.
- Use tunable white fixtures where possible to switch between warm ambient and cooler task settings during different activities.
Mistakes to Avoid
- Using very cool temperatures (5000K+) for vanity lighting can make skin look washed out and is harsh for daily grooming.
- Mixing widely different color temperatures in adjacent zones without a plan causes visual dissonance and inaccurate color rendering.
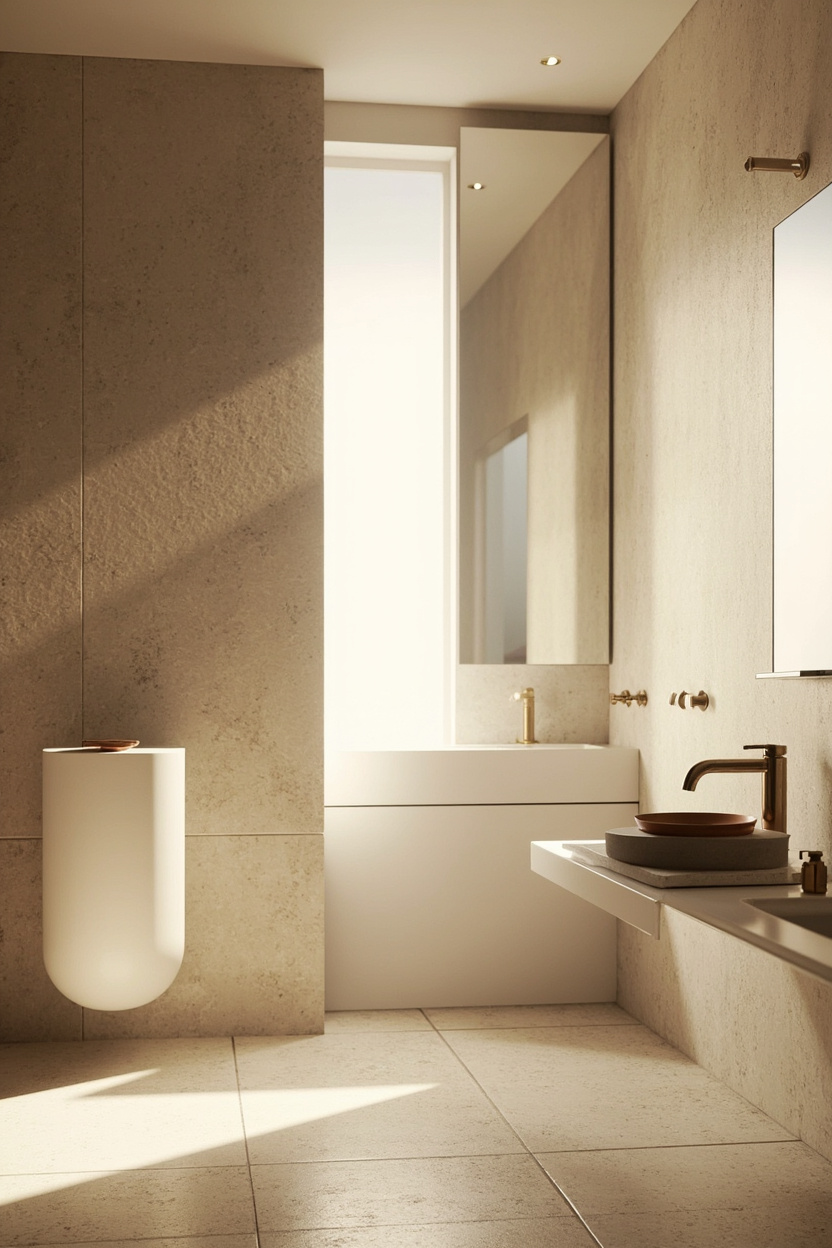
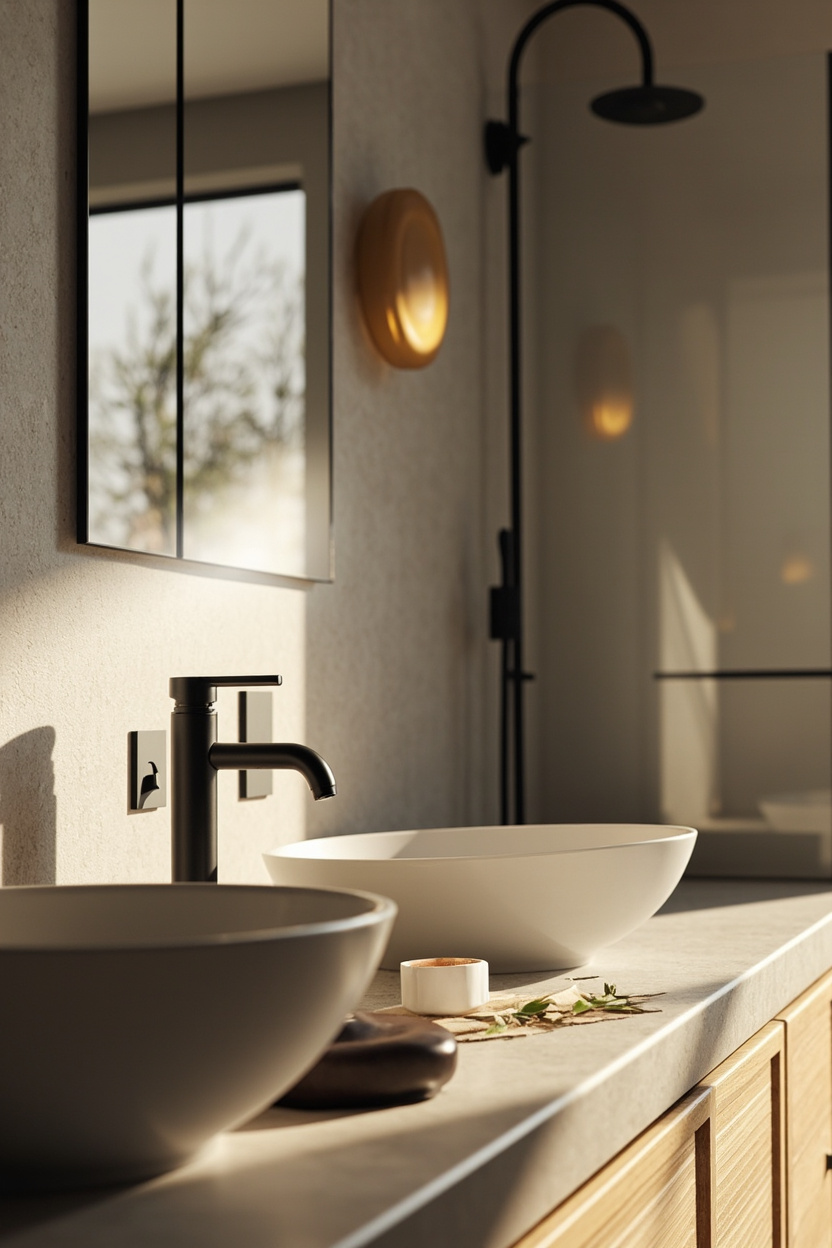
Pick Minimalist Materials and Finishes
Choose materials and finishes that read simple and coherent to maintain a minimalist aesthetic while resisting bathroom humidity. Durable, low-maintenance finishes preserve clean lines and reduce visual clutter in a minimalist bathroom setting.
What to Do?
- Prefer matte or satin metal finishes like brushed nickel or black for fixtures to minimize reflections and fingerprints.
- Select frosted glass or opal diffusers to soften glare and provide even light distribution in a minimalist fixture design.
- Match fixture finish to hardware and plumbing to create a cohesive look that complements styles from White Farmhouse to modern coastal schemes.
Mistakes to Avoid
- Choosing highly reflective chrome in a small, minimalist bathroom can amplify glare and break the visual calm.
- Using overly ornate fixtures that contradict minimalist lines and compete with simple tile or vanity surfaces.
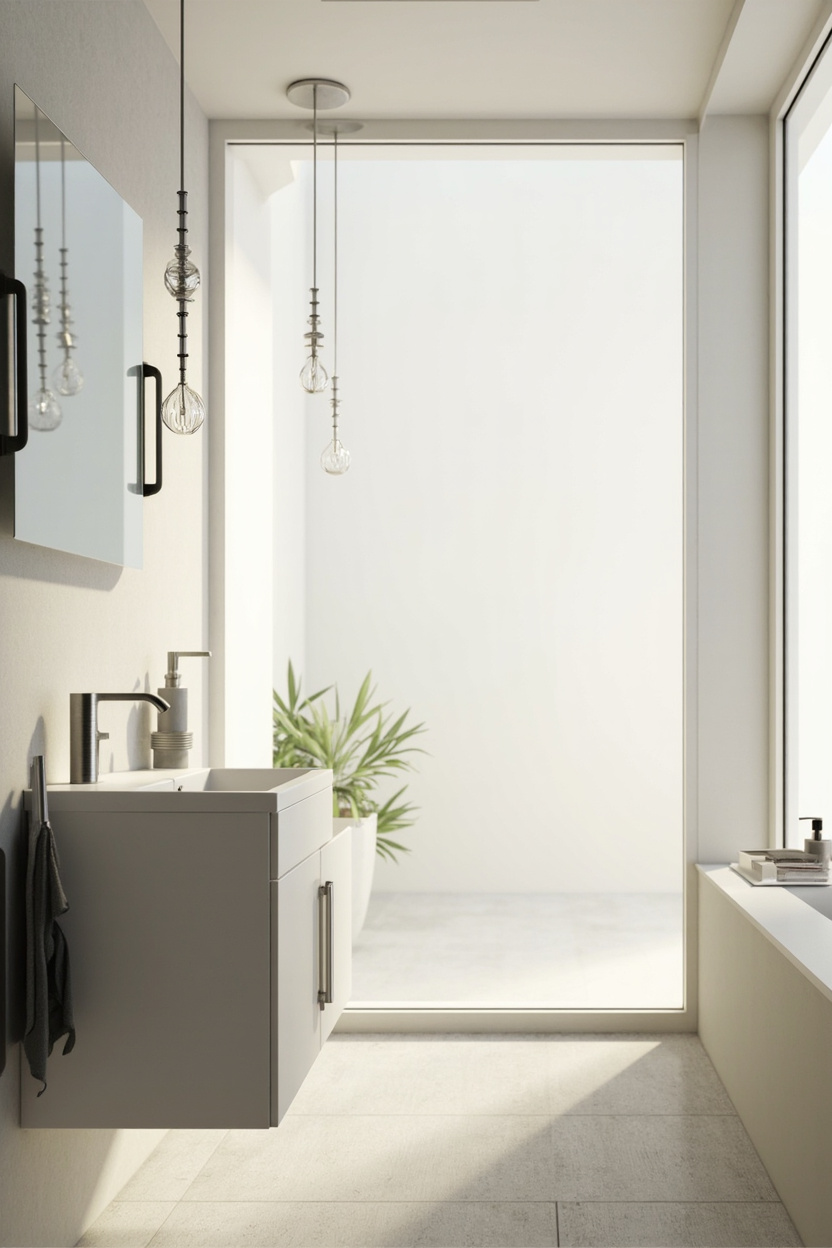
Optimize Fixture Scale for Small Baths
Minimalist Bathroom Lighting relies on correctly sized fixtures to keep a small bath feeling open and functional. Oversized pendants or wide sconces can overwhelm compact spaces and reduce perceived room size.
What to Do?
- Choose slim-profile sconces or linear LED bars that scale to mirror width and leave visual breathing room around fixtures.
- Use narrow recessed downlights spaced to avoid dark corners while maintaining a low visual footprint.
- Prefer flush or semi-flush ceiling lights with a diameter no greater than one-third the room width.
- Match fixture proportions to vanity depth: wall lights should not project more than half the vanity depth.
Mistakes to Avoid
- Installing oversized pendants that cut into sightlines and make the ceiling feel lower.
- Clustering many decorative fixtures creates clutter instead of improving illumination.
Install Vanity Wall Lights Correctly
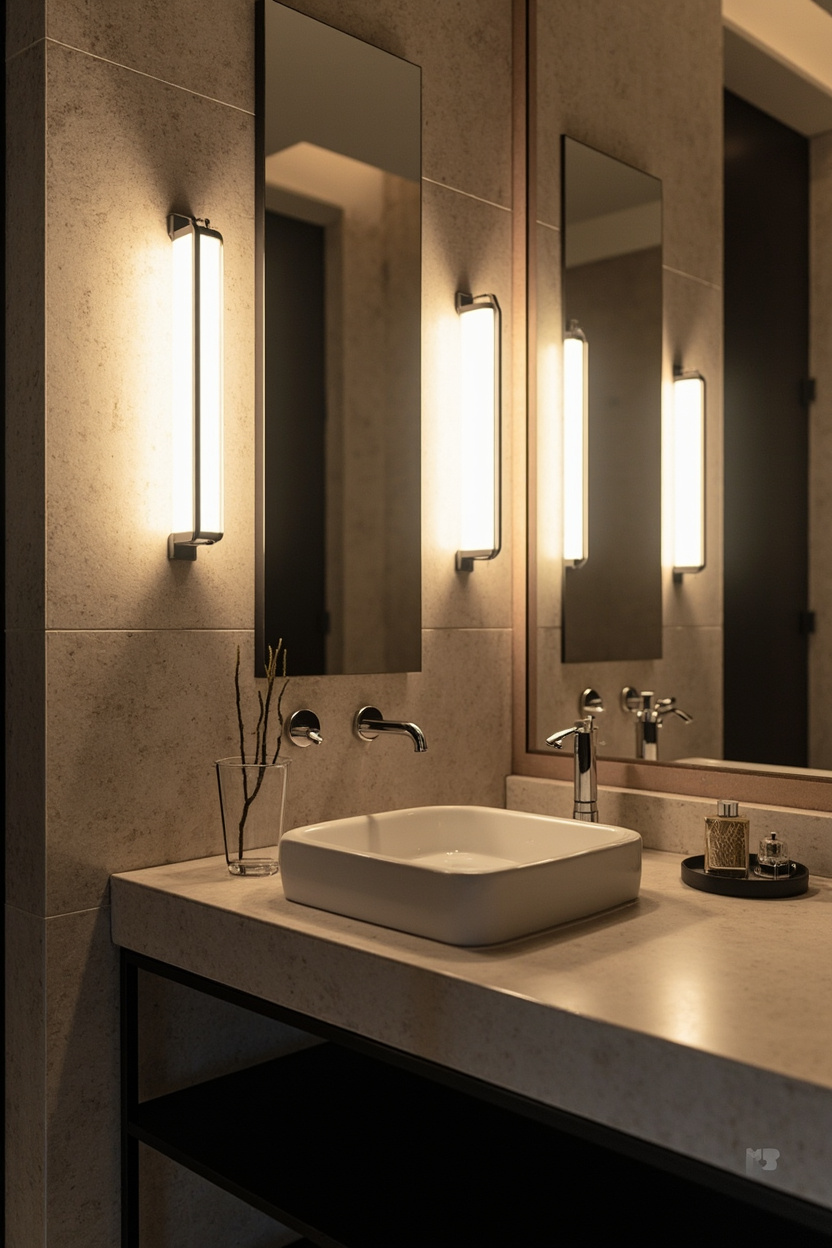
Minimalist Bathroom Lighting includes properly placed vanity wall lights for flattering, shadow-free facial illumination. Placing fixtures at the right height and symmetry prevents unflattering shadows and improves task lighting for grooming.
What to Do?
- Mount wall lights at eye level, roughly 60–66 inches from the floor, or centered on the mirror for balanced light.
- When using two fixtures, place them on either side of the mirror at equal distances to avoid directional shadows.
- Use LED bulbs with a CRI of 90+ and color temperature around 2700–3000K for natural skin tones.
- Consider a dimmer for variable task and mood settings while maintaining consistent color rendering.
Mistakes to Avoid
- Placing a single light above the mirror as the only source creates deep facial shadows.
- Using harsh, cool-toned bulbs that distort skin tones and create a clinical feel.
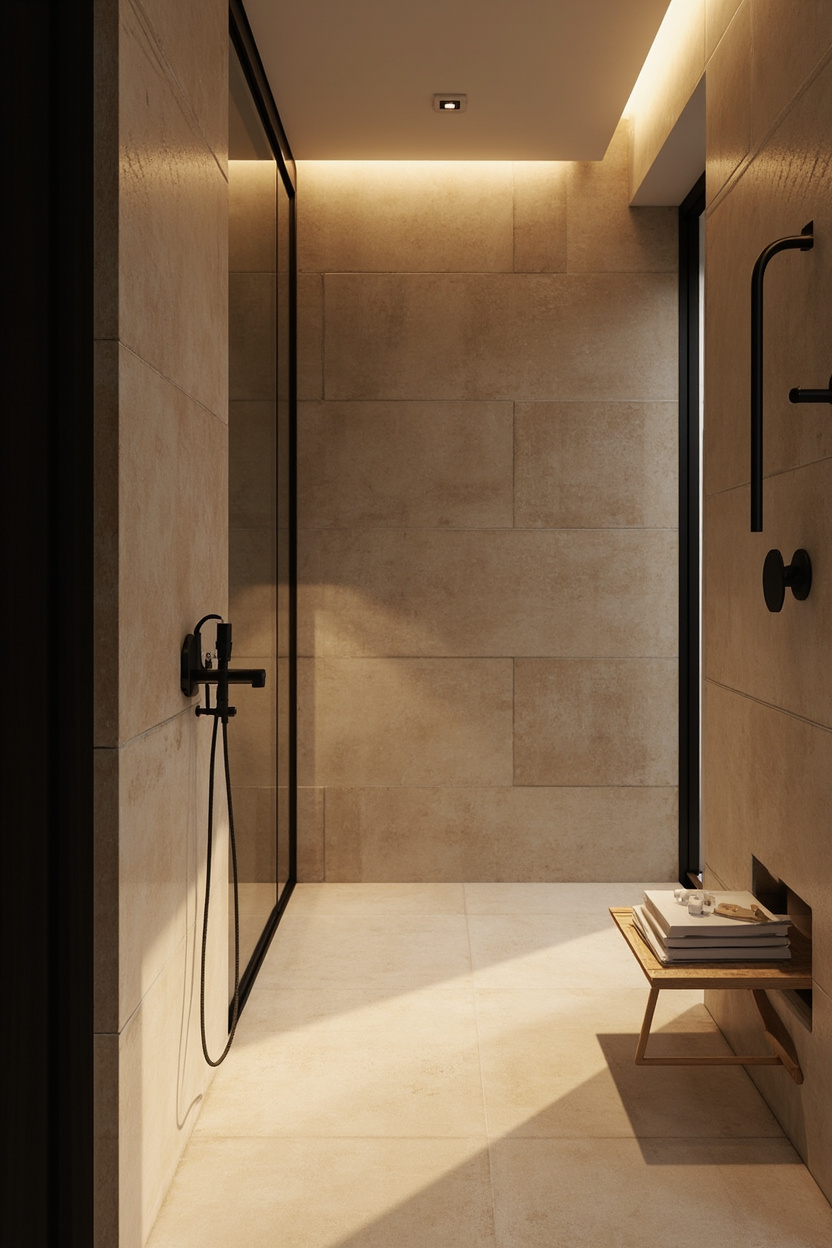
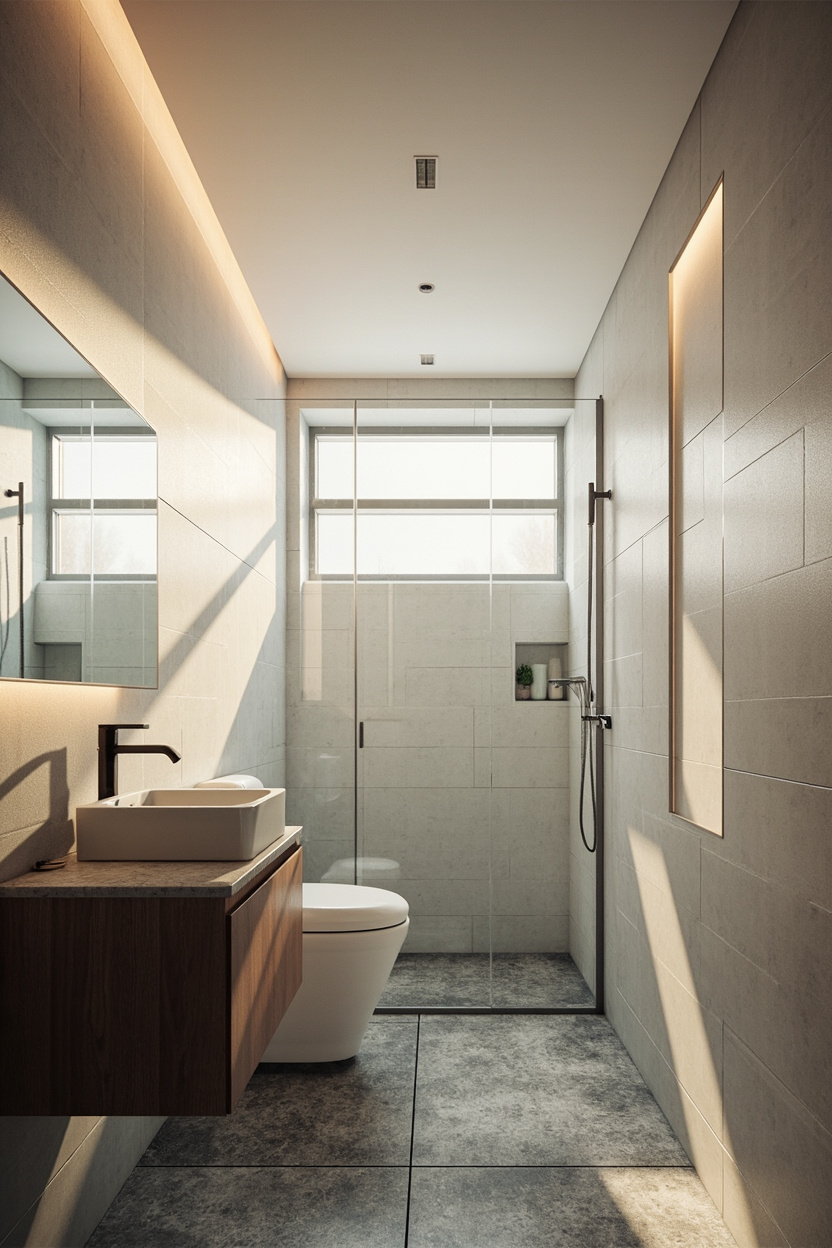
Position Shower and Ceiling Fixtures Safely
Minimalist Bathroom Lighting must balance safety and style by following IP ratings and correct placement for wet zones. Proper positioning prevents moisture damage and ensures code-compliant illumination in showers and over bathtubs.
What to Do?
- Specify fixtures with appropriate IP ratings: IP65 for direct shower exposure and at least IP44 for splash zones near tubs.
- Place recessed or surface-mounted ceiling lights outside direct spray paths unless the fixture is rated for wet locations.
- Use low-glare, shallow recessed trims to maintain a clea,n minimalist ceiling plane while providing even light distribution.
Mistakes to Avoid
- Installing non-rated decorative fixtures above shower areas where moisture will cause failure and safety hazards.
- Clustering powerful heat-emitting fixtures in small wet zones without proper ventilation and certification.
Integrate Dimmable Controls Strategically
Minimalist Bathroom Lighting benefits greatly from dimmable controls to shift from a bright task light to soft mood illumination quickly. Use dimmers to balance vanity clarity with relaxing ambient scenes without changing fixtures.
What to Do?
- Install a dedicated dimmer for the vanity that supports smooth, flicker-free operation with LED fixtures.
- Place a separate dimmer for ambient overhead lights to allow independent adjustment of general brightness.
- Choose dimmers rated for LED loads and compatible with fixture drivers to avoid buzzing or reduced life span.
- Program preset levels (bright, soft, night) on multi-button dimmers for consistent scenes.
Mistakes to Avoid
- Using incandescent-era dimmers with LEDs can cause flicker or a limited dimming range.
- Grouping task and ambient circuits on one dimmer, preventing independent control of layers.
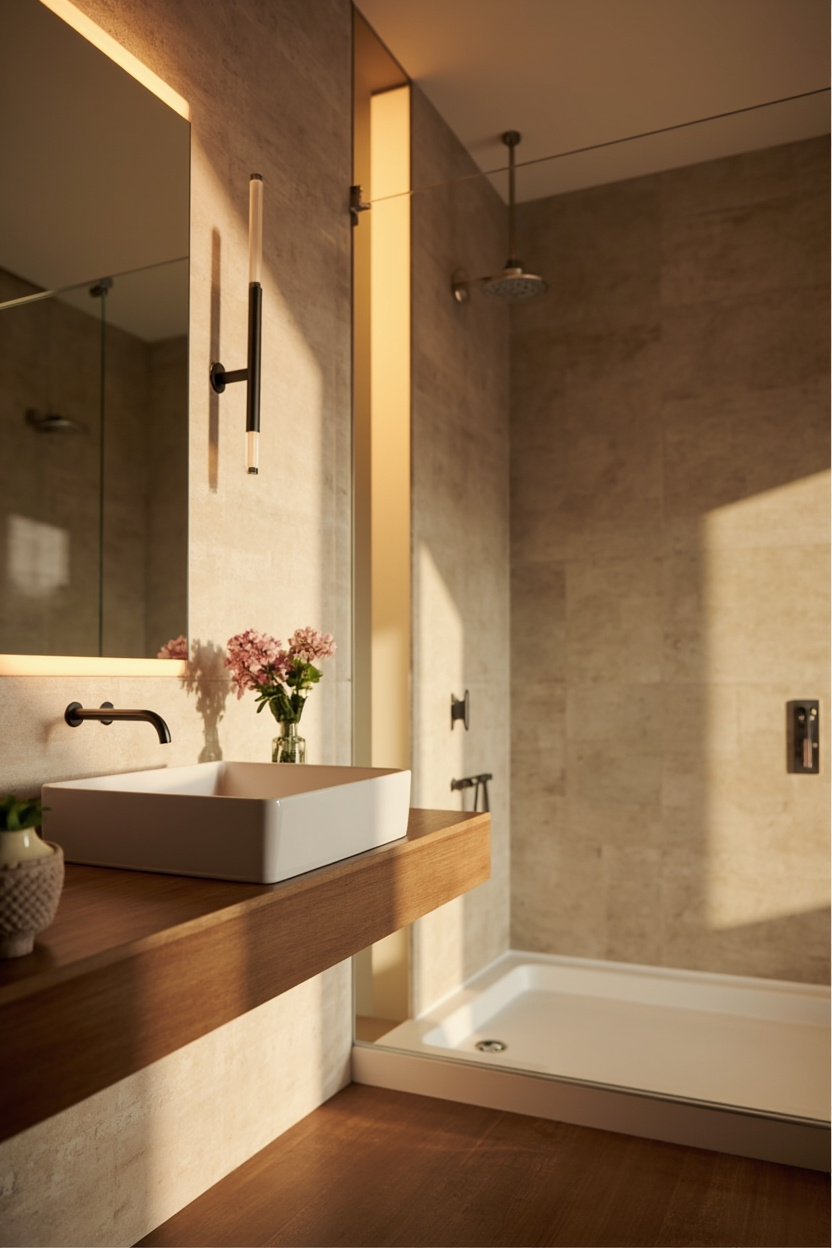
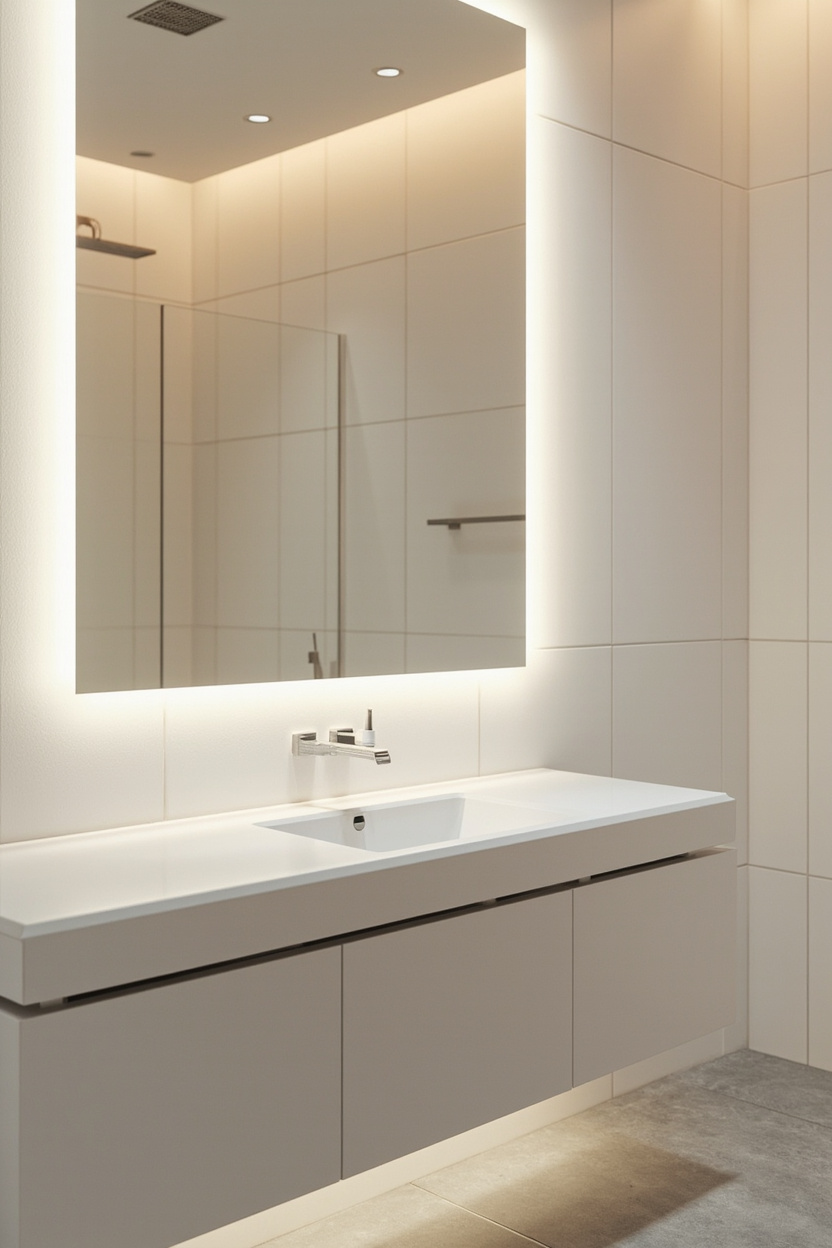
Use LED Strips For Hidden Lighting
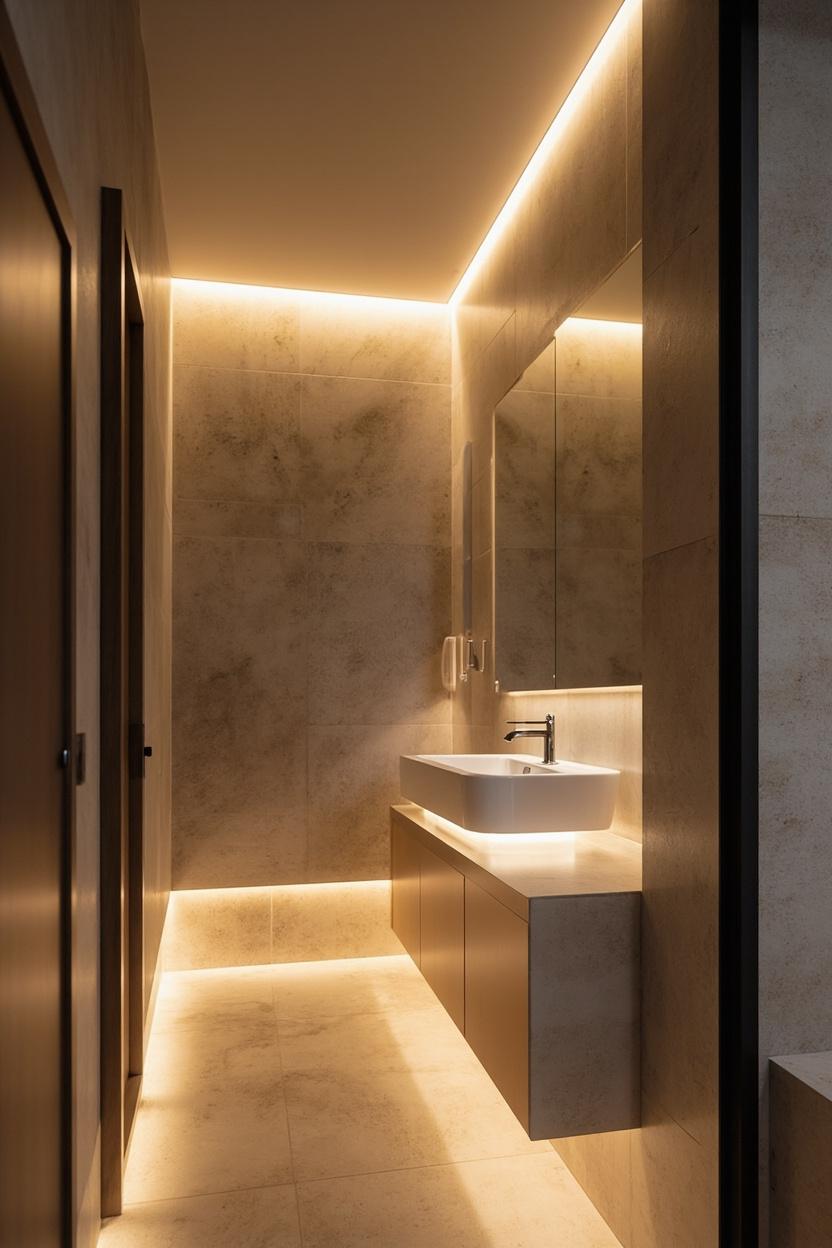
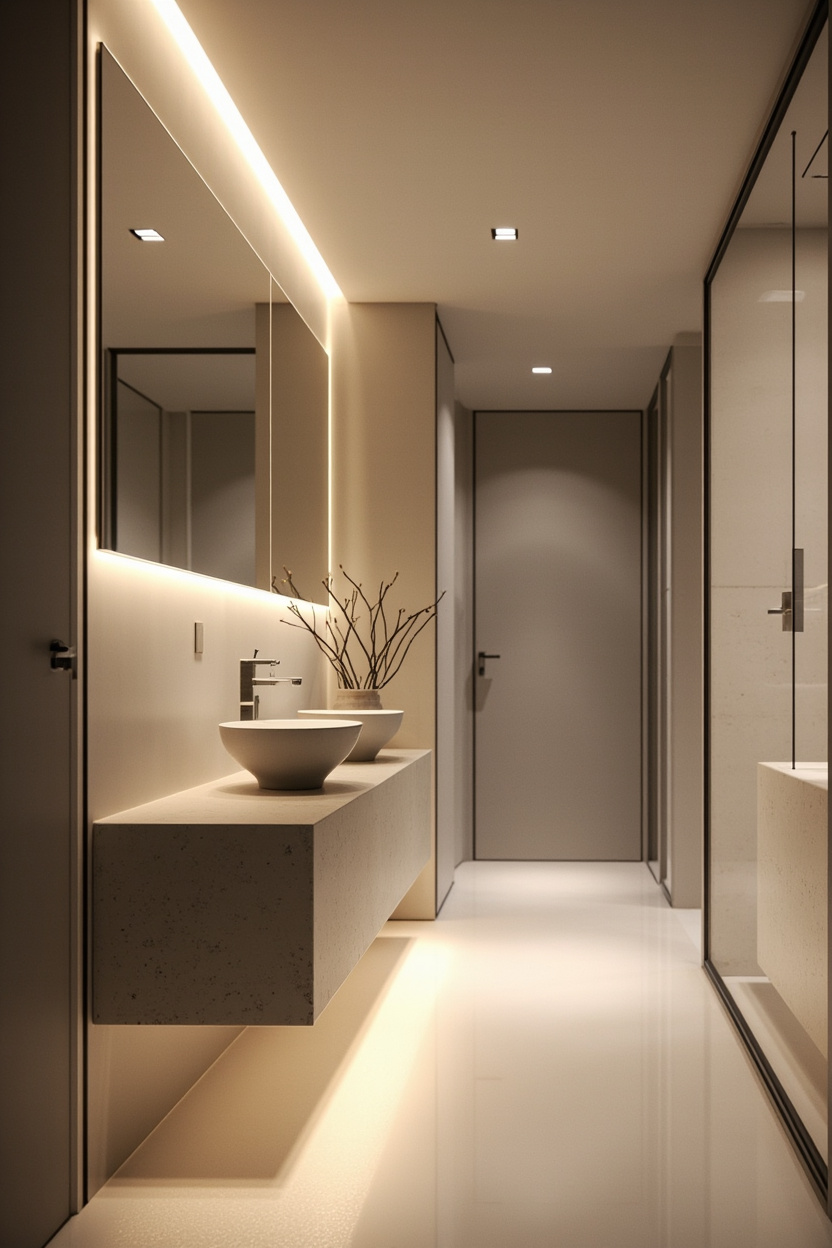
LED strips are essential to Minimalist Bathroom Lighting for creating an unobtrusive wash light and highlighting architectural lines. Install them in coves, under vanities, and behind mirrors to add depth without visual clutter.
What to Do?
- Choose high-CRI, 2700–3000K LED strips for natural skin tones around mirrors and vanities.
- Install strips with diffusers or recessed channels to eliminate visible hotspots and maintain a sleek look.
- Run strips along toe kicks, under floating vanities, and behind mirrors for soft uplighting and glow effects.
- Connect strips to dimmable drivers and conceal wiring for a seamless, minimalist finish.
Mistakes to Avoid
- Exposing raw LEDs without diffusers creates harsh, dotted light lines.
- Using low-CRI or very cool-temperature strips that wash out skin tones at the vanity.
Implement Layered Lighting Strategies
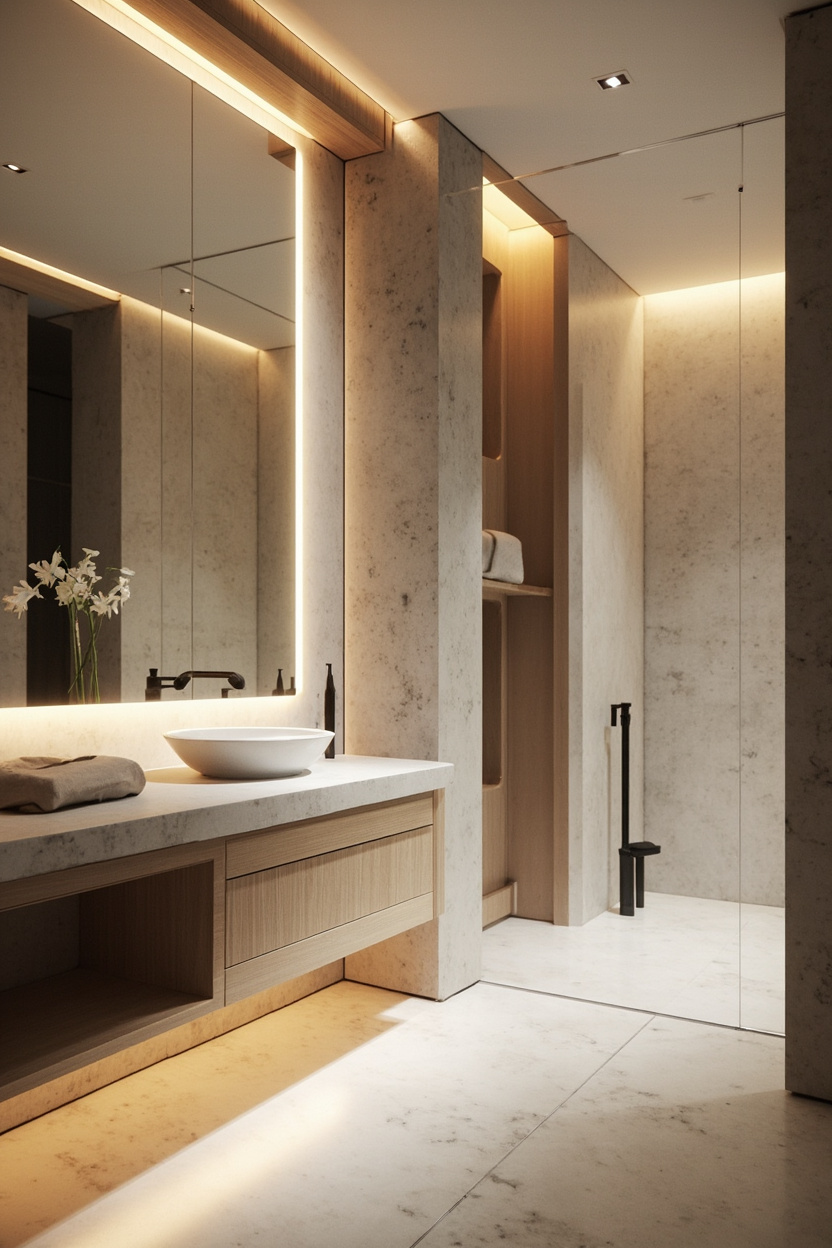
Layered lighting is the backbone of Minimalist Bathroom Lighting, combining task, ambient, and accent light to meet all functions without excess fixtures. Plan layers so each serves a purpose and can be controlled independently for flexibility.
What to Do?
- Start with a bright, shadow-free task light at the vanity using wall sconces or linear fixtures mounted at eye level.
- Add soft ambient overhead light with recessed or surface fixtures on a separate control to set general brightness.
- Include accent sources like LED strips or directional spots to highlight texture or architectural features sparingly.
- Coordinate color temperature across layers (2700–3000K recommended) to maintain cohesive visual warmth.
Mistakes to Avoid
- Relying on a single fixture for all tasks, which compromises either mood or functionality.
- Mismatching color temperatures between layers creates a disjointed, unnatural appearance.
Wire for Future Lighting Upgrades
Wiring now for future fixtures saves time and money when you want to add layered lighting later. Minimalist Bathroom Lighting benefits from pre-wiring for sconces, ceiling pendants, and under-cabinet strips to preserve clean lines without retrofit damage.
What to Do?
- Install extra junction boxes above vanities and at ceiling centers for future pendants or recessed fixtures.
- Run low-voltage conduit for LED strips under cabinets and inside recessed niches.
- Add a dedicated circuit with surge protection for high-draw lighting and fans.
- Position wiring on standard centers to accommodate common fixture sizes and avoid custom mounts later.
Mistakes to Avoid
- Do not rely solely on surface-mounted wiring that will be exposed during later upgrades.
- Do not undersize conduit or cable capacity for potential LED drivers and smart controls.
Avoid Common Lighting Placement Mistakes
Incorrect fixture placement ruins both function and minimalist aesthetics. Follow simple placement rules to ensure even illumination and preserve the clean simplicity of Minimalist Bathroom Lighting.
What to Do?
- Place wall lights at eye level, typically 60–65 inches from the floor, for balanced facial illumination.
- Center recessed cans on task zones like shower stalls and over vanities for even coverage.
- Use dimmers and layered circuits to separate task, ambient, and accent lighting for control and energy savings.
Mistakes to Avoid
- Avoid placing a single overhead light as the only source in the vanity area, which creates harsh shadows.
- Avoid uneven spacing of fixtures that leads to bright and dark patches across the mirror and sink areas.
Prevent Glare Around Mirrors Effectively
Glare near mirrors undermines grooming tasks and minimalist serenity. Use fixture types and placements proven to reduce specular reflections and maintain crisp, even light across the face.
What to Do
- Install vanity wall lights on either side of the mirror at equal heights to provide balanced, low-glare light.
- Choose frosted or diffused LED fixtures and add baffle trims to recessed lights to minimize hotspots.
- Specify CRI 90+ LEDs with 2700–3000K for accurate color without harsh cool tones.
- Include a dimmer to adjust intensity and further reduce perceived glare during low-light use.
Mistakes to Avoid
- Avoid placing bright recessed lights directly above the mirror without side lighting, which increases glare and shadows.
- Avoid using high-gloss mirror frames or fixtures that create additional reflective surfaces and specular highlights.
Maintain Fixtures to Maximize Lifespan
Minimalist Bathroom Lighting requires routine care to preserve finish and function; neglected fixtures corrode faster and lose efficiency. Regular maintenance prevents moisture damage and keeps light output consistent for safety and aesthetics.
What to Do
- Wipe fixtures weekly with a microfiber cloth and mild, non-abrasive cleaner to remove soap scum and mineral buildup.
- Inspect seals and gaskets every 3–6 months and reseal with silicone where moisture intrusion is visible.
- Replace bulbs at recommended intervals and match lumen output and color temperature for uniform lighting.
- Check mounting hardware annually and tighten screws to prevent wobble or water gaps.
Mistakes to Avoid
- Using abrasive pads or strong solvents that strip finishes and damage coatings.
- Ignoring early signs of corrosion or looseness that lead to electrical faults.
Energy-Saving Tips For Bathroom Lighting
Energy-efficient Minimalist Bathroom Lighting reduces utility costs while maintaining style; LEDs now offer high CRI and low wattage with warm color options. Smart control and zoned lighting cut unnecessary run time without compromising function.
What to Do
- Switch to LED vanity and ceiling fixtures rated for bathroom use to reduce consumption by up to 80% compared with incandescents.
- Install dimmers and a two-circuit setup so task lights and ambient lights operate independently for lower wattage use.
- Add motion sensors or timed switches for guest or secondary bathrooms to prevent lights from being left on.
Mistakes to Avoid
- Buying cheap LEDs without a minimum 90 CRI for accurate skin-tone rendering at the vanity.
- Over-illuminating small bathrooms with high-wattage fixtures instead of proper zoning and dimming.
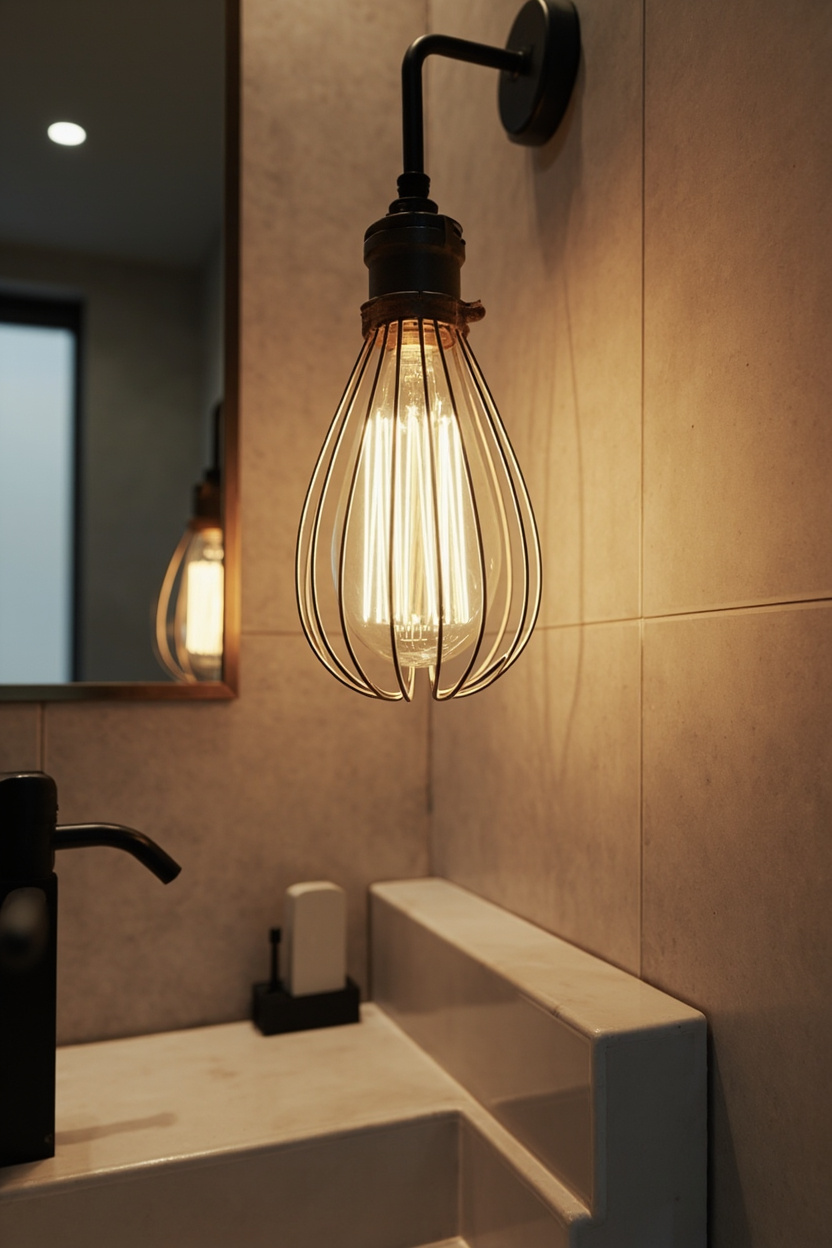
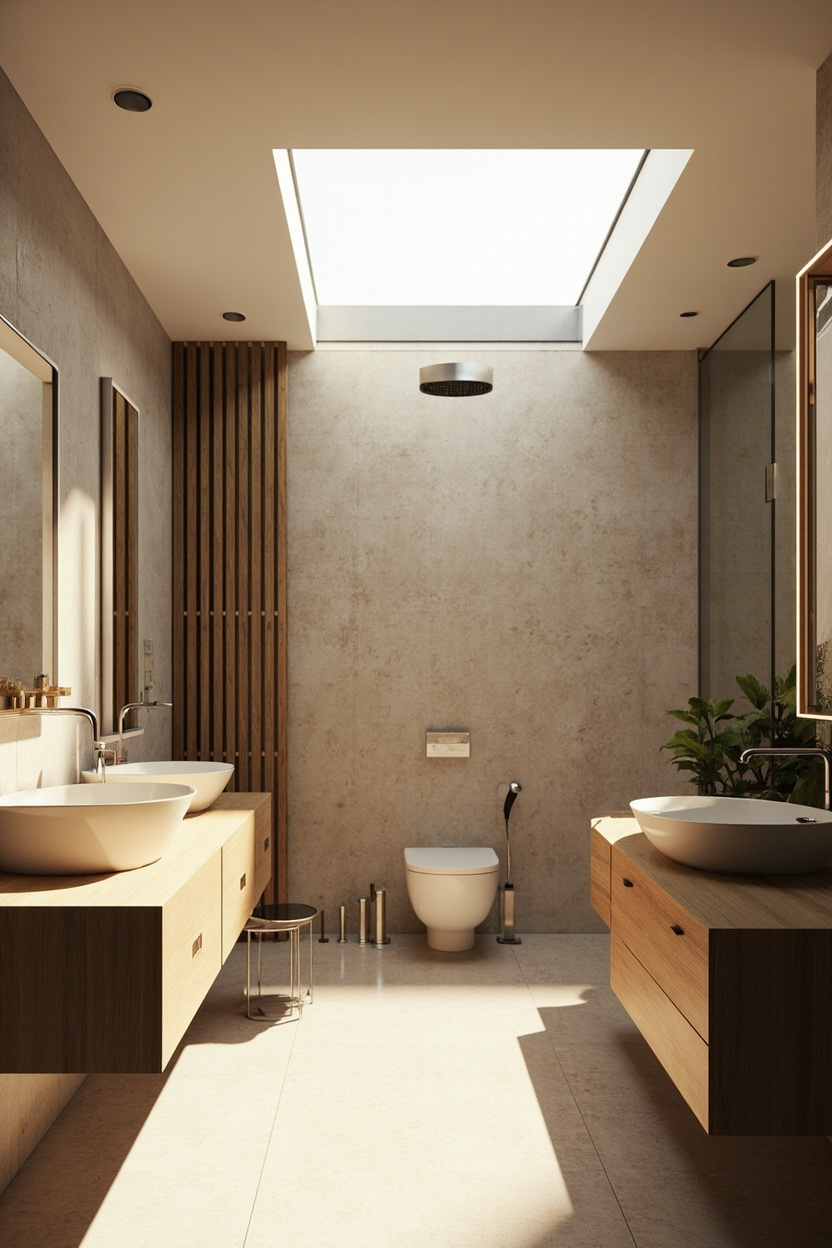
Styling Tips For Minimalist Fixtures
Styling minimalist fixtures means balancing simplicity with texture and scale; a single streamlined vanity light can anchor a farmhouse or modern bath.
Pairing fixtures with finishes and materials from your scheme—whether White Farmhouse or Coastal Farmhouse Homes—creates cohesion.
What to Do
- Choose finishes that echo hardware and faucets; matte black for contrast or satin nickel for subtle continuity.
- Match fixture scale to mirror and vanity width: small sconces for narrow mirrors, linear bars for wide vanities.
- Add a tactile element like a wooden shelf or woven basket to soften metal lines and link to Cottage Entry Table Styling accents.
Mistakes to Avoid
- Mixing too many finishes in a small bathroom breaks minimalist intent and creates visual clutter.
- Selecting oversized fixtures that overwhelm compact layouts and reduce perceived space.
Troubleshoot Dimmer and Wiring Issues
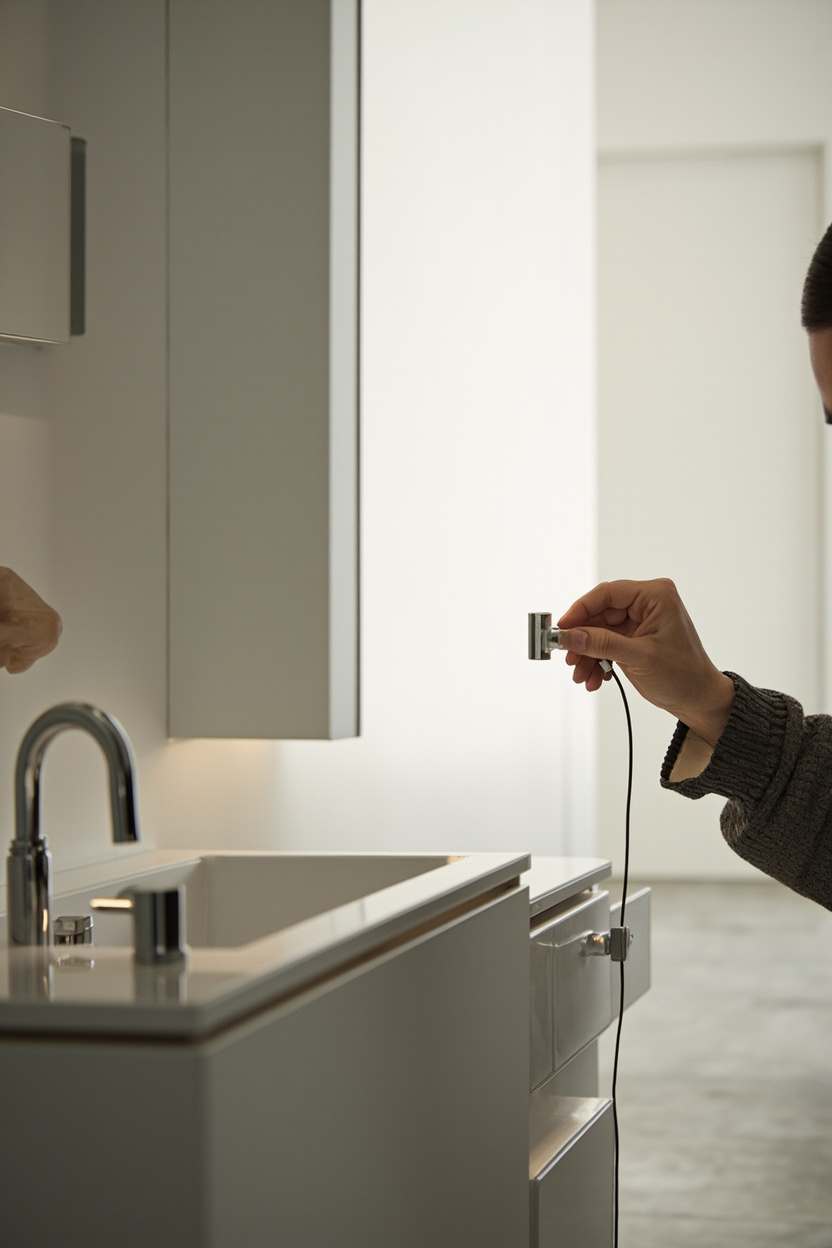
Troubleshooting dimmer and wiring problems starts with isolating the symptom: flicker, no dimming range, or lights that won’t turn on.
These behaviors often indicate incompatible dimmers, loose connections, or overloaded circuits; identify the exact issue before replacing parts.
Check compatibility and safety first. Confirm the dimmer type matches the bulb technology and verify wiring connections are secure with power off to avoid hazards.
What to Do
- Turn off the power at the breaker and test the fixture wiring for loose or corroded connections with a voltage tester before touching the terminals.
- Verify bulb compatibility: use dimmers rated for LED or the specific lamp type to prevent flicker and limited dimming range.
- Replace single-pole dimmers with three-way models only when the circuit requires it, matching the original switch configuration.
- Measure circuit load to ensure total wattage does not exceed dimmer rating; redistribute fixtures to another circuit if overloaded.
- When unsure, hire a licensed electrician to inspect shared neutrals, ground continuity, and to retrofit modern dimmer controls safely.
Mistakes to Avoid
- Do not install an LED on an incandescent-only dimmer, as incompatibility often causes flicker or reduced lifespan.
- Avoid working on wiring with the breaker on; live diagnostics without testing equipment risks shock and equipment damage.
- Do not assume all LEDs dim the same—skip generic bulbs when precise dimming and color rendering are required for bathroom vanities.
FAQ
Why do my bathroom LEDs flicker on a dimmer?
Flicker usually indicates dimmer and LED driver incompatibility or a loose connection. Replace the dimmer with an LED-compatible model and tighten wiring with power off.
Can I swap a dimmer myself for a vanity light?
You can swap a dimmer if you’re comfortable turning off the breaker and following wiring diagrams; otherwise, hire a licensed electrician. Confirm dimmer compatibility with the fixture before buying.
My dimmer only dims partially—what causes this?
Partial dimming often comes from a mismatched dimmer type or minimum load requirements not being met. Use a dimmer rated for low-wattage LEDs or group more fixtures on the circuit to meet load specs.
Are smart dimmers better for bathroom lighting control?
Smart dimmers add scheduling and remote control benefits and can improve performance if they support your bulb type. Ensure the smart model is rated for bathroom environments and compatible with existing wiring.
Final Thoughts
Resolving dimmer and wiring issues improves both function and safety in minimalist bathroom lighting setups. Prioritize compatibility checks, safe diagnostics, and professional help when circuits or shared wiring complexities arise.